214
2.
If you see a message telling you that you can temporarily print with only black ink, click the
Delete
or
button to cancel your print job. If you see an error message, click
OK
.
3.
In the Apple menu or the Dock, select
System Preferences
.
4.
Select
Print & Fax
,
Print & Scan
, or
Printers & Scanners
, select your product, and select
Options
& Supplies
.
5.
Select
Driver
or
Options
.
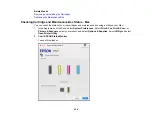
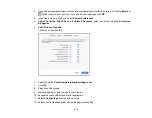
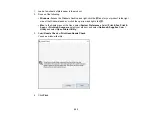
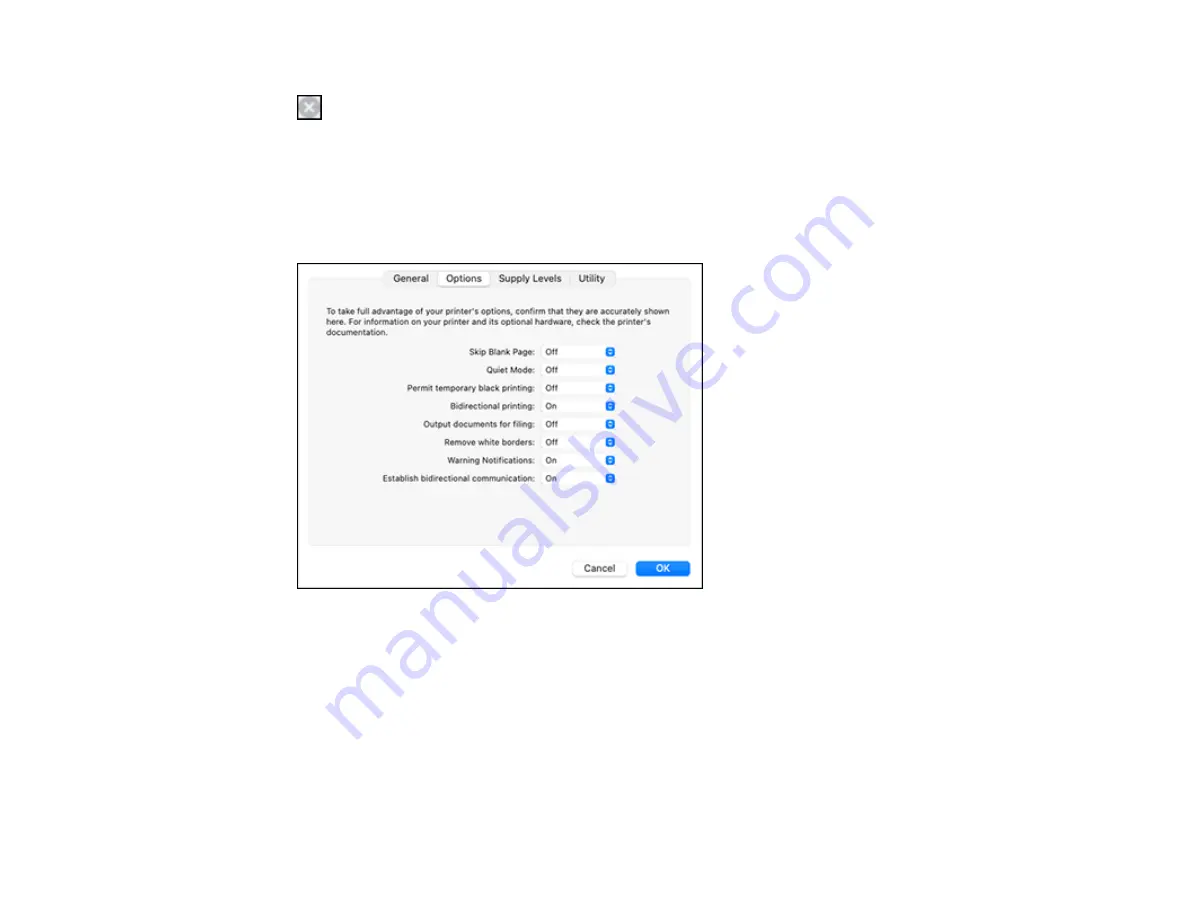
You see a screen like this:
6.
Select
On
as the
Permit temporary black printing
setting.
7.
Click
OK
.
8.
Close the utility window.
9.
Load plain paper or an envelope in your product.
10. Access the print settings in your print application.
11. Select
Print Settings
from the pop-up menu.
12. Select a non-borderless paper size as the paper size setting.
Summary of Contents for C11CK62201
Page 1: ...WF 2950 User s Guide ...
Page 2: ......
Page 136: ...136 You see an Epson Scan 2 window like this ...
Page 138: ...138 You see an Epson Scan 2 window like this ...
Page 152: ...152 You see a screen like this 2 Click the Save Settings tab ...
Page 157: ...157 You see this window ...
Page 269: ...269 3 Open the ADF cover 4 Carefully remove any jammed pages from beneath the ADF ...
Page 271: ...271 6 Remove the jammed paper 7 Lower the ADF input tray ...
Page 330: ...330 Copyright Attribution 2022 Epson America Inc 8 22 CPD 62194 Parent topic Copyright Notice ...

