215
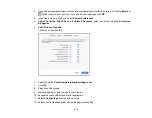
13. Select
Plain Paper/Bright White Paper
,
Letterhead
, or
Envelope
as the paper type setting.
14. Select the
Grayscale
option.
15. Select any other options as needed.
16. Click
to print your document.
Parent topic:
Printing with Black Ink and Expended Color Cartridges
Conserving Low Black Ink with Windows
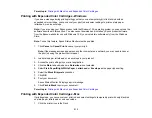
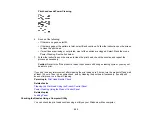
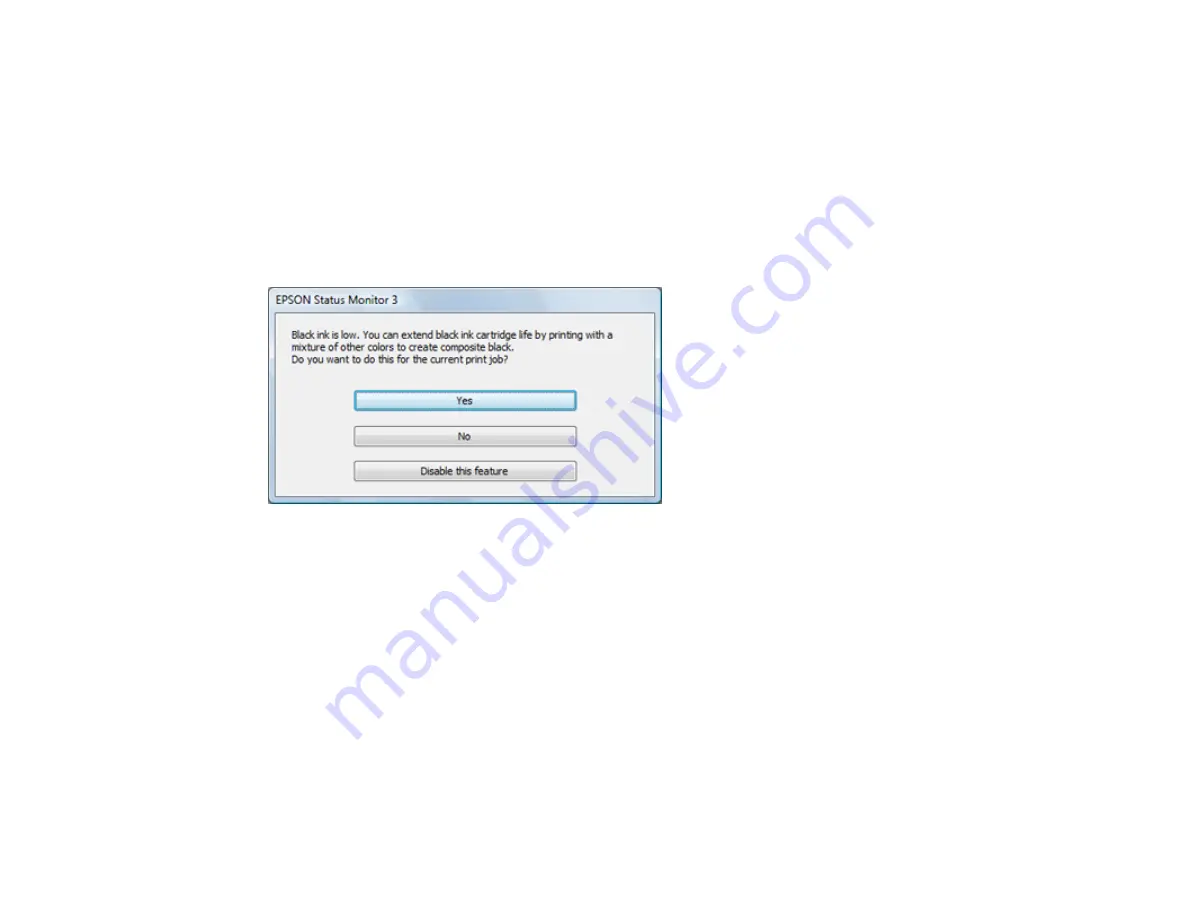
The following window appears when black ink runs low and there is more color ink.
Note:
The window appears only when you have selected
Plain Paper/Bright White Paper
or
Letterhead
as the paper type setting, and depends on other selected print settings. To use this feature,
Epson Status Monitor must be enabled.
• Click
Yes
to use a mixture of color inks to create black, or
No
to continue using the remaining black ink
for the document you are printing.
• Click
Disable this feature
to continue using the remaining black ink.
Note:
If you disable this feature, it remains disabled until you install a new black ink cartridge.
Parent topic:
Summary of Contents for C11CK62201
Page 1: ...WF 2950 User s Guide ...
Page 2: ......
Page 136: ...136 You see an Epson Scan 2 window like this ...
Page 138: ...138 You see an Epson Scan 2 window like this ...
Page 152: ...152 You see a screen like this 2 Click the Save Settings tab ...
Page 157: ...157 You see this window ...
Page 269: ...269 3 Open the ADF cover 4 Carefully remove any jammed pages from beneath the ADF ...
Page 271: ...271 6 Remove the jammed paper 7 Lower the ADF input tray ...
Page 330: ...330 Copyright Attribution 2022 Epson America Inc 8 22 CPD 62194 Parent topic Copyright Notice ...

