281
Incorrect Characters Print
If incorrect characters appear in your prints, try these solutions before reprinting:
• Make sure any cables are securely connected at both ends.
• In Windows, delete all jobs from the Windows Spooler. Click
Print Queue
on the Maintenance tab in
the printer settings window, and cancel any stalled print jobs.
• On a Mac, cancel any paused print jobs.
• If your product is connected to a USB hub, connect it directly to your computer instead.
• If incorrect characters still appear in your prints, try connecting your product using a different cable.
• If your computer entered sleep mode the last time you printed, the next print job after your computer
exits sleep mode may contain garbled characters. Print your document again.
• Make sure you are using the printer software for this product. Check the product name at the top of the
driver window.
Parent topic:
Solving Page Layout and Content Problems
Related tasks
Printing Your Document or Photo - Windows
Printing Your Document or Photo - Mac
Incorrect Image Size or Position
If your printed image is the wrong size or in the wrong position, try these solutions:
• Make sure you selected the correct paper size and layout settings in your printing program and printer
software.
• Make sure you selected the correct paper size on the control panel.
• Make sure your paper is positioned correctly for feeding into the printer.
• Slide the edge guides against the edges of the paper.
• Clean the scanner glass and document cover.
• If the edges of a copy are cropped, slightly move the original away from the edges of the scanner
glass.
• Make sure you selected the correct margins for your paper size in your printing program.
• Be sure to select the appropriate original size setting for your original in the copy settings.
• If the image is slightly enlarged and cropped during borderless printing, change the
Expansion
setting.
Summary of Contents for C11CK62201
Page 1: ...WF 2950 User s Guide ...
Page 2: ......
Page 136: ...136 You see an Epson Scan 2 window like this ...
Page 138: ...138 You see an Epson Scan 2 window like this ...
Page 152: ...152 You see a screen like this 2 Click the Save Settings tab ...
Page 157: ...157 You see this window ...
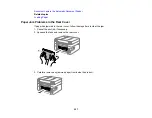
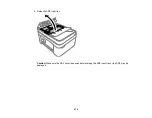
Page 269: ...269 3 Open the ADF cover 4 Carefully remove any jammed pages from beneath the ADF ...
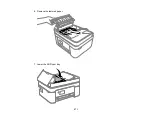
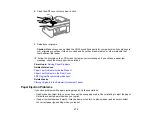
Page 271: ...271 6 Remove the jammed paper 7 Lower the ADF input tray ...
Page 330: ...330 Copyright Attribution 2022 Epson America Inc 8 22 CPD 62194 Parent topic Copyright Notice ...

