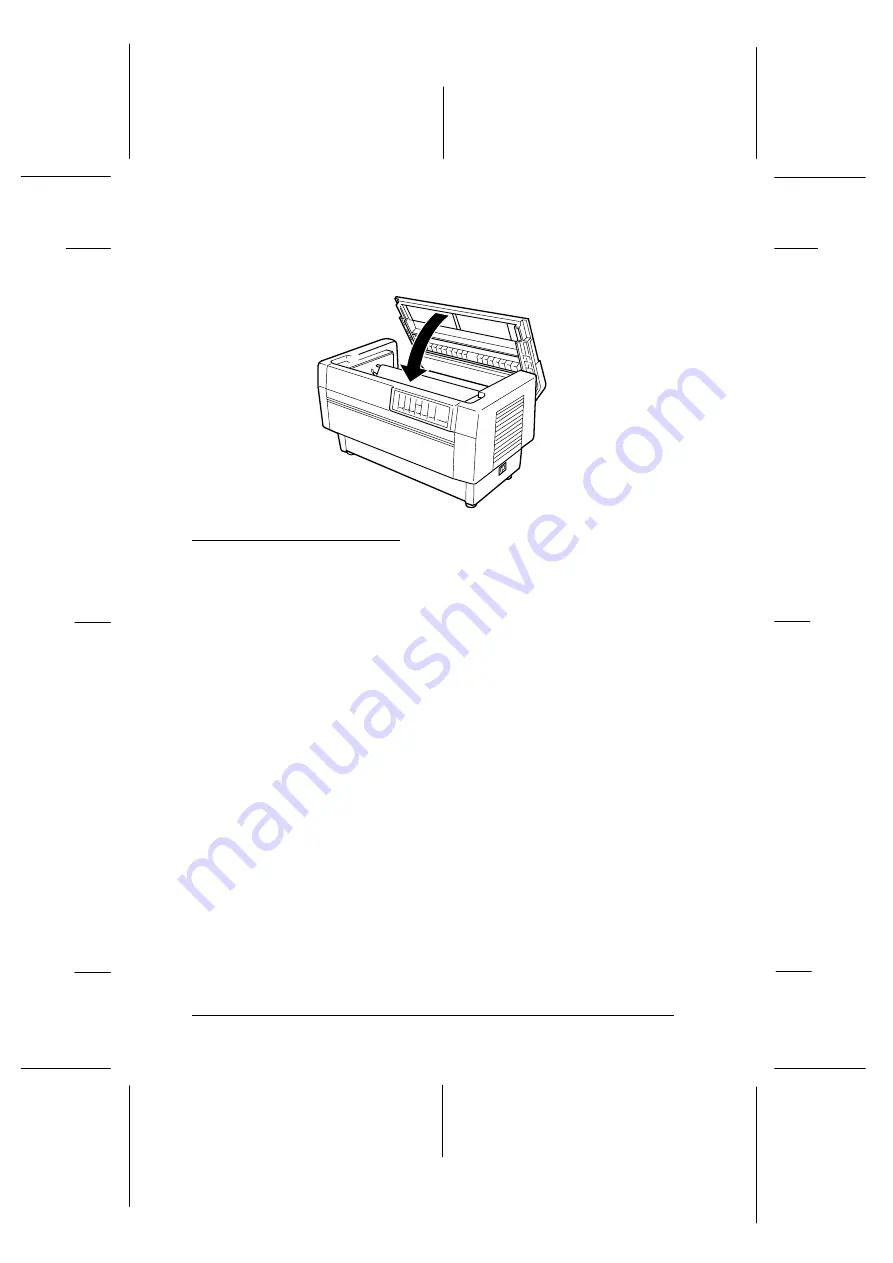
8. Close the top cover.
Plugging in the Printer
1. Make sure the printer is turned off. (The “
” symbol on the
power switch located on the lower right side of the printer
should be pressed down.)
2. Check the label on the back of the printer to make sure the
voltage matches that of your electrical outlet.
c
Caution:
If the rated voltage and your outlet voltage do not match,
contact your dealer for assistance. Do not plug in the
power cord.
3. If the power cord is not attached to the printer, connect the
appropriate end to the AC inlet on the printer’s rear panel.
4. Plug the power cord into a properly grounded electrical
outlet.
D-1-10-A
L
Peony
Rev.C
A5 size
Chapter 1
98/01/07
Pass 4
1-10
Setting Up the Printer
Summary of Contents for C204001 - DFX 8500 B/W Dot-matrix Printer
Page 1: ......
Page 34: ...L Peony Rev C A5 size Chapter 1 98 01 07 Pass 4 1 16 Setting Up the Printer ...
Page 56: ...L Peony Rev C A5 size Chapter 2 98 01 07 Pass 4 2 22 Setting Up Your Software ...
Page 90: ...L Peony Rev C A5 size Chapter 3 98 01 07 Pass 4 3 34 Paper Handling ...
Page 132: ...L Peony Rev C A5 size Chapter 5 98 01 07 pass 4 5 16 Using EPSON Status Monitor 2 ...
Page 176: ...L Peony Rev C A5 size Chapter 7 98 01 07 Pass 3 7 6 Maintenance and Transportation ...
Page 196: ...L Peony Rev C A5 size Chapter 8 98 01 07 DR pass 4 8 20 Troubleshooting ...
Page 246: ...L Peony Rev C A5 size Glossary 98 01 07 Pass 2 GL 6 Glossary ...
Page 252: ......


