EPSON Stylus CX4100/CX4200/CX4700/CX4800/DX4200/DX4800/DX4850
Revision A
MAINTENANCE
Overview
189
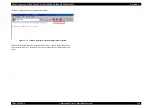
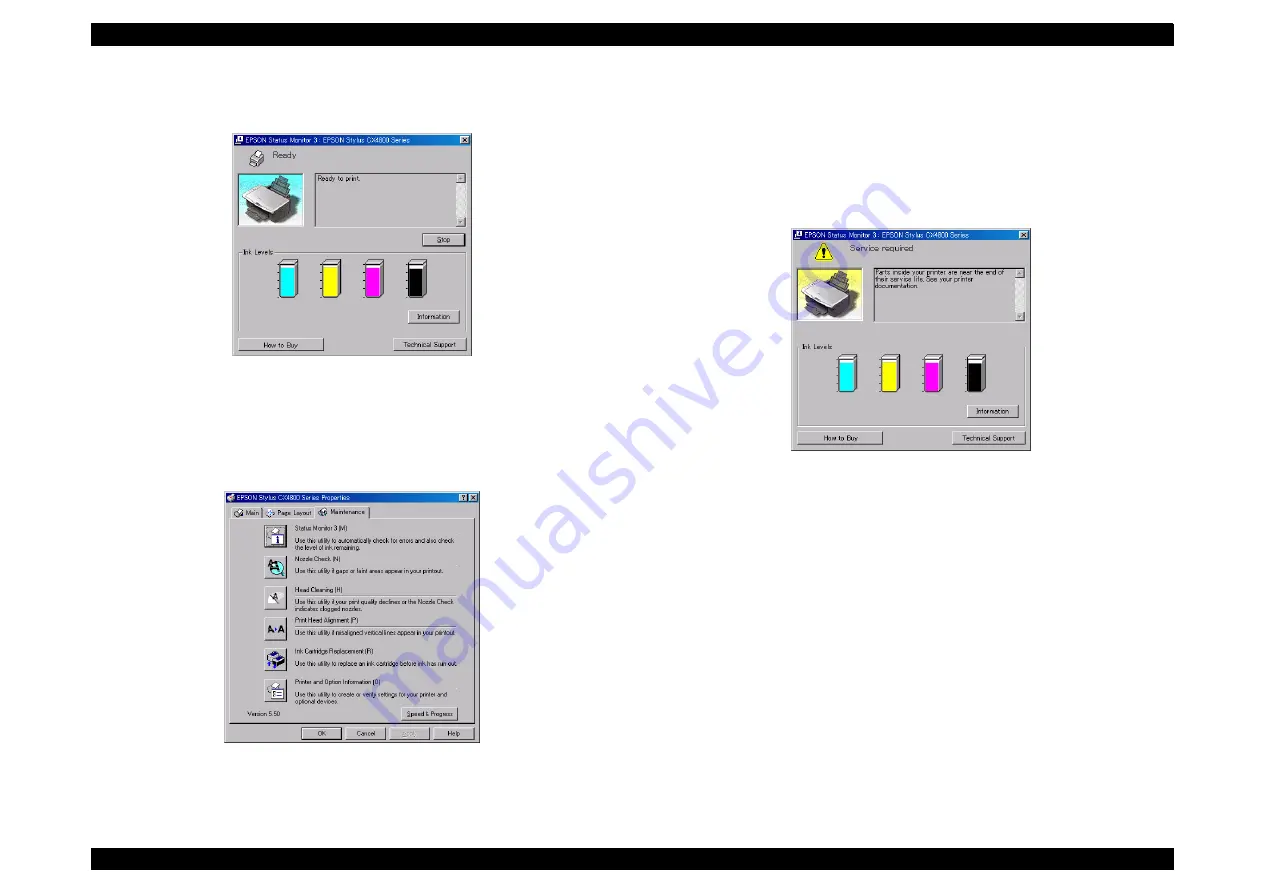
1. Select the “EPSON Status Monitor 3” in the printer driver utility, and make sure
that the printer is in stand-by state by using the Status monitor 3. If the printer is in
stand-by state, the following figure is indicated on the monitor.
Figure 6-1. Status Monitor 3 Indication
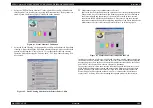
2. Select the “Head Cleaning” in the printer driver utility, and perform the Print Head
cleaning. After performing the Print Head cleaning operation, print a nozzle check
pattern by selecting the “Nozzle Check“. If you repeat the Print Head cleaning
operation without selecting the “Nozzle Check”, CL1, the weakest cleaning, will
be repeated.
Figure 6-2. Head Cleaning Function in the Printer Driver Utility
Maintenance request error (Maintenance call error)
Ink is used for the Print Head cleaning operation as well as the printing operation.
When the ink is used for the Print Head cleaning operation, the ink is drained to
the Waste ink pads and the amount of the waste ink is stored as the waste ink
counter into the EEPROM on the Main Board. Due to this, when the waste ink
counter has reached the limit of the absorbing capability of the Waste ink pads, the
Maintenance call error is indicated on Status monitor 3 as following figure.
Figure 6-3. Maintenance error indication in STM3
In this case, replace to new Waste ink pads and clear the waste ink counter stored into
the EEPROM. The waste ink counter can be reset only from the Adjustment program
because this printer dose not have the waste ink counter reset function by the control
panel SW. As for the procedure, refer to Chapter 5 Adjustment.
In your repair activity, check the waste ink counter along with the firmware version,
Main Board checker program version and nozzle check pattern on the nozzle check
pattern printing. If the waste ink counter is closed to its limit, recommend that the
Waste ink pads will be replaced with new one. This is because the “Maintenance
request error” will may occur after returning the repaired product to the customer.
Summary of Contents for CX4200 - Stylus Color Inkjet
Page 9: ...C H A P T E R 1 PRODUCTDESCRIPTION ...
Page 60: ...C H A P T E R 2 OPERATINGPRINCIPLES ...
Page 87: ...C H A P T E R 3 TROUBLESHOOTING ...
Page 121: ...C H A P T E R 4 DISASSEMBLY ASSEMBLY ...
Page 171: ...C H A P T E R 5 ADJUSTMENT ...
Page 187: ...C H A P T E R 6 MAINTENANCE ...
Page 194: ...C H A P T E R 7 APPENDIX ...
Page 221: ...Model PX A650 Stylus CX4700 CX4800 DX4800 DX4850 Board C571 PNL Rev D Sheet 1 1 ...
Page 222: ...Model Stylus CX4100 CX4200 DX4200 Board C577 PNL Rev A Sheet 1 1 ...


