EPSON Stylus CX4300/CX4400/CX5500/CX5600/DX4400/DX4450
Revision A
DISASSEMBLY/ASSEMBLY
Disassembling Printer Mechanism
79
4.6.3 CR Scale
Part/Unit that should be removed before removing CR Scale
Document Cover / ASF Cover / Support Arm / Scanner Unit / Middle Case /
Panel Unit
Removal Procedure
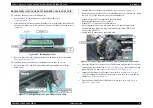
1.
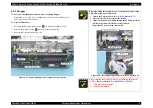
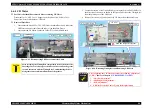
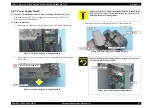
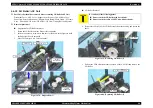
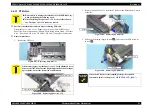
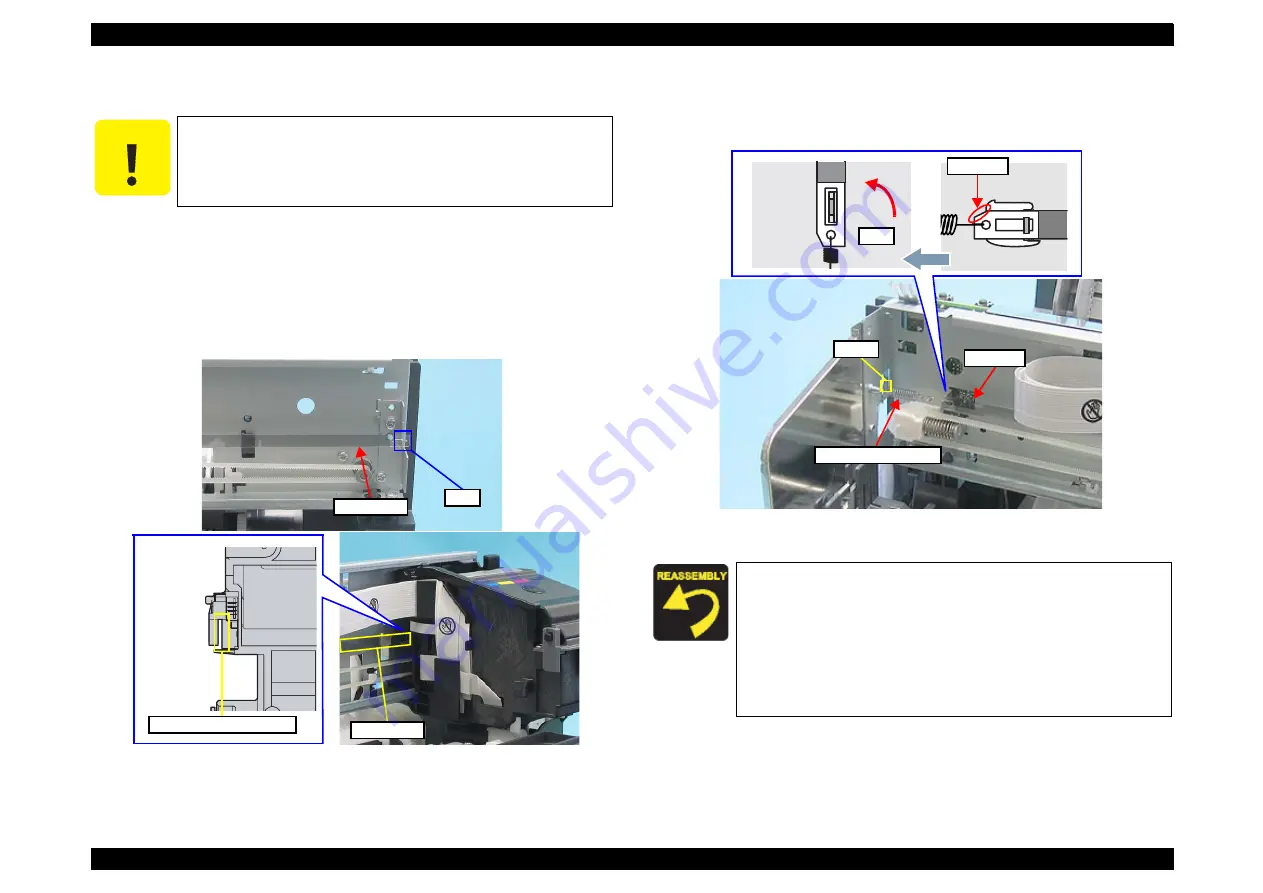
Release the right end of the CR Scale from the tab.
2.
Release the CR Scale from the slit of the CR Encoder Sensor.
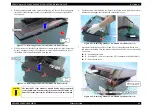
Figure 4-41. Removing CR Scale (1)
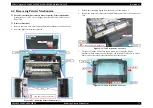
3.
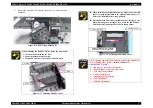
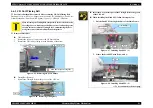
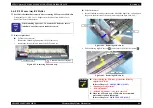
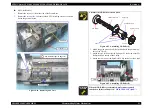
Release the Extension Spring 3.289 from the hook of the Main Frame.
4.
Rotate the CR Scale 90 degrees as shown in the figure and remove the scale
from the Main Frame.
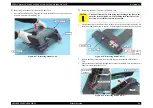
Figure 4-42. Removing CR Scale (3)
C A U T I O N
Pay attention to the following instructions:
Do not touch the CR Scale with bare hands.
Do not damage the CR Scale.
Do not stretch Extension Spring 3.289 too much.
CR Scale
Tab
CR Scale
Slit of CR Encoder Sensor
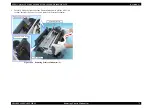
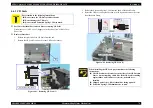
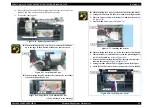
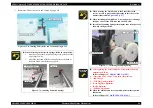
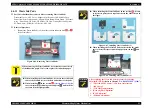
When installing the CR Scale, pay attention to the following
instructions.
The CR Scale must be set between the sides of the CR Encoder
Sensor, but not touching either side. If the CR Scale is rubbing
against either wall (emitter or receiver), it should be re-
installed.
Chipped part of the CR Scale should be facing upward.
Extension Spring 3.289 should not be twisted.
CR Scale
Extension Spring 3.289
Hook
Chipped
90 º
Summary of Contents for CX4400 - Stylus Color Inkjet
Page 5: ...Revision Status Revision Issued Date Description A April 23 2007 First Release ...
Page 8: ...C H A P T E R 1 PRODUCTDESCRIPTION ...
Page 23: ...C H A P T E R 2 OPERATINGPRINCIPLES ...
Page 32: ...C H A P T E R 3 TROUBLESHOOTING ...
Page 60: ...C H A P T E R 4 DISASSEMBLY ASSEMBLY ...
Page 100: ...C H A P T E R 5 ADJUSTMENT ...
Page 108: ...C H A P T E R 6 MAINTENANCE ...
Page 115: ...C H A P T E R 7 APPENDIX ...
Page 121: ......
Page 122: ......
Page 123: ......
Page 124: ......
Page 125: ......
Page 126: ......
Page 127: ......
Page 128: ......
Page 129: ......

