6.
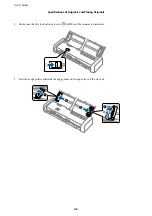
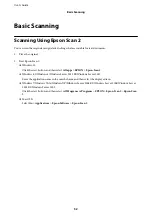
Make sure the feed selector on the scanner is set correctly.
To scan originals using ADF, set the feed selector to (ADF). To scan a plastic card using the card slot, set the
feed selector to (card).
7.
Click
Scan
.
The scanned image is saved to the folder you specified.
Related Information
&
“Specifications of Originals and Placing Originals” on page 24
&
&
“Setting a Resolution That Suits the Scanning Purpose” on page 55
&
“Image Adjustment Features” on page 64
&
“Editing Scanned Pages Using Epson Scan 2” on page 71
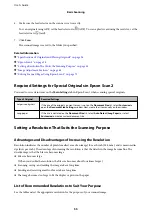
Required Settings for Special Originals in Epson Scan 2
You need to set certain items on the
Main Settings
tab in Epson Scan 2 when scanning special originals.
Type of Original
Required Settings
Large size originals
If the size of the original you want to scan is not on the
Document Size
list, select
Customize
to
open the
Document Size Settings
window. Next, create the size manually on the window.
Long paper
If the size is not listed on the
Document Size
list, select
Auto Detect (Long Paper)
or select
Customize
to create a custom document size.
Setting a Resolution That Suits the Scanning Purpose
Advantages and Disadvantages of Increasing the Resolution
Resolution indicates the number of pixels (smallest area of an image) for each inch (25.4 mm), and is measured in
dpi (dots per inch). The advantage of increasing the resolution is that the details in the image become fine. The
disadvantage is that the file size becomes large.
❏
File size becomes large
(When you double the resolution, the file size becomes about four times larger.)
❏
Scanning, saving, and reading the image takes a long time
❏
Sending and receiving emails or faxes takes a long time
❏
The image becomes too large to fit the display or print on the paper
List of Recommended Resolutions to Suit Your Purpose
See the table and set the appropriate resolution for the purpose of your scanned image.
User's Guide
Basic Scanning
55

