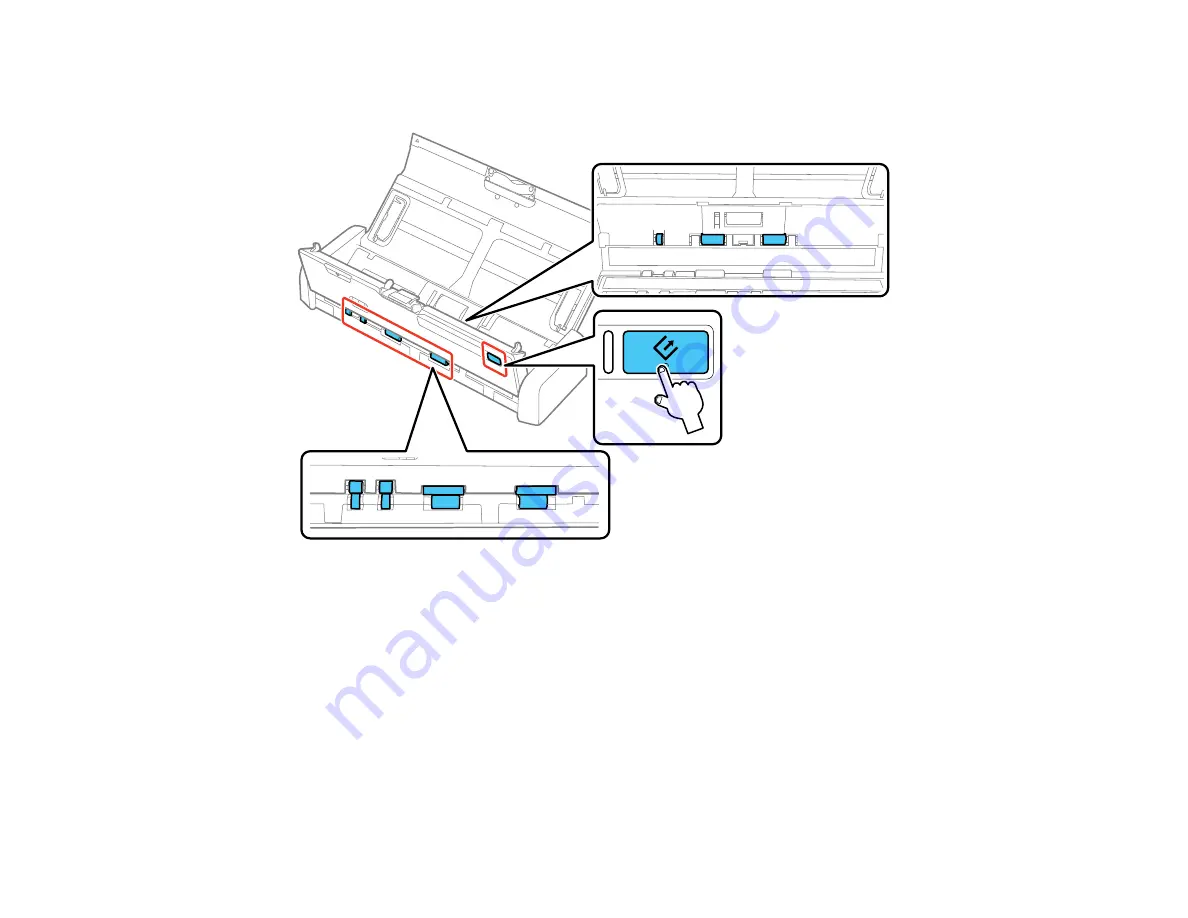
79
button several times to rotate the rollers shown here. Use a soft, moist cloth to wipe off any dust or
dirt on the rollers as they rotate. Repeat this step until the rollers are clean.
15. Close the scanner cover. Press the edge of the scanner cover firmly at the arrow mark until the
scanner cover clicks into place.
Parent topic:
Cleaning and Transporting Your Scanner
Checking the Scanner Roller Counter
Check the scanner roller counter to determine when your rollers need to be replaced. When you replace
the scanner rollers, reset the scanner roller counter so you know when you may need to replace the
rollers again.
1.
Make sure the scanner is turned on and connected to your computer.
Summary of Contents for DS-320
Page 1: ...DS 320 User s Guide ...
Page 2: ......
Page 6: ......
Page 10: ...10 7 ADF Automatic Document Feeder 1 Power inlet 2 USB port ...
Page 15: ...15 2 Press the power button to turn on the scanner if necessary 3 Extend the paper guide ...
Page 23: ...23 4 Raise the input tray edge guides and adjust them to the width of the receipt ...
Page 27: ...27 2 Press the power button to turn on the scanner if necessary 3 Extend the paper guide ...
Page 40: ...40 You see an Epson Scan 2 window like this ...
Page 42: ...42 You see an Epson Scan 2 window like this ...
Page 44: ...44 You see a window like this 3 Click the Scan icon ...
Page 47: ...47 You see this window ...
Page 62: ...62 You see your scanned image 8 Click on the Export icon ...
Page 63: ...63 9 Select the program or format you want to scan to and click Next ...
Page 71: ...71 3 Pull the edge of the scanner cover firmly at the arrow mark to open it ...
Page 75: ...75 8 Press the pickup roller cover latch and pull up the cover to remove it ...
Page 82: ...82 5 Press the pickup roller cover latch and pull up the cover to remove it ...
Page 85: ...85 9 Squeeze the tabs on the sides of the separation pad and pull up to remove it ...
Page 95: ...95 3 Pull the edge of the scanner cover firmly at the arrow mark ...


