88
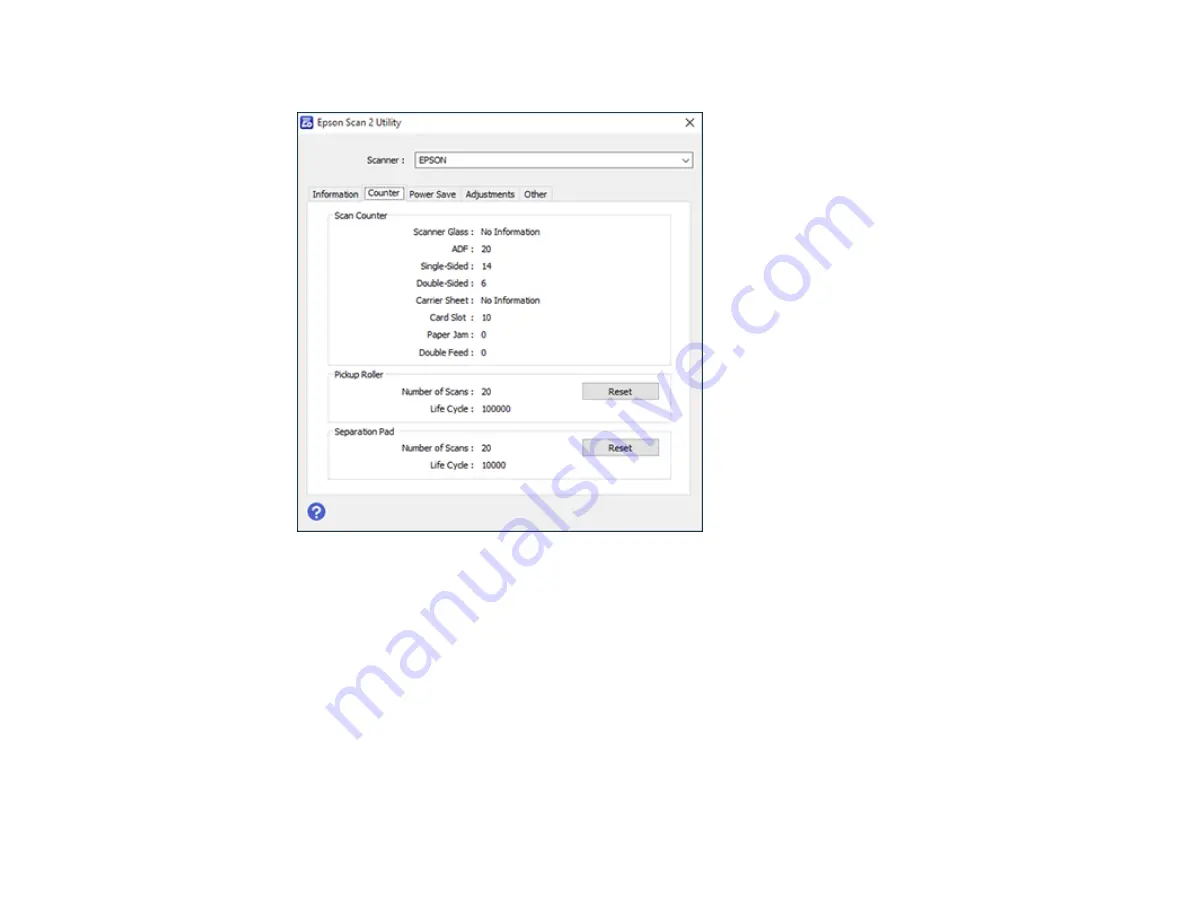
You see a screen like this:
4.
Click
Reset
.
The Number of Scans field changes to 0 (zero).
5.
Close the Epson Scan 2 Utility screen.
Parent topic:
Transporting Your Scanner
If you need to ship your product, transport it a long distance, or store it for an extended period, prepare it
for transportation as described here.
1.
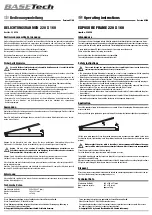
Turn off the scanner and unplug the AC adapter.
2.
Disconnect any connected cables.
Summary of Contents for DS-320
Page 1: ...DS 320 User s Guide ...
Page 2: ......
Page 6: ......
Page 10: ...10 7 ADF Automatic Document Feeder 1 Power inlet 2 USB port ...
Page 15: ...15 2 Press the power button to turn on the scanner if necessary 3 Extend the paper guide ...
Page 23: ...23 4 Raise the input tray edge guides and adjust them to the width of the receipt ...
Page 27: ...27 2 Press the power button to turn on the scanner if necessary 3 Extend the paper guide ...
Page 40: ...40 You see an Epson Scan 2 window like this ...
Page 42: ...42 You see an Epson Scan 2 window like this ...
Page 44: ...44 You see a window like this 3 Click the Scan icon ...
Page 47: ...47 You see this window ...
Page 62: ...62 You see your scanned image 8 Click on the Export icon ...
Page 63: ...63 9 Select the program or format you want to scan to and click Next ...
Page 71: ...71 3 Pull the edge of the scanner cover firmly at the arrow mark to open it ...
Page 75: ...75 8 Press the pickup roller cover latch and pull up the cover to remove it ...
Page 82: ...82 5 Press the pickup roller cover latch and pull up the cover to remove it ...
Page 85: ...85 9 Squeeze the tabs on the sides of the separation pad and pull up to remove it ...
Page 95: ...95 3 Pull the edge of the scanner cover firmly at the arrow mark ...


