Maintenance 4. Replacing the Cable Unit
96
E2C Rev.6
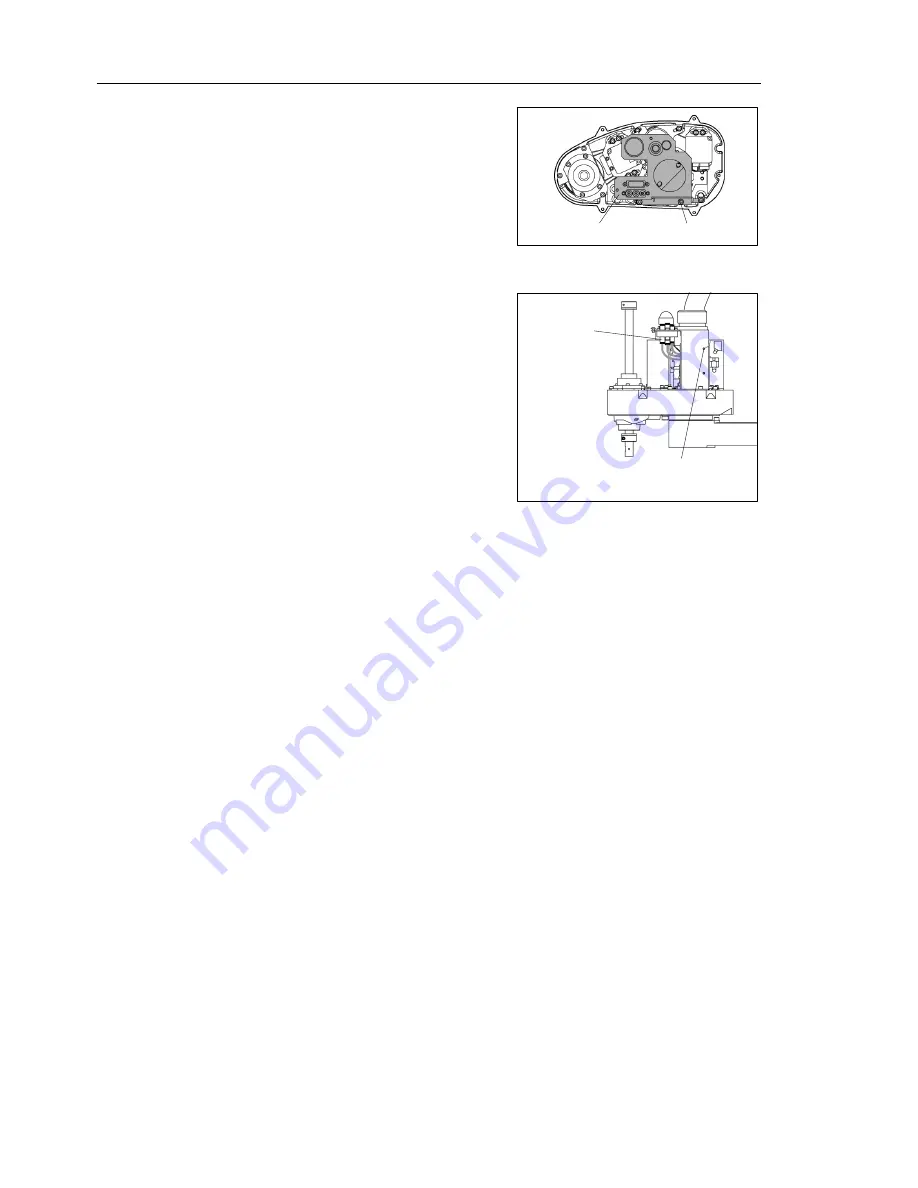
(8) Mount the duct plate on Arm #2.
Duct plate
3-M5
×
1
5
(9) Secure the duct joint to the duct plate.
(10) Connect the pneumatic tubes, ground wire,
and connectors.
For details, refer to
Maintenance: 4.3
Wiring Schematics/4.4 Block Diagrams.
After connecting them, securely fasten the
cables to the duct plate with the wire tie.
Mounting bolt for ground terminal
M4
×
8
Pneumatic
tube fitting
(11) Re-bundle the cables (that have been released since the cable unit was removed) with
wire ties.
Observe the following when binding the cables with wire ties:
•
The cables must not touch the pulleys, timing belts, or other movable
parts/areas.
•
Do not pinch the cables when attaching the covers.
•
Do not allow unnecessary strain on the cables. (Do not bend these cables
forcibly to push them into the cover. Otherwise, wire damage may occur.)
•
The cables inside the duct must be long enough so that the cables will not be
pulled.
(12) Install the arm top cover.
For details on the installation method, refer to
Maintenance: 3.1 Arm Top Cover
.
Summary of Contents for E2C Series
Page 1: ...SCARA ROBOT E2C series MANIPULATOR MANUAL Rev 6 EM069R1409F ...
Page 2: ...MANIPULATOR MANUAL E2C series Rev 6 ...
Page 8: ...vi E2C Rev 6 ...
Page 14: ......
Page 82: ......
Page 92: ...Maintenance 2 General Maintenance 80 E2C Rev 6 ...
Page 118: ...Maintenance 4 Replacing the Cable Unit 106 E2C Rev 6 ...
Page 194: ...Maintenance 11 Replacing the Signal Relay Board 182 E2C Rev 6 ...


