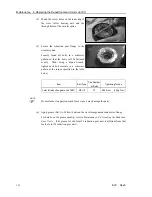
Maintenance 5. Replacing the Motors (Joint #4)
E2C Rev.6
121
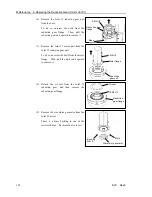
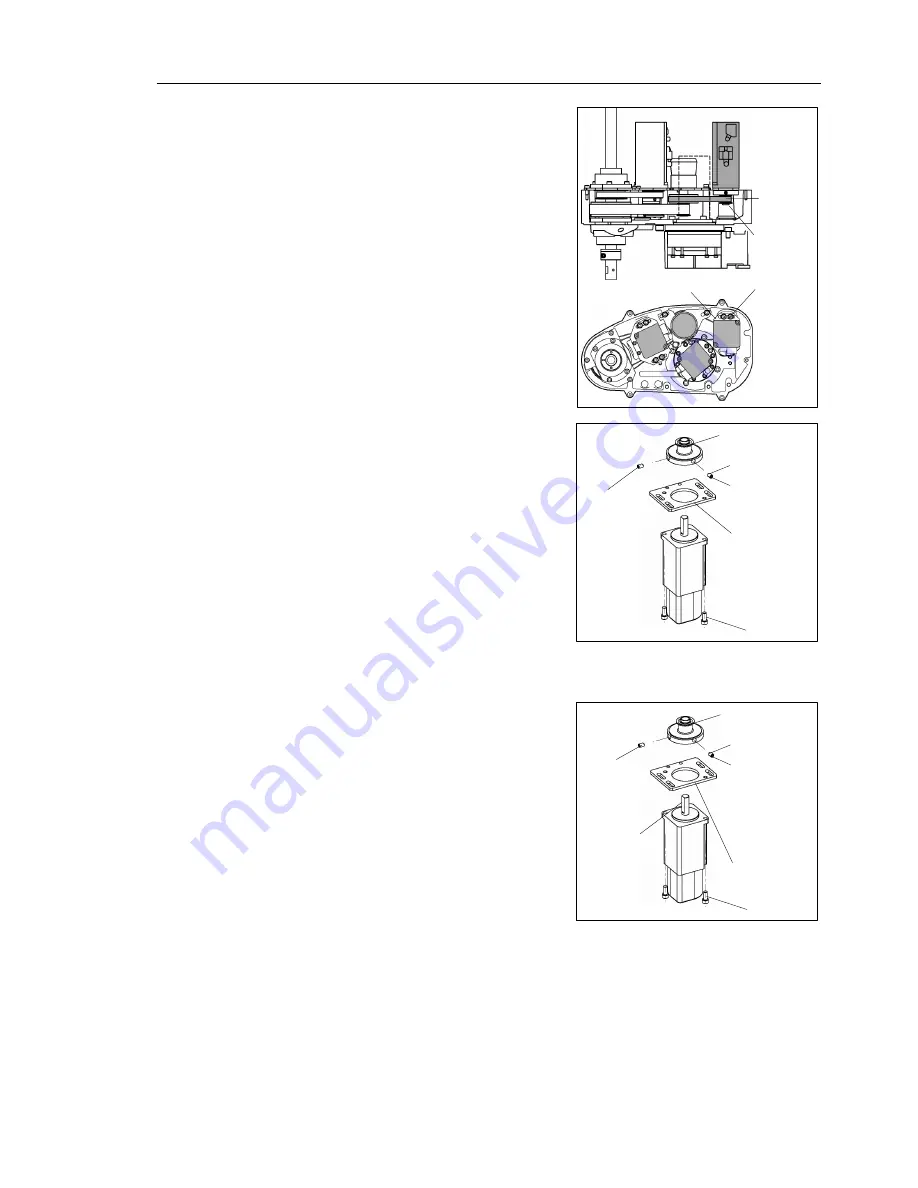
(6) Remove the Joint #4 motor unit from Arm
#2.
To do so, unscrew the bolts from the Joint
#4 motor plate. Then, remove the U1 belt
from the pulley and pull it out upward.
4-M4×
1
2
+Washer,
Spring
washer
Motor plate
U
1
belt
U
1
pulley
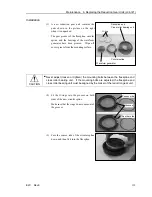
(7) Remove the pulley from the Joint #4
motor.
There is a brass bushing in one of the
setscrew holes. Be careful not to lose it.
(8) Remove the motor plate from the Joint #4
motor.
Bushing
M4
×
6
Flat point
setscrew
Pulley
Motor plate
2-M4
×
8
M4
×
6
Flat point
setscrew
Installation
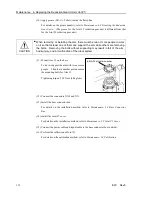
(1) Mount the motor plate on the Joint #4
motor.
(2) Mount the pulley on the Joint #4 motor.
Be sure to fit the end face of the motor
shaft to the end face of the pulley.
Tighten one of the setscrews on the flat
face of the motor shaft until the screw just
touches the surface. Insert a bushing into
the other setscrew hole to prevent damage
to the motor shaft.
Then, tighten both setscrews.
Bushing
M4
×
6
Flat point
Setscrew
(Round
chamfer
side)
Pulley
Motor plate
2-M4
×
8
Flat
M4
×
6
Flat point
Setscrew
(Flat side)
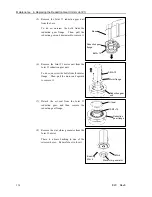
(3) Place the Joint #4 motor unit back on Arm
#2.
The Joint #4 motor cable must be located
on the left side when it faces toward the
end of Arm #2.
Summary of Contents for E2C Series
Page 1: ...SCARA ROBOT E2C series MANIPULATOR MANUAL Rev 6 EM069R1409F ...
Page 2: ...MANIPULATOR MANUAL E2C series Rev 6 ...
Page 8: ...vi E2C Rev 6 ...
Page 14: ......
Page 82: ......
Page 92: ...Maintenance 2 General Maintenance 80 E2C Rev 6 ...
Page 118: ...Maintenance 4 Replacing the Cable Unit 106 E2C Rev 6 ...
Page 194: ...Maintenance 11 Replacing the Signal Relay Board 182 E2C Rev 6 ...


