Setup & Operation 5. Motion Range
E2C Rev.6
59
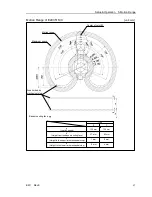
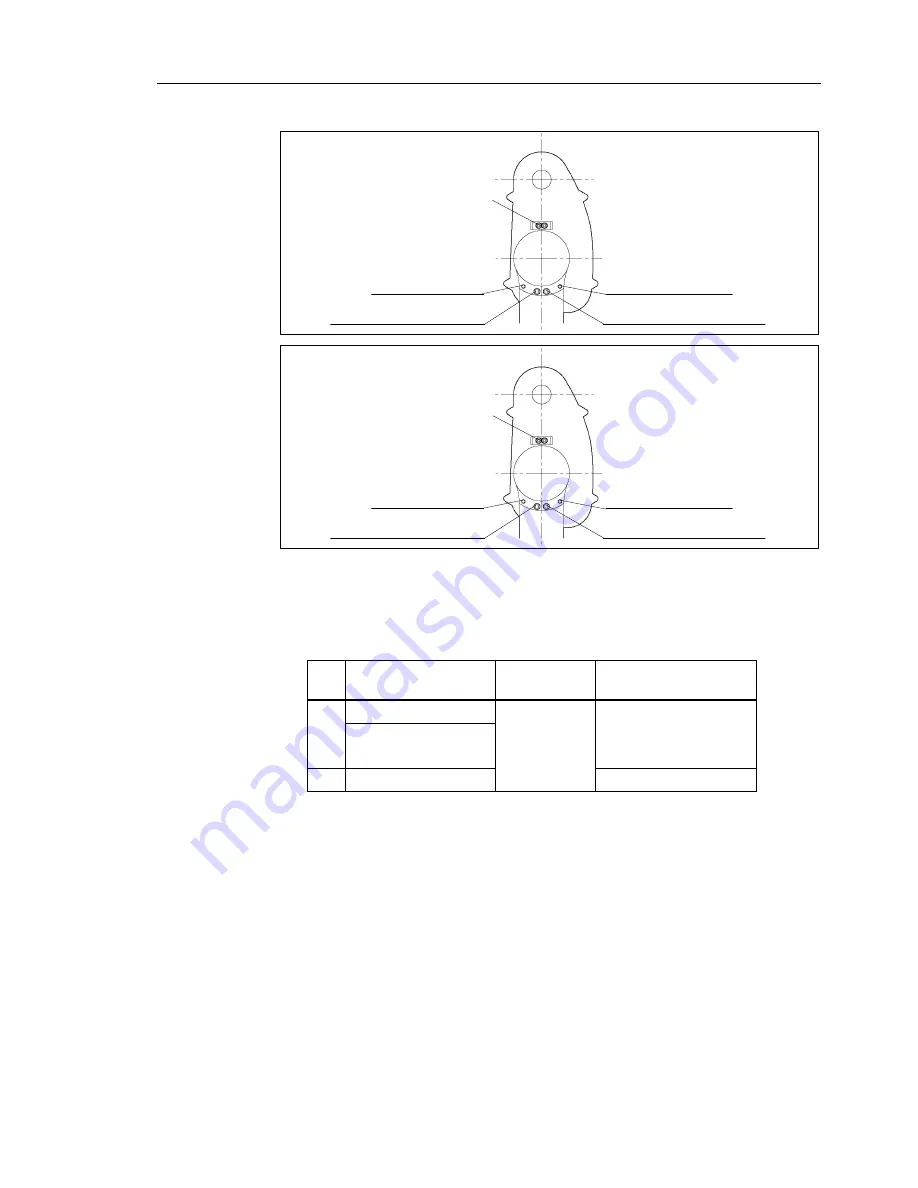
Joint #2
(º: degree)
E2C25
1
*
+
1
35
°
(76800 pulse) (standard)
-
1
35
°
(
-
76800 pulse) (standard)
+
11
0
°
(62578 pulse)
-
11
0
°
(
-
62578 pulse)
Mechanical stop of Joint #2
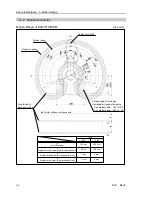
E2C35
1
*
+
1
45
°
(82489 pulse) (standard)
-
1
45
°
(
-
82489 pulse) (standard)
+
1
20
°
(68267 pulse)
-
1
20
°
(
-
68267 pulse)
Mechanical stop of Joint #2
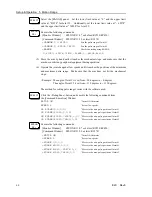
(1) Turn OFF the Controller.
(2) Tighten a hexagon socket head cap bolt into the hole corresponding to the setting
angle.
Joint
Hexagon socket head
cap bolt
The number of
bolts
Recommended tightening
torque
M8×10 (fully threaded)
1
two M10 nuts
one plain washer
3720 N
⋅
cm (380 kgf
⋅
cm)
2
M6×10 (fully threaded)
1 (one side)
1860 N
⋅
cm (190 kgf
⋅
cm)
(3) Turn ON the Controller.
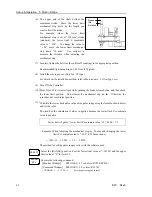
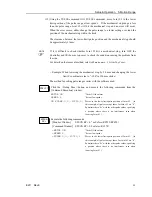
(4) Set the pulse range corresponding to the new positions of the mechanical stops.
Be sure to set the pulse range inside the positions of the mechanical stop range.
<Example: The angle of Joint #1 is set from – 90 degrees to + 0 degrees
The angle of Joint #2 is set from – 110 degrees to + 135 degrees>
The method for setting pulse ranges varies with the software used.
)
NOTE
Summary of Contents for E2C Series
Page 1: ...SCARA ROBOT E2C series MANIPULATOR MANUAL Rev 6 EM069R1409F ...
Page 2: ...MANIPULATOR MANUAL E2C series Rev 6 ...
Page 8: ...vi E2C Rev 6 ...
Page 14: ......
Page 82: ......
Page 92: ...Maintenance 2 General Maintenance 80 E2C Rev 6 ...
Page 118: ...Maintenance 4 Replacing the Cable Unit 106 E2C Rev 6 ...
Page 194: ...Maintenance 11 Replacing the Signal Relay Board 182 E2C Rev 6 ...


