2.
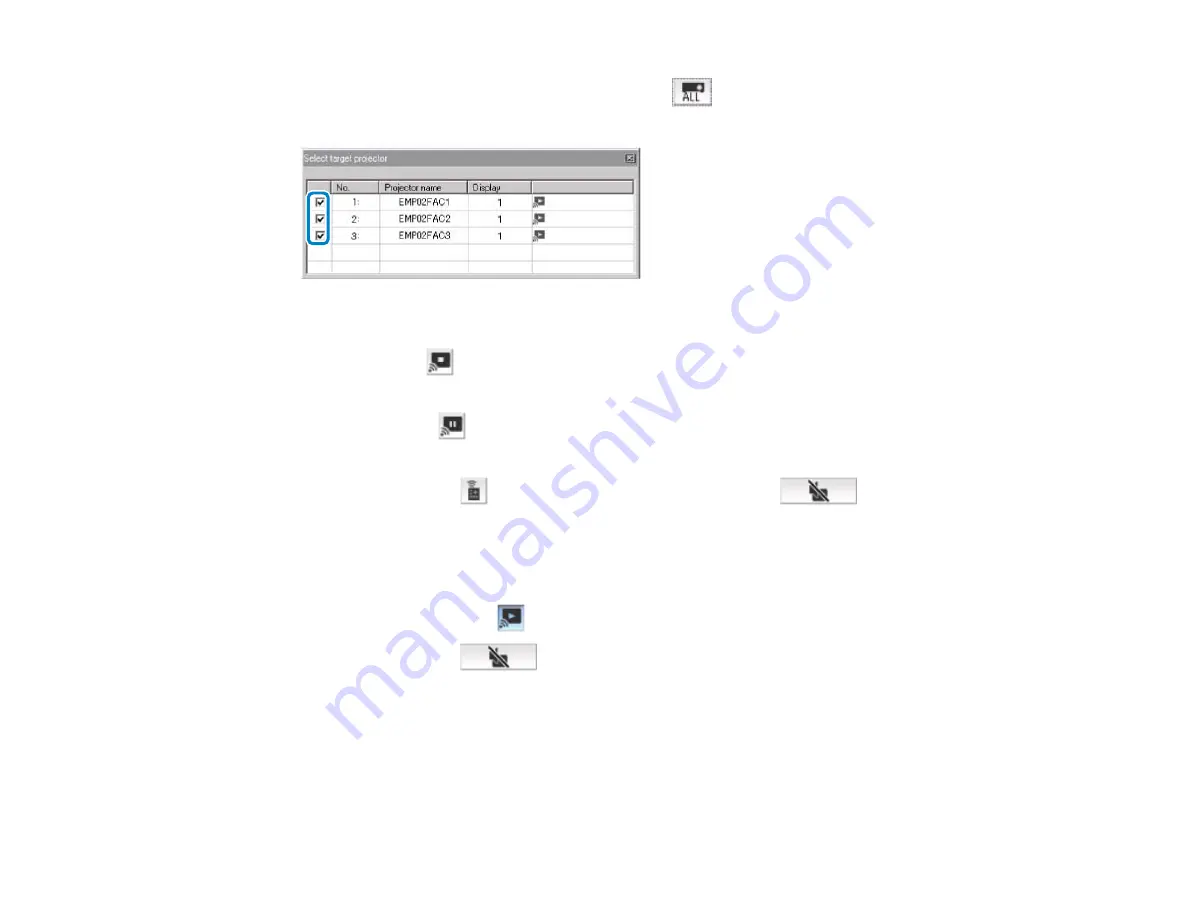
If you are connected to multiple projectors, click the
button on the toolbar and select the
projector you want to control.
3.
Perform one of the following operations.
•
Stop
: Click the
button on the toolbar.
The projected image stops. A black screen is projected while stopped.
•
Pause
: Click the
button on the toolbar.
The projected image pauses. The paused image is projected.
•
A/V Mute
: Click the
button on the toolbar, and then click the
button on the toolbar
that is displayed.
The audio and video turn off. The logo set for the projector is projected while using
A/V Mute
, if
available.
4.
To return to the projected image, perform one of the following operations.
•
Stop
or
Pause
: Click the
button on the toolbar.
•
A/V Mute
: Click the
button again.
Parent topic:
Controlling the Projected Display
Switching the Input Source
When another signal is being input to the projector while projecting over a network, you can change the
input source from the toolbar.
43
Summary of Contents for EasyMP Network Projection
Page 1: ...EasyMP Network Projection Operation Guide ...
Page 2: ......
Page 6: ...Copyright Notice 107 About Notations 107 General Notice 108 Copyright Attribution 109 6 ...
Page 38: ...Mac OS X 38 ...
Page 40: ...2 Click Edit profile The Edit profile screen is displayed 40 ...
Page 49: ...4 Click Select File 5 Select the movie file you want to play and then click Open 49 ...
Page 57: ...6 Click Display properties The Display Properties screen is displayed 57 ...
Page 58: ...7 Click the Settings tab 58 ...
Page 62: ...6 Click Display preferences The Display setting screen is displayed 7 Click Arrangement 62 ...
Page 109: ...Copyright Attribution 3 13 CPD 38867 Parent topic General Notice 109 ...


