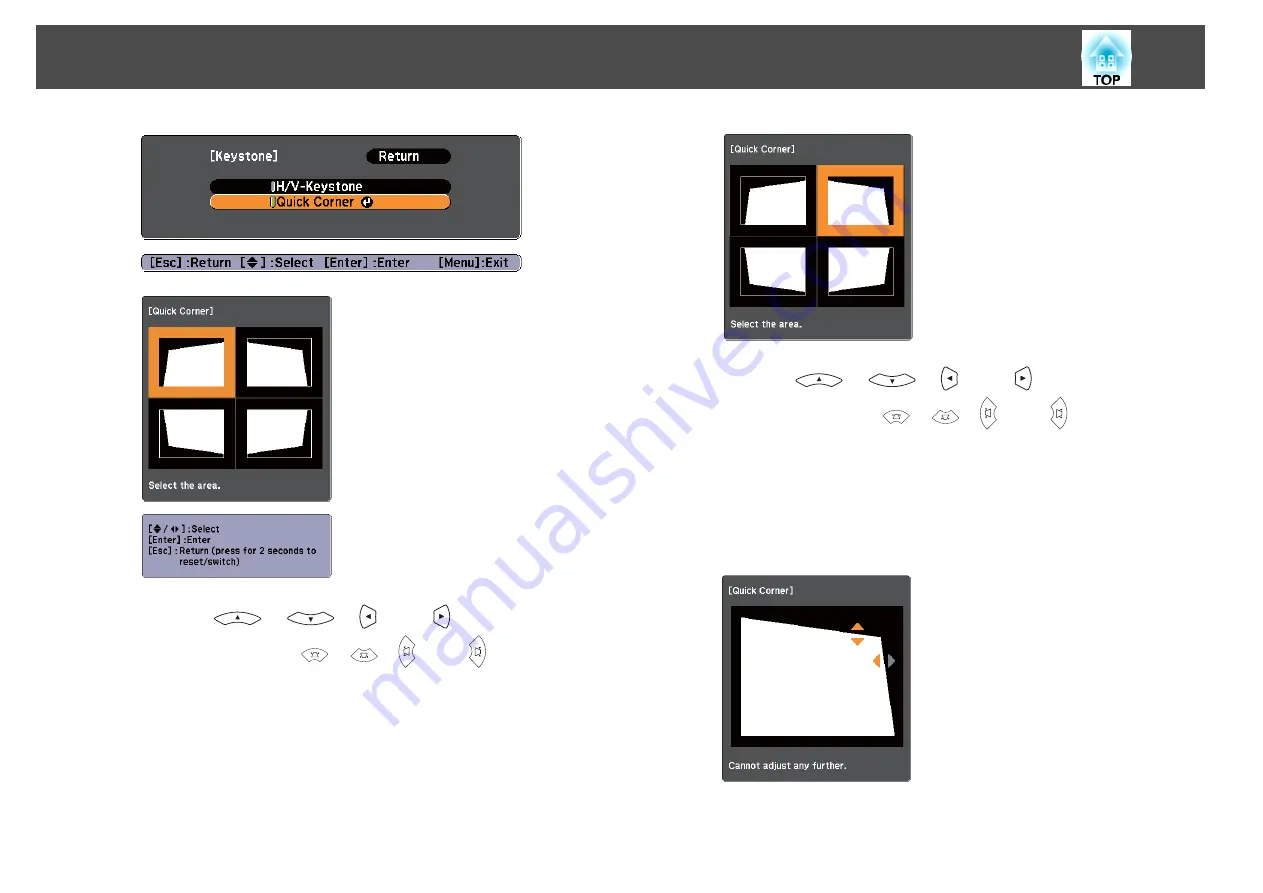
d
Using the [
], [
], [
], and [
] buttons on the
remote control, or the [
], [
], [
], and [
] buttons on the
control panel, select the corner to correct, and then press
the [Enter] button.
e
Using the [
], [
], [
], and [
] buttons on the
remote control, or the [
], [
], [
], and [
] buttons on the
control panel, correct the position of the corner.
When you press the [Enter] button, the screen shown in step 4 is
displayed.
If the message "Cannot adjust any further." is displayed while
adjusting, you cannot adjust the shape any further in the direction
indicated by the gray triangle.
f
Repeat procedures 4 and 5 as needed to adjust any remaining
corners.
Adjusting Projected Images
36
Summary of Contents for EB-92
Page 1: ...User s Guide ...
Page 6: ...Introduction This chapter explains the projector s features and the part names ...
Page 27: ...Basic Usage This chapter explains how to project and adjust images ...
Page 70: ...Configuration Menu This chapter explains how to use the Configuration menu and its functions ...
Page 109: ...Appendix ...


