5.
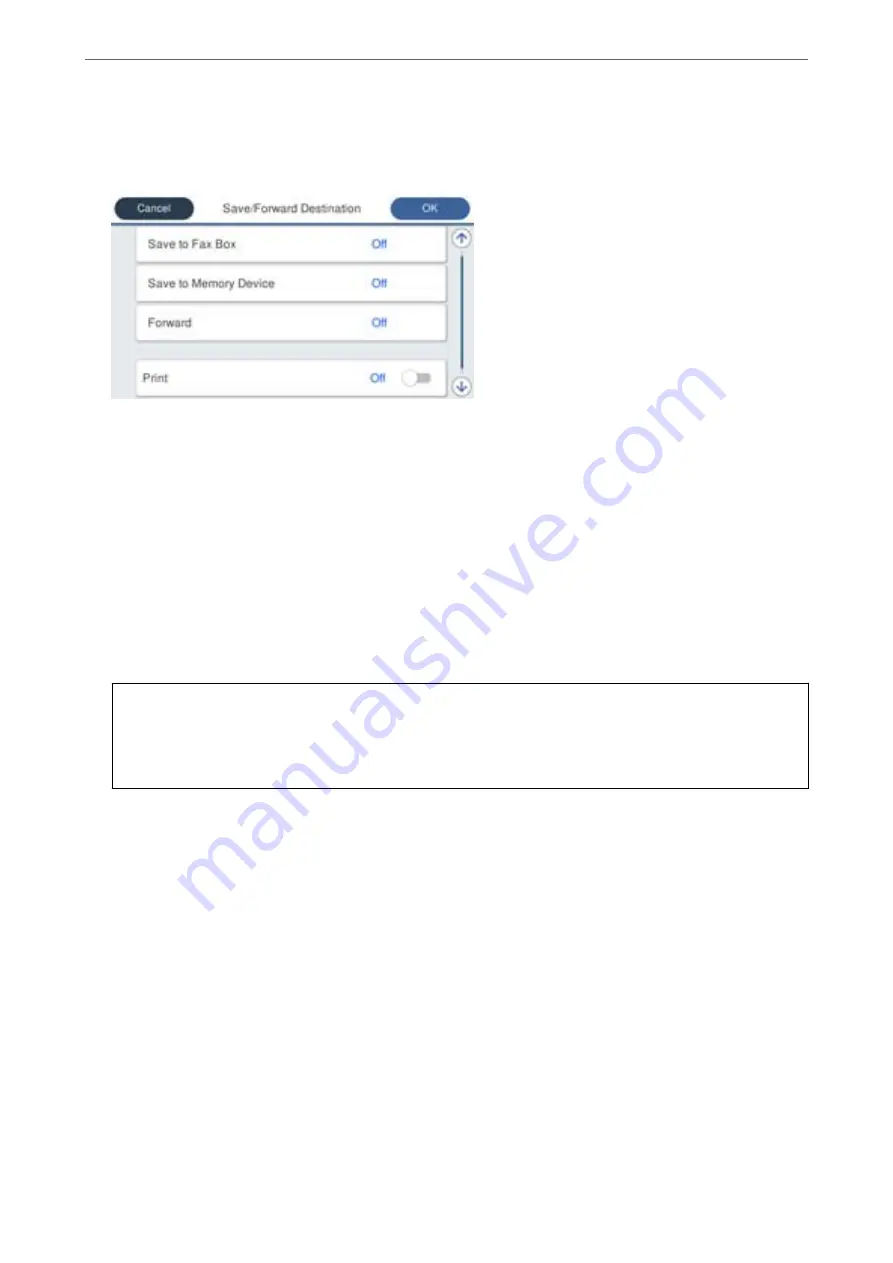
Select
Save/Forward Destination
and then make settings for the target destination, box, and/or an external
memory device.
❏
To save the received faxes to the Inbox or a confidential box:
A
Select
Save to Fax Box
.
B
Tap
Save to Fax Box
to set this to
On
.
C
Select the box in which to save the document.
❏
To save received faxes to an external memory device:
A
Insert a memory device into the printer's external interface USB port.
B
Select
Save to Memory Device
.
C
Tap
Save to Memory Device
to set this to
On
.
D
Check the message that is displayed, and then tap
Create
.
A folder for saving received documents is created in the memory device.
c
Important:
Received documents are saved in the printer's memory temporarily before the documents are saved in the
memory device connected to the printer. Because a memory full error disables sending and receiving faxes, keep
the memory device connected to the printer.
Note:
To print received faxes at the same time, tap
to set this to
On
.
6.
Select
Close
to complete the
Save/Forward Destination
Settings.
Note:
You can set the printer to send emails to people you want to notify about the results of saving faxes, when saving is
complete. As necessary, select
Email Notifications
, set the processes, and then select the destination to which you want
to send notifications from the contacts list.
7.
Select
OK
until you return to the
Save/Forward Settings
screen to complete
Conditional Save/Forward
.
8.
Select the registered box for which you made a condition setting, and then select
Enable
.
This completes making conditional saving settings to receive faxes. You can set
Common Settings
as necessary.
For details, see the explanation for
Common Settings
in the
Save/Forward Settings
menu.
Related Information
&
“Save/Forward Settings” on page 331
>
>
420

