Epson ELPDC04 High Resolution Document Camera, User Manual
The Epson ELPDC04 High Resolution Document Camera is a versatile tool for capturing vivid images and displaying documents or objects with great clarity. With its impressive specifications and user-friendly features, this document camera is a must-have for educators and professionals. Discover the full potential of this product by downloading the free manual from our website, ensuring you have all the necessary information to maximize its capabilities.
Share
Download


Reviews:
No comments
Related manuals for ELPDC04 High Resolution Document Camera

SVP-5300
Brand: Samsung Pages: 4

DC100
Brand: Qwizdom Pages: 30

DocCAM 20 HDBT
Brand: VADDIO Pages: 5

DocCAM 20 HDBT
Brand: VADDIO Pages: 18

EV-2000AF
Brand: Elmo Pages: 28

V-VGACON
Brand: Ken A Vision Pages: 2

CE-WR0012-S1
Brand: SIIG Pages: 4

QPC 30M
Brand: Qomo Pages: 10
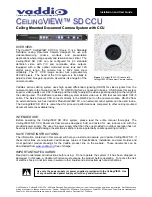
CeilingVIEW SD CCU
Brand: VADDIO Pages: 16

AVerVision130
Brand: Avermedia Pages: 24

AVER F17
Brand: ICTS Pages: 6

i-Stick
Brand: OPTRON Pages: 36

AVerVision355af
Brand: Avermedia Pages: 43

iMMCam AFL-80
Brand: Recordex Pages: 2
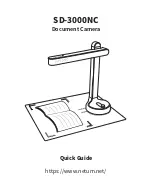
SD-3000NC
Brand: Netum Pages: 6
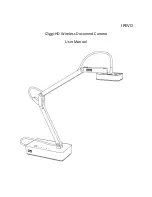
iZiggi-HD
Brand: Ipevo Pages: 10
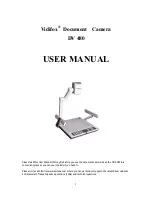
DV 480
Brand: Vidifox Pages: 35

EV-6000AF
Brand: Elmo Pages: 52


