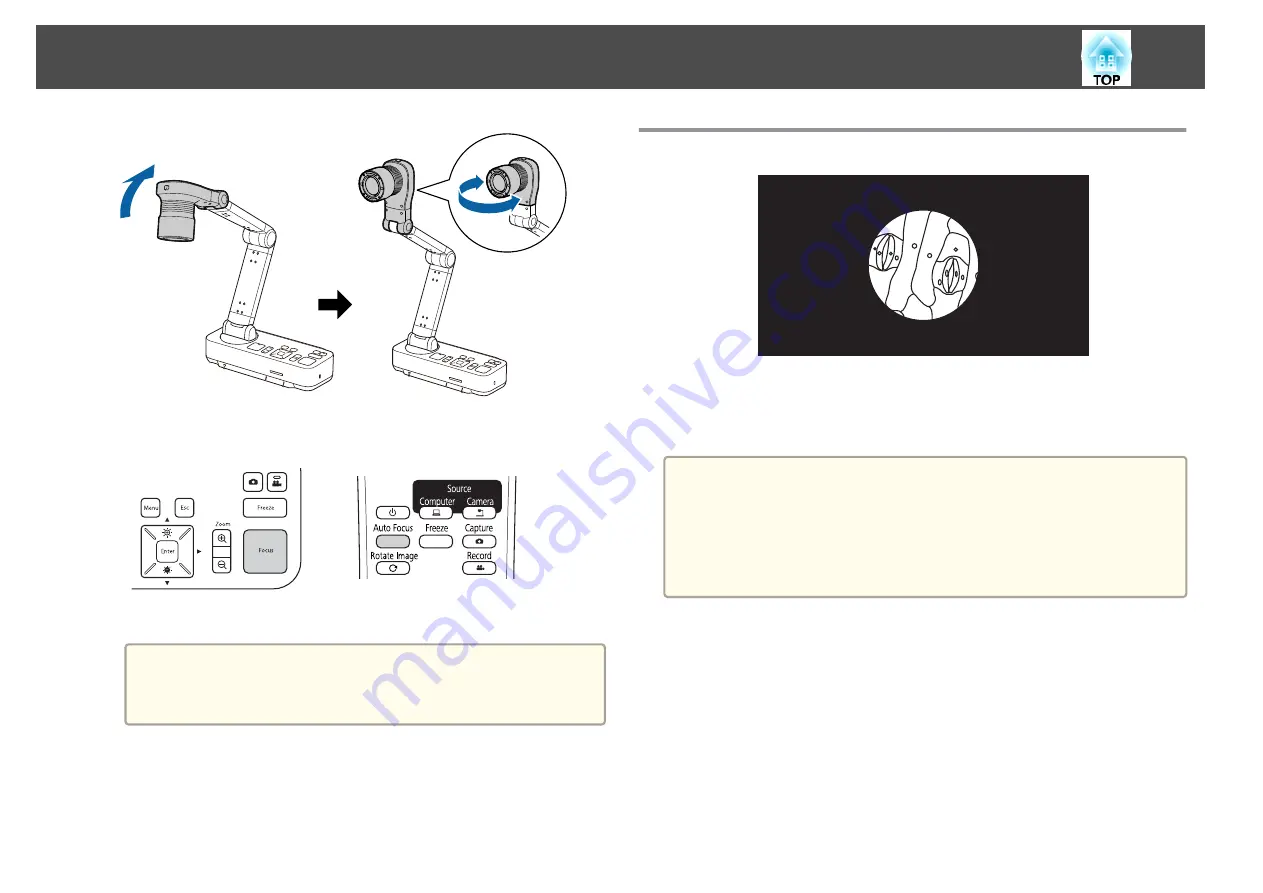
b
Press the [Focus] button on the document camera or the [Auto
Focus] button on the remote control.
The image is automatically focused.
a
You can make an audio/video recording of your projection. The
recorded images are saved to the SD card.
s
Projecting Through a Microscope
Projected image
To display objects as seen through a microscope, use the included
microscope adapter.
a
•
Before installing the document camera, make the following settings:
- Focus the microscope and adjust the zoom
- Press the [Menu] button, and then select
Image
>
Microscope
>
On
.
•
Images may not be displayed correctly depending on the optical
properties of your microscope.
a
Attach the microscope adapter to the microscope's eye piece.
Projecting
27
Summary of Contents for ELPDC21
Page 1: ...Document Camera User s Guide ...
Page 17: ...Connecting Follow the instructions in this section to set up the document camera ...
Page 21: ...Projecting ...
Page 48: ...Solving Problems ...
Page 56: ...Notices ...


