40
Turning the Projector On
Turning the Projector On
User’s Guide
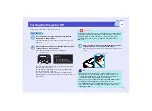
The size of the projected images is basically determined by the distance
from the projector to the screen.
The following procedures explain how to adjust the screen images once the
projector itself has been set up.
PROCEDURE
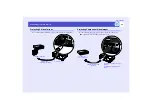
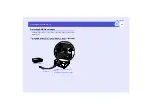
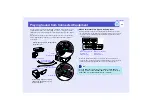
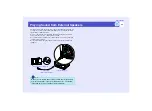
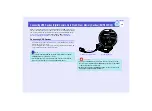
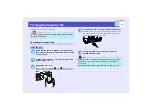
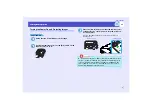
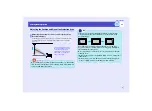
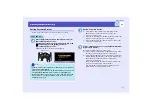
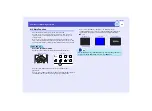
Press the [Zoom] buttons to adjust the size.
The zoom ratio will change while the buttons are being pressed.
The images can be enlarged to 1.6 times their normal size.
If you would like the images to be larger than this, adjust the projection
distance.
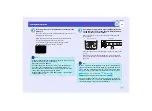
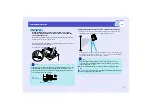
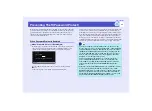
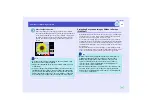
One-touch Adjustment of the Projection Area
(Quick Setup)
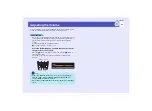
Whenever projectors were moved from one place to another, it was usually
necessary to adjust the focus, zoom and keystone distortion each time the
projector was set up in its new position. This projector lets you make the
following adjustments simply by pressing the [Quick Setup] button so that
optimum images can be obtained.
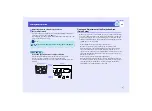
• Focus adjustment for projected images (Auto Focus)
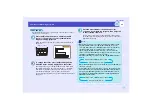
• Keystone correction for projected images (Auto Quick Corner)
This automatically corrects horizontal distortion of the projection area
that occurs when the projector is tilted, and projects the image at an
aspect ratio of 4:3. If using a screen (horizontal to vertical ratio is 4:3) for
projection, this function can be used so that the projection area exactly
fits the size of the screen.
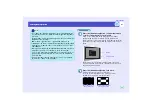
• Colour correction for projected images (Wall Shot)
This automatically adjusts the image colours so that natural colours can
be obtained even when the projection area is not white in colour (such as
a blackboard or wall). Furthermore, it can be used to make shading
adjustments to match the brightness of the room.
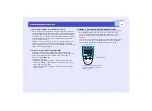
Adjusting the Size of the Projection Area
(Zoom Adjustment)
TIP
The E-Zoom function can also be used to enlarge parts of the images.
s
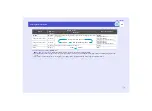
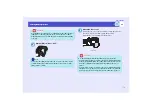
Projector
Remote control
Press to
zoom in
Press to
zoom out
Summary of Contents for EMP-830
Page 1: ...User s Guide ...

