
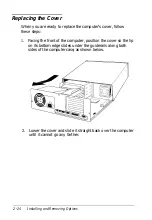


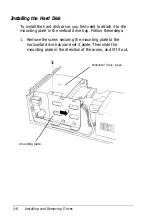


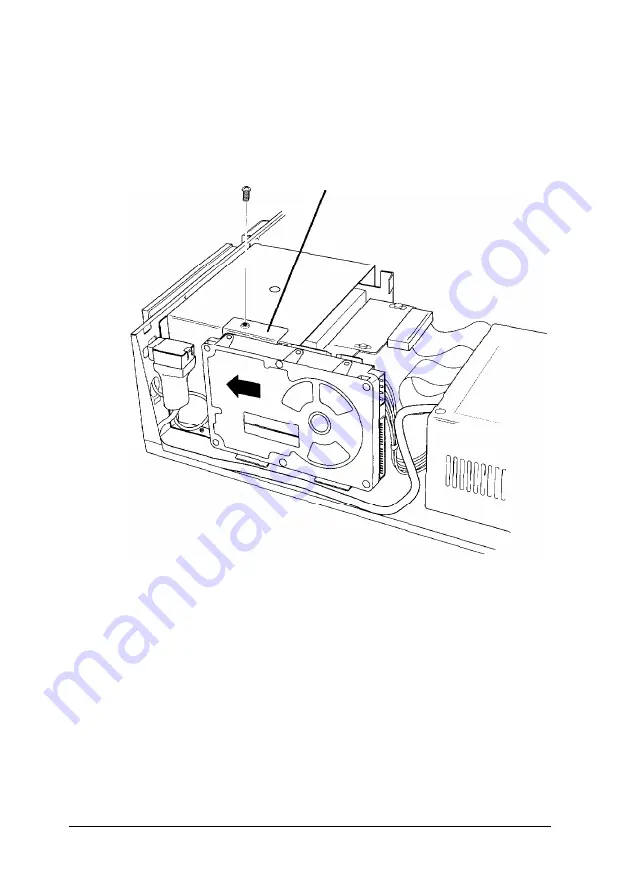
5. Lower the tabs into the corresponding slots in the computer
case. Slide the drive in the direction of the arrow, until the
hole in the bracket is aligned with the hole on top of the
horizontal drive bays.
bracket
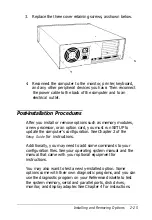
6. Secure the mounting plate with the screw, as shown above.
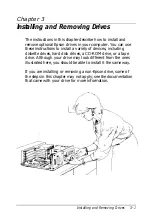
Installing and Removing Drives
3-11
Summary of Contents for Endeavor WG
Page 1: ......
Page 3: ...EPSON User s Guide This manual is printed on recycled paper and is 100 recyclable ...
Page 13: ...Glossary Index xi ...
Page 201: ...400195900 ...


