193
Scanning Software Does Not Operate Correctly
If your scanning software does not operate correctly, try these solutions:
• Make sure your computer has adequate memory and meets the system requirements for your
operating system.
• Make sure your computer is not running in a power-saving mode, such as sleep or standby. If so,
wake your system and restart your scanning software.
• If you upgraded your operating system but did not reinstall your scanning software, try reinstalling it.
• In Windows, make sure your product is listed as a valid device in the
Scanners and Cameras
control
panel.
• Try scanning at a lower resolution or increase the free space on the computer's hard disk. Scanning
stops if the total data size reaches the limit.
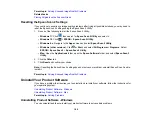
• Use the Epson Scan 2 Utility on your computer to reset the scanner software settings. If resetting the
settings does not solve the problem, uninstall and reinstall the scanner software.
Parent topic:
Related concepts
Uninstall Your Product Software
Related references
Windows System Requirements
Mac System Requirements
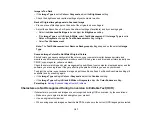
Cannot Start Epson Scan 2
If you cannot start Epson Scan 2, try these solutions:
• Make sure your product is turned on and any interface cables are securely connected at both ends.
• If your product is connected to a USB hub, connect it directly to your computer instead.
• Make sure Epson Scan 2 is selected as your scanning program.
• Make sure your computer is not running in a power-saving mode, such as sleep or standby. If so,
wake your system and restart Epson Scan 2.
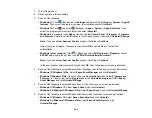
• Check the connection setting and test the connection using Epson Scan 2 Utility:
Windows 11:
Click
, search for
Epson Scan 2 Utility
and select it. Make sure the correct product
is selected. If necessary, select the
Other
tab and click
Reset
.
Summary of Contents for ET-2400
Page 1: ...ET 2400 User s Guide ...
Page 2: ......
Page 10: ......
Page 94: ...94 You see an Epson Scan 2 window like this ...
Page 96: ...96 You see an Epson Scan 2 window like this ...
Page 110: ...110 You see a screen like this 2 Click the Save Settings tab ...
Page 113: ...113 You see a screen like this 2 Click the Customize Actions tab ...
Page 115: ...115 You see this window ...
Page 137: ...137 You see a window like this 4 Click Print ...

