Note:
Banding may also occur if your print head nozzles need cleaning.
Aligning the Print Head Using the Product Control Panel
Aligning the Print Head Using a Computer Utility
Parent topic:
Adjusting Print Quality
Aligning the Print Head Using the Product Control Panel
You can align the print head using the control panel on your product.
1.
Load a few sheets of plain paper in the product.
2.
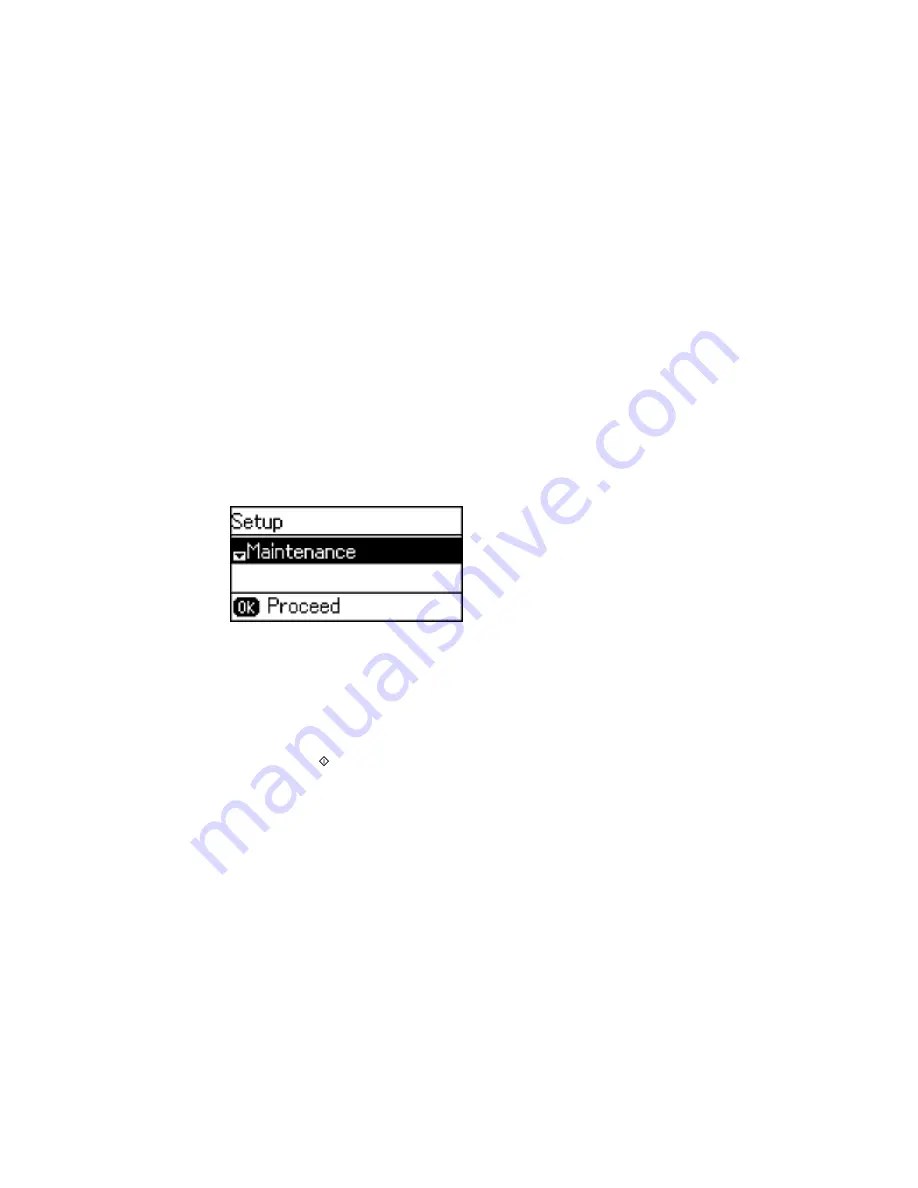
Press the up or down arrow button, select
Setup
, and press the
OK
button.
You see this screen:
3.
Select
Maintenance
and press the
OK
button.
4.
Select
Print Head Alignment
and press the
OK
button.
5.
Do one of the following:
• If your printouts look blurry or have misaligned vertical lines, select
Vertical Alignment
.
• If your printouts has dark or light horizontal bands, select
Horizontal Alignment
.
6.
Press the
Start
Color
button to print an alignment sheet.
Note:
Do not cancel printing while you are printing a head alignment pattern.
211
Summary of Contents for ET-4550
Page 1: ...ET 4550 User s Guide ...
Page 2: ......
Page 12: ......
Page 21: ...1 Print head 2 Output tray 3 Edge guides 4 Paper cassette 21 ...
Page 22: ...1 Document cover 2 Scanner glass 3 Control panel Parent topic Product Parts Locations 22 ...
Page 60: ...Faxing 60 ...
Page 123: ...You see this window 123 ...
Page 170: ...You see this window 4 Select Speed Dial Group Dial List 170 ...
Page 203: ...You see a window like this 5 Click Print 203 ...


