


6-52
Assembly and Disassembly
Rev. A
Confidential
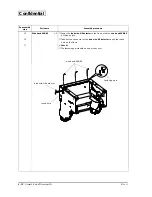
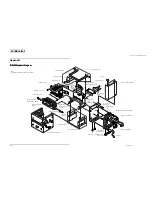
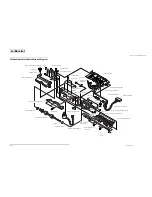
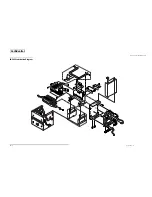
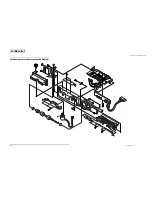
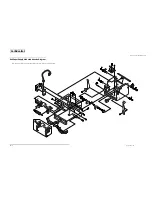
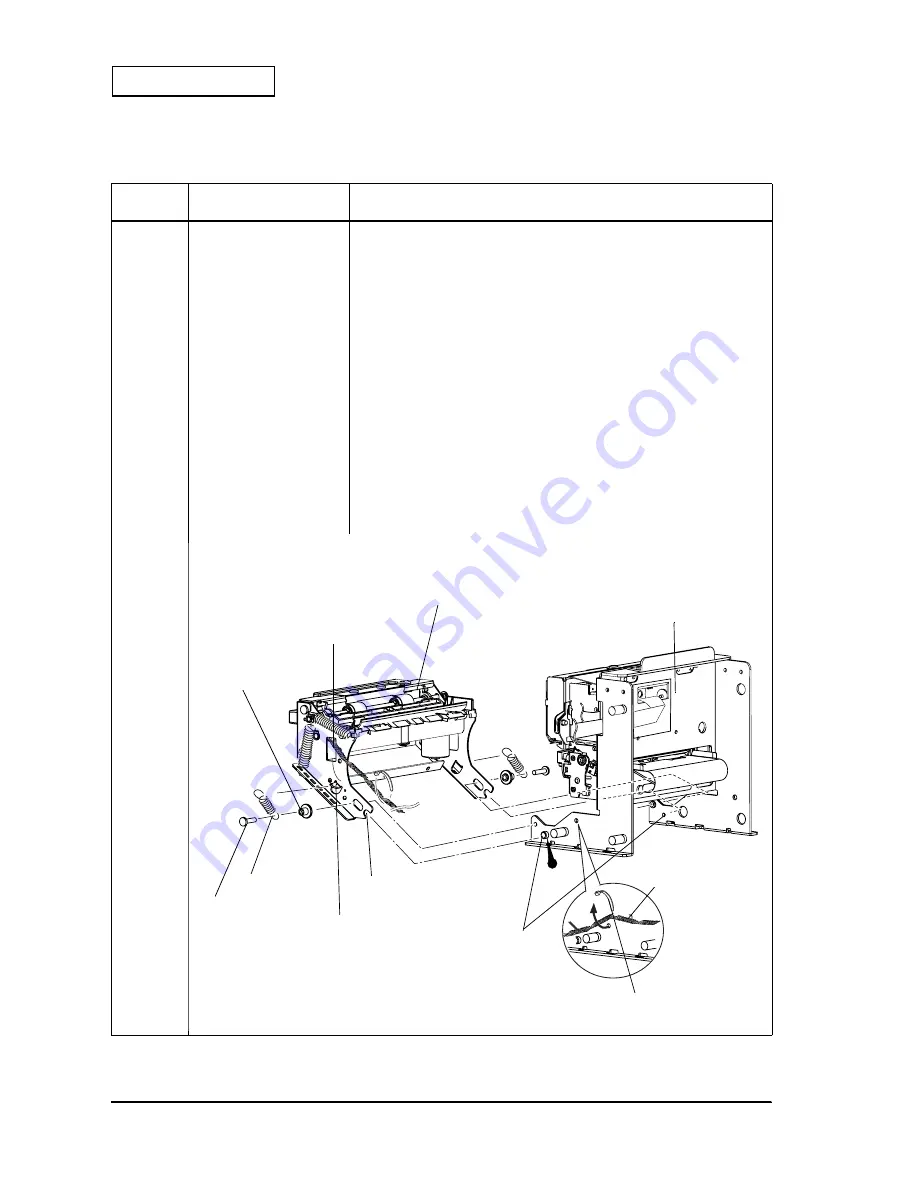
Main Assembly B: Cut sheet presenter module
Reassembly
step
Part name
Assembly procedure
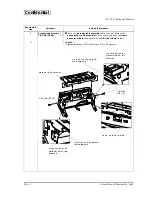
➀
❏
Lubricate the
shaft, presenter fulcrum
s
on the both sides of the
fixing
plate, printer assembly
with
G-36.
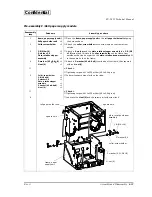
2
Cut sheet presenter
module
×
1
❏
Align the U notches on the
cut sheet presenter module
with the
shaft,
presenter
s and attach the module to the
fixing plate, printer assembly
.
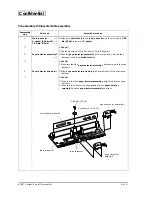
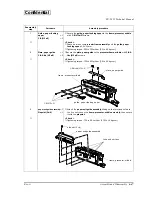
3
Shaft, presenter fulcrum
×
2
Spring, presenter
×
2
C.B.S-tite (3
××××
12)
×
2
❏
Attach the
spring, presenter
s to the
shaft, presenter fulcrum
s on the both
side; then secure them with
C.B.S-tite (3
××××
12)
screws.
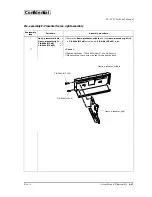
4
❏
Hook the
spring, presenter
s to the hooks on the both side of the
cut sheet
presenter frame
.
★
< Check >
❏
Tightening torque: 735 to 931 mN
•
m {7.5 to 9.5 kg
•
cm}
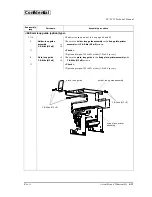
5
Wire band SKB-85
×
1
❏
Fasten the lead wires of the
lead wire, presenter
to the
fixing plate, printer
assembly
with a wire band.
★
< Check >
❏
Fasten the lead wires with the cut sheet presenter module open.
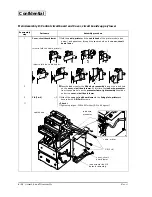
6
Wire band SKB-85
×
1
❏
Fasten the lead wires of the
lead wire, presenter
on the U notch of the cut
sheet presenter module.
shaft, presenter
spring, presenter
shaft, presenter
fulcrum
C.B.S-tite (3
×
12)
fixing plate, printer
assembly
U notch
hook for the spring,
presenter
cut sheet presenter module
lead wire, presenter
lead wire, presenter
wire band


