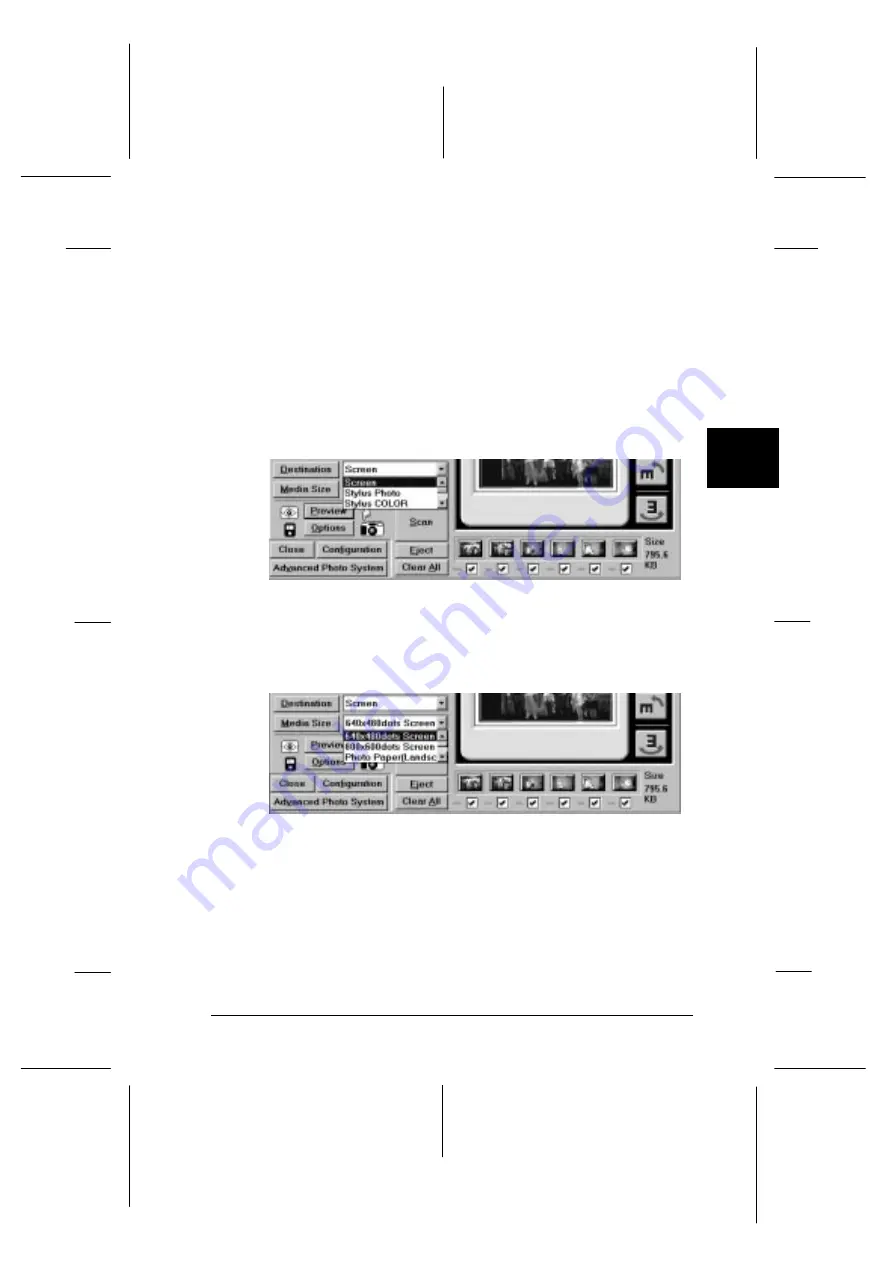
9. Select the destination device from the Destination pop-up list
shown below. The software automatically adjusts the color
correction and resolution settings to match the selected
device.
Note:
Usually you do not have to change the resolution setting. If you
want to change the resolution, see “Selecting a Destination
Device and Media Size” in Chapter 6.
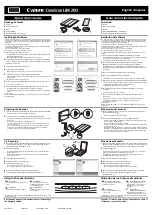
10. Select the output size for the scanned image from the Media
Size pop-up list. See page 6-6 for details.
Note:
If you choose
Actual Size
from the Media Size pop-up list, the
scanner determines the size of the scanned image according to the
actual film size.
35dest
35media
4
R
Onion
Ref. Guide
Rev.c
A5 size
Chapter 4
02-07-97
DR, pass 1
Scanning 35 mm Film Images
4-17
Summary of Contents for FILMSCAN 200
Page 1: ......
Page 8: ...L Onion Ref Guide Rev c A5 size Front 02 07 97 DR pass 1 vi ...
Page 21: ...L Onion Ref Guide Rev c A5 size Chapter 1 02 07 97 DR pass 0 1 10 Getting Started ...
Page 69: ...L Onion Ref Guide Rev c A5 size Chapter 4 02 07 97 DR pass 1 4 22 Scanning 35 mm Film Images ...
Page 145: ...L Onion Ref Guide Rev c A5 size Glossary 02 07 97 DR pass 1 4 Glossary ...
Page 151: ......


