below picks off any potential problem codes and changes them to less
dangerous numbers.
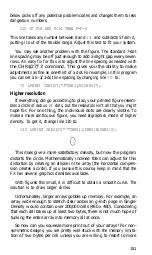
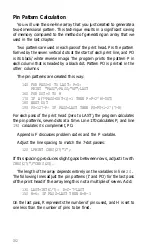
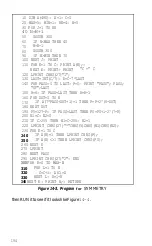
210 IF F>8 AND F<14 THEN F=F-5
This line takes any number between 8 and
14
and subtracts 5 from it,
putting it out of the trouble range. Adjust this test to fit your system.
You may see another problem with the figure. The standard 7-dot
line spacing may be off just enough to add a slight gap every seven
rows. An easy fix for this is to adjust the line spacing as needed with
the CHR$(27)“3’ command. This gives you the ability to make
adjustments as fine as one-third of a dot. For example, in this program
you can set a 6 -2/3-dot line spacing by changing line
70
to:
70 LPRINT CHR$(27)"3"CHR$(20)CHR$(7);
Higher resolution
If everything did go according to plan, your printed figure resem-
bles a circle of radius
10
dots, but the resolution isn’t all that you might
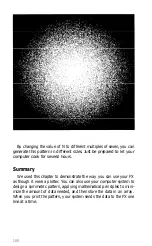
hope for. For one thing, the individual dots are clearly visible. To
make a more continuous figure, you need
a
graphics mode of higher
density. To get it, change line 130 to:
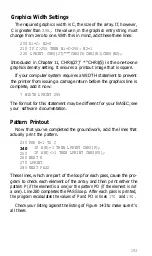
130 LPRINT CHR$(27)"*"CHR$(l)CHR$(N)CHR$(0);
This does give a more satisfactory density, but now the program
distorts the circle. Mathematically inclined folks can adjust for this
distortion by creating an ellipse in the array (the horizontal compres-
sion creates a circle). If you pursue this course, keep in mind that the
FX has several graphics densities available.
With figures this small, it is difficult to obtain a smooth curve. The
solution is to draw larger circles.
Unfortunately, larger arrays gobble up memory. For example, an
array wide enough to stretch clear across an g-inch page in Single-
Density would contain over 200,000 cells (480 x 480). Considering
that each cell takes up at least two bytes, there is not much hope of
tucking the entire array into memory all at once.
So how can you squeeze more print out of your arrays? For non-
symmetric designs, you are pretty well stuck with the memory limita-
tion of two bytes per cell unless you are willing to resort to more
181
Summary of Contents for FX-80
Page 1: ......
Page 22: ......
Page 23: ......
Page 26: ......
Page 31: ...Figure 1 1 The FX 80 and FX 100 printers 14 ...
Page 32: ...Figure 1 2 Printer parts 1 5 ...
Page 38: ...Figure 1 8 DIP switch vent 21 ...
Page 42: ...Figure 1 11 Ribbon insertion 25 ...
Page 51: ...Figure 1 20 Paper thickness adjustment 34 ...
Page 85: ......
Page 92: ......
Page 95: ......
Page 97: ...80 ...
Page 109: ......
Page 117: ...Figure 7 3 Staggering STAIR STEPS 100 ...
Page 119: ...Table 7 1 Line spacing commands 102 ...
Page 129: ...112 ...
Page 147: ...130 ...
Page 181: ...Figure 12 4 Corner of the FX 80 design ...
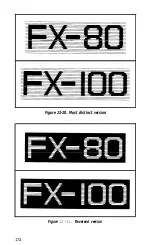
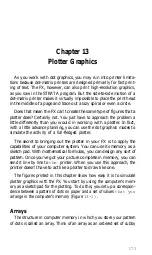
Page 189: ...Figure 12 10 Most distinct version Figure 12 11 Reversed version 172 ...
Page 215: ...198 ...
Page 231: ...214 ...
Page 249: ......
Page 269: ......
Page 272: ...iv ...
Page 283: ......
Page 290: ......
Page 305: ...282 ...
Page 311: ...288 ...
Page 323: ...300 ...
Page 339: ......
Page 343: ...320 ...
Page 349: ...326 ...
Page 353: ...330 ...
Page 354: ...Schematic 331 ...

