Setup & Operation 3. Environments and Installation
50
G10 / G20 Rev.20
3.4.2 Transportation
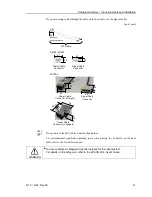
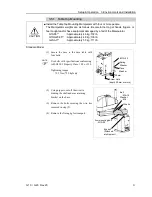
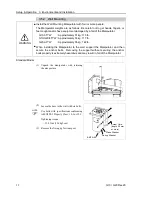
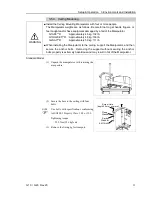
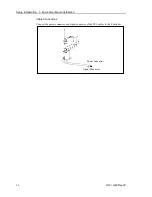
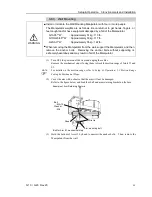
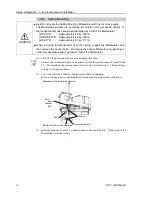
Transport the Manipulator following the instructions below:
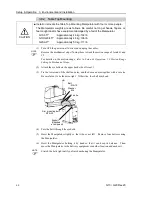
(1)
Attach the eyebolts to the upper back side of the Arm.
(2)
Pass the belts through the eyebolts.
(3)
Hoist the Manipulator slightly so that it does not fall. Then, remove the bolts
securing the Manipulator to the delivery equipment or pallet.
(4)
Hoist the Manipulator holding it by hand so that it can keep its balance. Then,
move it to the base table.
3.5 Installation
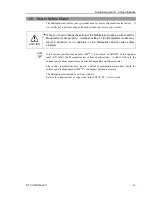
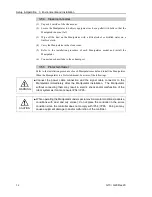
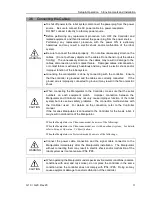
CAUTION
■
The robot system must be installed to avoid interference with buildings,
structures, utilities, other machines and equipment that may create a trapping
hazard or pinch points.
■
Oscillation (resonance) may occur during operation depending on rigidity of the
installation table.
If the oscillation occurs, improve rigidity of the table or change the speed or
acceleration and deceleration settings.
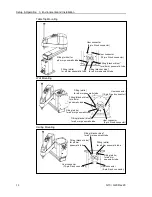
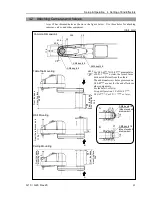
The following sections describe the installation of the Standard Manipulator.
3.5.1 Table Top Mounting
3.5.2 Wall Mounting
3.5.3 Ceiling Mounting
When the Manipulator is a Cleanroom-model or Protected-model, refer to each section.
3.5.4 Cleanroom-model
3.5.5 Protected-model
Summary of Contents for G10 Series
Page 1: ...Rev 20 EM183R3619F SCARA ROBOT G10 G20 series MANIPULATOR MANUAL ...
Page 2: ...MANIPULATOR MANUAL G10 G20 series Rev 20 ...
Page 8: ...vi G10 G20 Rev 20 ...
Page 14: ......
Page 102: ...Setup Operation 5 Motion Range 90 G10 G20 Rev 20 ...
Page 104: ......


