


52
2. Click the
EPSON LQ-300+II ESC/P2
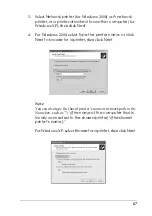
icon.
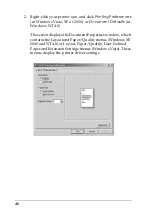
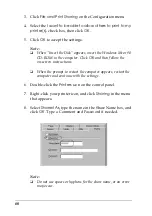
3. Select
Server Properties
from the file menu.
4. Check the
Create a New Form
.
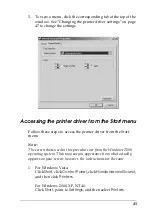
5. Enter the paper size in the Measurement fields.
6. Click
Save Form
and then click
OK
.
Note:
You can use this method also on Windows Vista or XP Professional x64
Edition. To open the Server Properties screen on Windows Vista, you
need to use the Run as administrator option.
For Windows Vista and XP Professional x64 Edition:
1. For Windows Vista, click
Start
, and click
Control Panel
, and
click
Hardware and Sound
, then click
Printers
.
For Windows XP Professional x64 Edition, click
Start
, and
click
Printers and Faxes
.
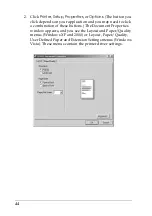
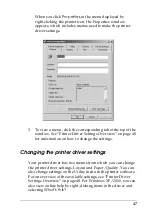
2. Right click your printer icon, and click
Printing Preferences
.
3. Select the
User Defined Paper
menu.
4. Enter the paper size in the Paper Size fields.
5. Click
Apply
and then click
OK
.
Note:
For more details, see Help for the printer driver.
Summary of Contents for LQ-300+II
Page 12: ...12 ...
Page 14: ...14 ...
Page 72: ...72 6 A PC icon on your network appears 7 Click the PC icon A shared printer icon appears ...
Page 84: ...84 ...
Page 120: ...120 ...
Page 158: ...158 ...


