Getting Started 17
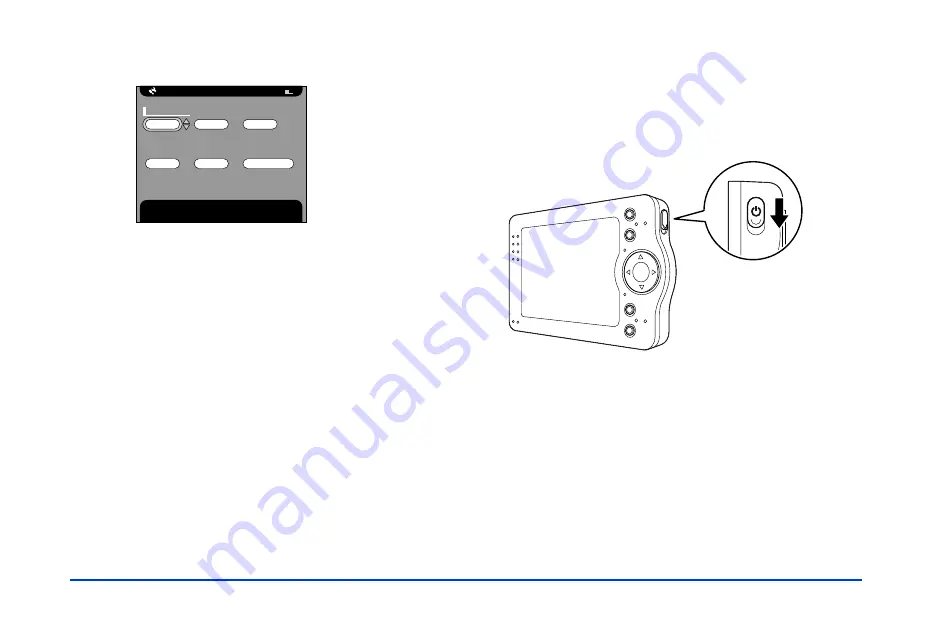
You see the Date and Time Settings screen:
2
Press
u
or
d
on the arrow button to change the value
for the selected item (such as the year).
3
To go to the next option (
Month
or
Day
, for example)
press
l
or
r
. Then use
u
and
d
to change that setting.
4
After you finish making all settings, press the
OK
button. You see the Main Menu (described on page 21).
Note:
If you remove the P-1000’s battery, the date and time settings
will be erased after about two days; so you’ll need to check and
possibly change the settings. You’ll also need to check the date
and time after replacing the battery to make sure they are set
correctly. See “Setting the Date and Time” on page 49 for
details.
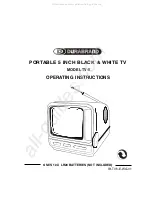
Turning Off the Power
Before you turn off the P-1000, make sure the
ACCESS
light is off. Then slide the power switch as shown below,
and hold it down for about 2 seconds until the power is
turned off.
Date and Time Settings
Use the up or down button to select the year. Press OK to
apply the setting.
Year:
2003
Month:
01
Day:
01
Hour:
12
Minute:
00
Format:
YYYY.MM.DD
Summary of Contents for P-1000 - Photo Viewer - Digital AV Player
Page 1: ... 8VHU V XLGH ...


