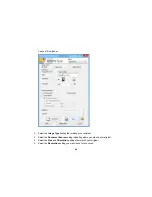
•
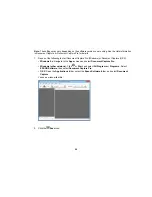
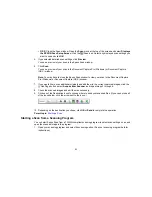
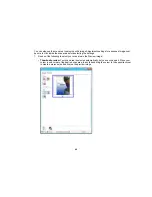
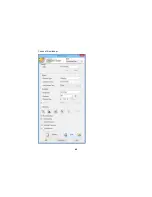
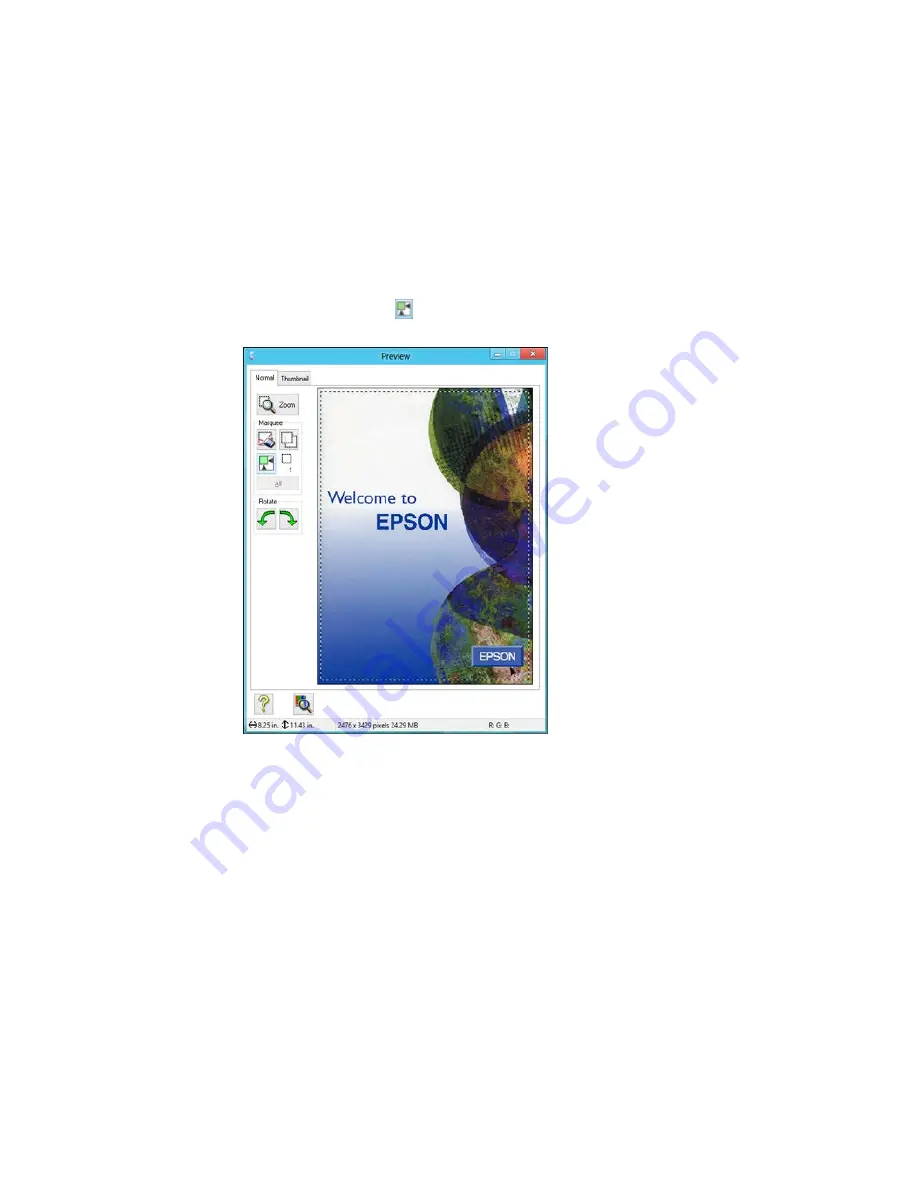
Normal preview
: Click the
Auto Locate icon to create a marquee (dotted line) on the preview
image.
2.
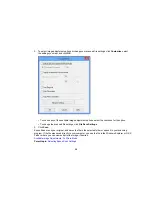
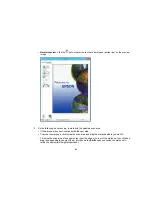
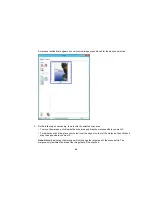
Do the following, as necessary, to work with the selected scan area:
• If the marquee is correct, continue with the next step.
• To move the marquee, click inside the scan area and drag the marquee where you want it.
• To resize the scan area, place your cursor over the edge or corner of the marquee, then click and
drag the edges where you want them. (Hold down the
Shift
key as you resize the marquee to
retain the same width/height proportions.)
41
Summary of Contents for Perfection V19
Page 1: ...Perfection V19 V39 User s Guide ...
Page 2: ......
Page 9: ...1 Document mat 2 Scanner glass 3 Carriage beneath scanner glass 9 ...
Page 10: ...1 USB port 1 Scanner stand Parent topic Scanner Basics 10 ...
Page 12: ...1 Stand the scanner upright 12 ...
Page 13: ...2 Extend the scanner stand from the back of the scanner until it clicks into place 13 ...
Page 14: ...3 Tilt the scanner until it rests on the scanner stand 14 ...
Page 17: ...1 Open the scanner cover 17 ...
Page 20: ...1 Open the scanner cover 20 ...
Page 35: ...You see this window 35 ...
Page 49: ...You see this window 49 ...
Page 89: ...You see a window like this 2 Click the Scan icon 89 ...
Page 113: ...Copyright Attribution 2015 Epson America Inc 1 15 CPD 42186 Parent topic Copyright Notice 113 ...

