Creating DPOF Files for Processing
15-5
A
B
15
12
Press the
ISO
and
W.B.
buttons (under the left and
right arrows) to select the number of copies (up to 99)
for your index print. (If you are creating an index for a
Standard layout file, press the bottom right button
[under
BACK
].)
13
Press the top left button (next to
Save
).
14
At the Confirmation screen, check your settings and
press the
W.B.
button (under
Save
) to save your
DPOF file.
15
Press the bottom right button (under
Exit
) to quit the
Print Mark program.
Confirming and Changing the
DPOF File
Follow these steps to confirm or change a file:
1
Turn the camera’s dial to
.
2
Press the
+
button (next to
PrintMark
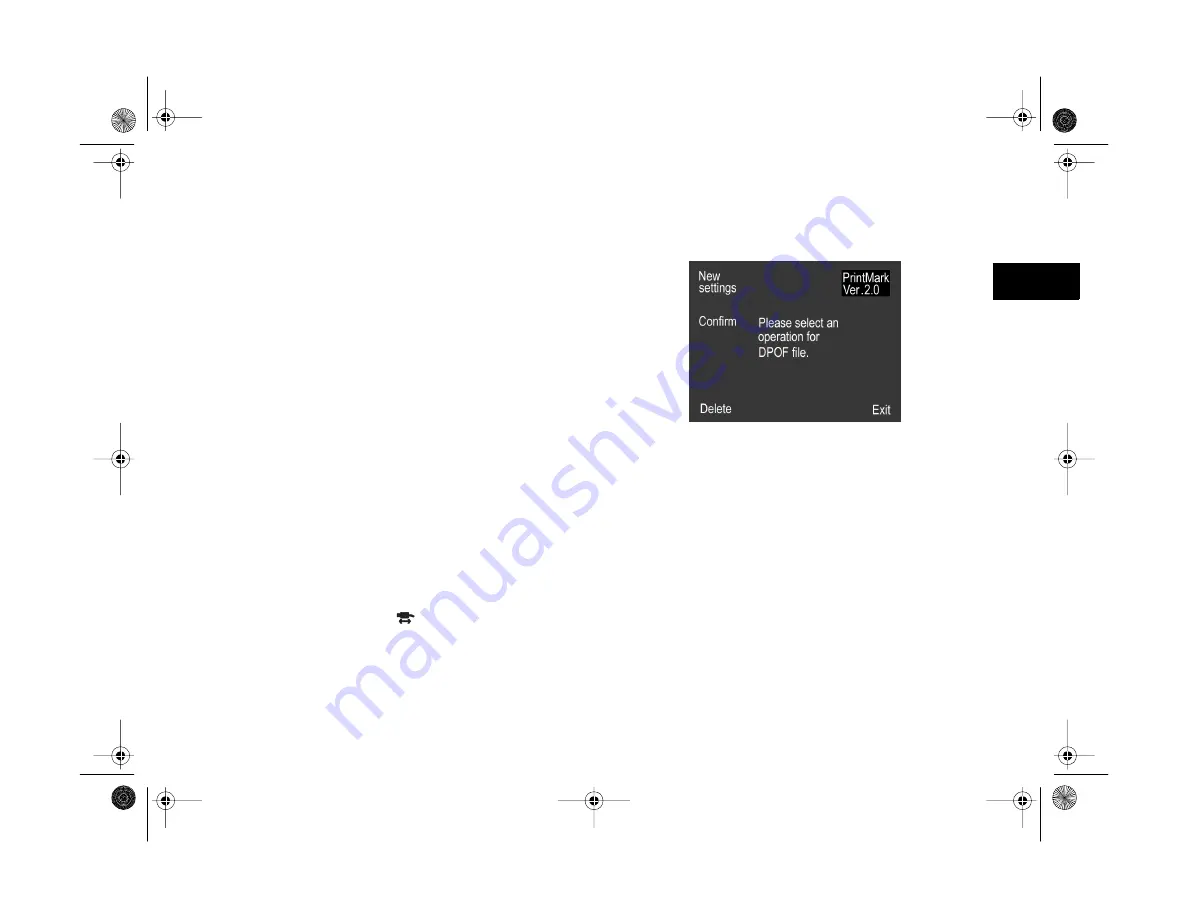
). The Print Mark
program’s main menu appears on the screen:
3
Press the
+
button (next to
Confirm
). You see the
confirmation screen.
◗
To check the frame selections, press the
W.B.
button (under
Conf. frame
).
◗
To change the settings, press the
ISO
button (under
Change
) and follow steps 6 through 15 under
4
Press the bottom right button (under
BACK
) to return
to the Print Mark main screen.
Vega.book Page 5 Monday, September 13, 1999 11:36 AM
Summary of Contents for PhotoPC 850Z
Page 1: ......
Page 2: ...A B User s Guide Vega book Page i Monday September 13 1999 11 36 AM ...
Page 31: ...1 18 Setting Up Your Camera and Software Vega book Page 18 Monday September 13 1999 11 36 AM ...
Page 51: ...2 20 Taking Pictures Vega book Page 20 Monday September 13 1999 11 36 AM ...
Page 59: ...3 8 Setting Up Special Shots Vega book Page 8 Monday September 13 1999 11 36 AM ...
Page 121: ...8 16 Getting Photos Into Your Computer Vega book Page 16 Monday September 13 1999 11 36 AM ...
Page 155: ...11 10 Editing Images Vega book Page 10 Monday September 13 1999 11 36 AM ...
Page 215: ...16 14 Maintenance and Troubleshooting Vega book Page 14 Monday September 13 1999 11 36 AM ...
Page 231: ...B 8 Specifications Vega book Page 8 Monday September 13 1999 11 36 AM ...


