2-12
Taking Pictures
Using the Flash
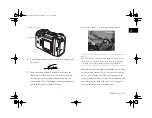
The camera’s built-in flash is effective within the range of
8 inches to 8 feet. Press the flash button to cycle through the
five flash settings.
Your camera has a hot shoe to attach an optional external
flash. See Appendix A for more information on where to buy
and how to attach an external flash.
NOTE
The camera dial must be turned to
,
, or
. You can’t use
the flash in continuous shooting mode.
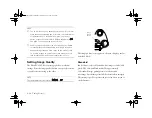
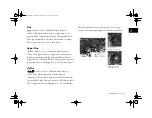
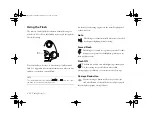
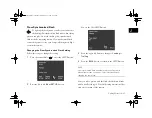
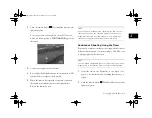
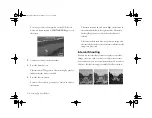
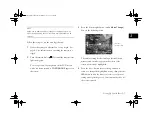
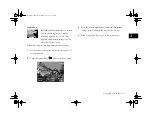
An icon for each setting appears on the status display panel,
as shown below:
Auto
The flash goes off automatically whenever it’s needed
for adequate lighting (default setting).
Forced Flash
The flash goes off with every picture you take. Use this
setting to compensate for backlighting (when you are
facing a light source).
Flash Off
The flash is disabled, even when lighting is inadequate.
Use this setting for special effects, where flash
photography is prohibited, or for macro mode close-ups.
Red-eye Reduction
Use this setting to eliminate the red-eye effect (the
reddish reflection of the flash in your subjects’ pupils)
that flash photography often produces.
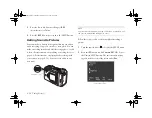
flash
button
Vega.book Page 12 Monday, September 13, 1999 11:36 AM
Summary of Contents for PhotoPC 850Z
Page 1: ......
Page 2: ...A B User s Guide Vega book Page i Monday September 13 1999 11 36 AM ...
Page 31: ...1 18 Setting Up Your Camera and Software Vega book Page 18 Monday September 13 1999 11 36 AM ...
Page 51: ...2 20 Taking Pictures Vega book Page 20 Monday September 13 1999 11 36 AM ...
Page 59: ...3 8 Setting Up Special Shots Vega book Page 8 Monday September 13 1999 11 36 AM ...
Page 121: ...8 16 Getting Photos Into Your Computer Vega book Page 16 Monday September 13 1999 11 36 AM ...
Page 155: ...11 10 Editing Images Vega book Page 10 Monday September 13 1999 11 36 AM ...
Page 215: ...16 14 Maintenance and Troubleshooting Vega book Page 14 Monday September 13 1999 11 36 AM ...
Page 231: ...B 8 Specifications Vega book Page 8 Monday September 13 1999 11 36 AM ...


