1.
Access the following website, and then enter the product's model number.
2.
Go to
Setup
, and follow the on-screen instructions.
When you have finished setting up the printer, download the software for making settings. Double-click the
file you downloaded to start the setup.
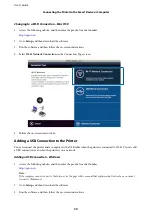
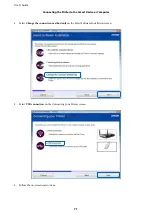
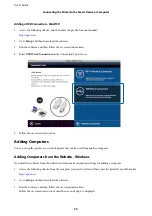
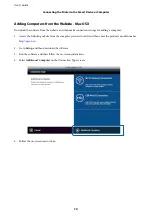
Select the connection method, and then follow the on-screen instructions to make the settings.
Related Information
&
“If the Computer does not have an Internet Connection (for Windows only)” on page 67
If the Computer does not have an Internet Connection (for Windows only)
Download the software for making settings from a computer that is connected to the Internet, and then save the
data to a USB flash drive and so on. Next, start the connection setup procedure from the computer you want to
connect to.
1.
Access the following website from a computer that is connected to the Internet, and then enter the product's
model number.
2.
Go to the
Support
page, and then click
Download
from
Save Software (Windows)
.
3.
Copy the file you have downloaded to a USB flash drive and so on.
4.
Connect the USB flash drive to the computer you want to connect to the printer, and then double-click the file
you copied to run the software.
Follow the on-screen instructions.
Changing a Connection Method Between the Printer and a
Computer
You can use a different connection method when changing the network environment or adding another network.
Replacing or Adding New Access Points
If the SSID changes due to the replacement of an access point, or an access point is added and a new network
environment is established, reset the Wi-Fi settings. If the SSID changes, you can use the same setup procedure as
changing the printer connection.
Related Information
&
“Changing the Printer Connection to Wi-Fi” on page 68
User's Guide
Connecting the Printer to the Smart Device or Computer
67


