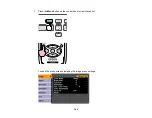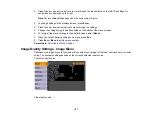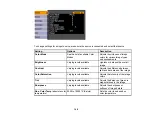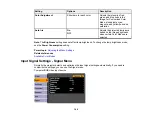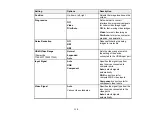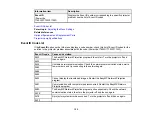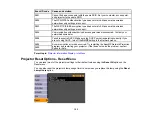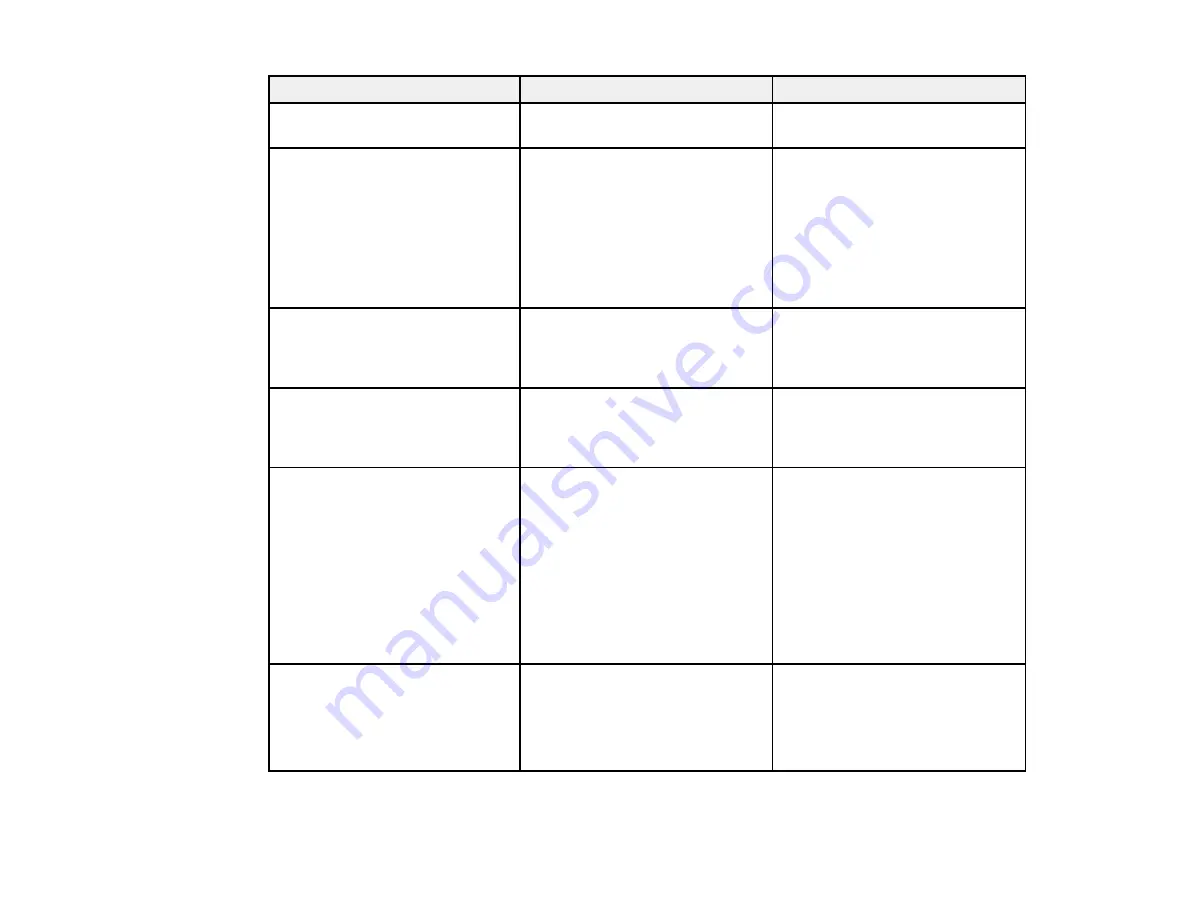
Setting
Options
Description
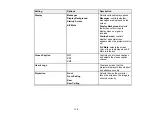
Position
Up, down, left, right
Adjusts the image location on the
screen
Progressive
Sets whether to convert
Off
interlaced-to-progressive signals
Video
for certain video image types
Film/Auto
Off
: for fast-moving video images
Video
: for most video images
Film/Auto
: for movies, computer
graphics, and animation
Noise Reduction
Off
Reduces flickering in analog
images in two levels
NR1
NR2
HDMI Video Range
Normal
Sets the video range to match
the setting of the device
(PowerLite
Expanded
connected to the HDMI input port
1760W/1770W/1775W)
Auto
Input Signal
Auto
Specifies the signal type from
input sources connected to
RGB
computer ports
Component
Auto
: detects signals
automatically
RGB
: corrects color for
computer/RGB video inputs
Component
: corrects color for
component video inputs
Video Signal
Auto
Specifies the signal type from the
input sources connected to the
Various video standards
video ports
Auto
: detects signals
automatically
112
Summary of Contents for PowerLite 1750
Page 1: ...PowerLite 1750 1760W 1770W 1775W Projector User s Guide ...
Page 2: ......
Page 8: ......
Page 22: ...Front Rear Ceiling 22 ...
Page 47: ...3 Remove the wireless LAN module cover 4 Insert the wireless LAN module into the port 47 ...
Page 62: ...1 Open the projector s lens cover 2 Connect the power cord to the projector s power inlet 62 ...
Page 120: ...Video input source USB or LAN input source 120 ...
Page 131: ...4 Slide the lamp cover out and lift it off 5 Lift up the metal bar securing the lamp 131 ...
Page 160: ... Wide resolution only Parent topic Technical Specifications 160 ...

