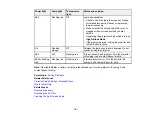
7.
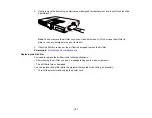
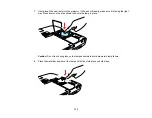
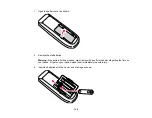
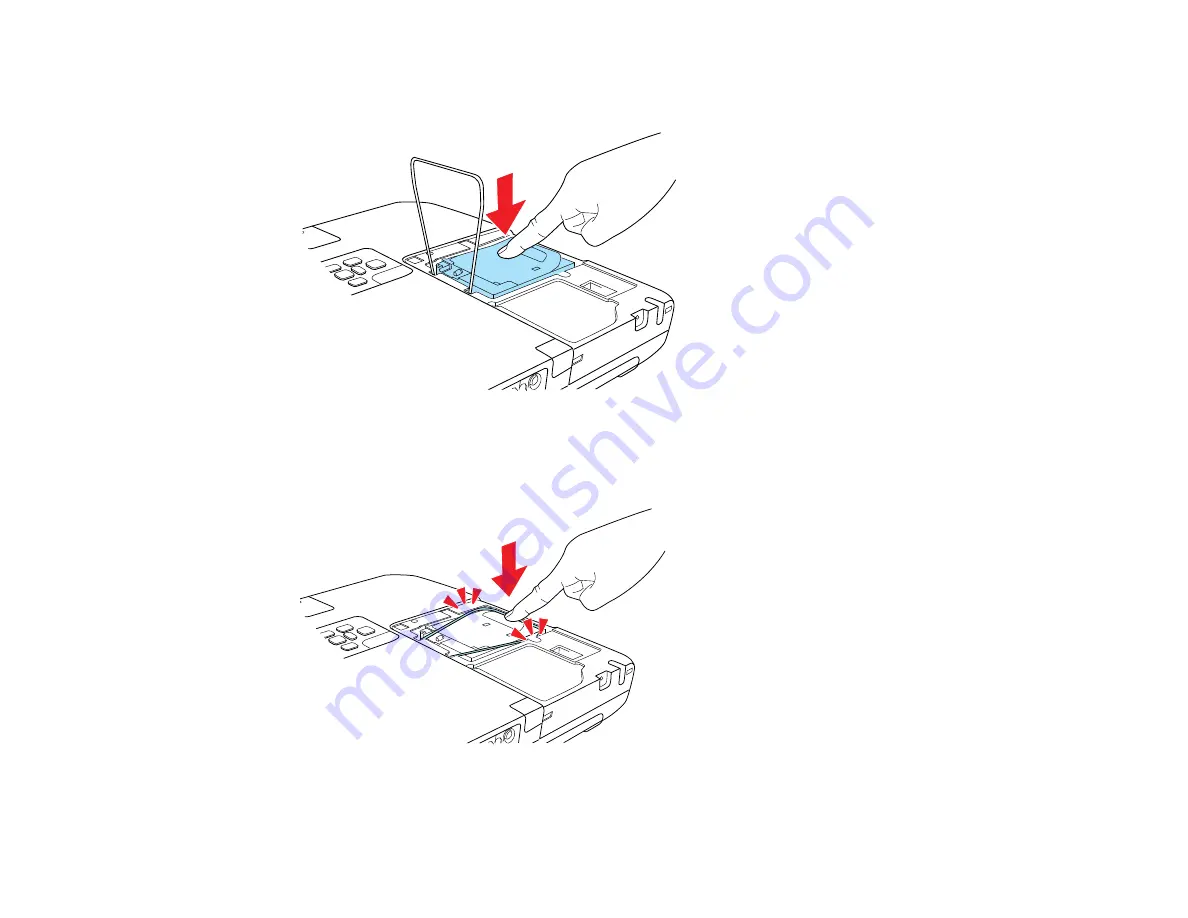
Gently insert the new lamp into the projector. If it does not fit easily, make sure it is facing the right
way. Press down on the area shown to secure the lamp in place.
Caution:
Do not touch any glass on the lamp assembly to avoid premature lamp failure.
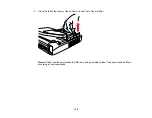
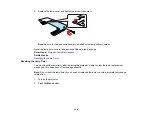
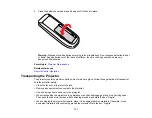
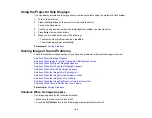
8.
Press the metal bar down over the lamp until it clicks into place on both sides.
133
Summary of Contents for PowerLite 1750
Page 1: ...PowerLite 1750 1760W 1770W 1775W Projector User s Guide ...
Page 2: ......
Page 8: ......
Page 22: ...Front Rear Ceiling 22 ...
Page 47: ...3 Remove the wireless LAN module cover 4 Insert the wireless LAN module into the port 47 ...
Page 62: ...1 Open the projector s lens cover 2 Connect the power cord to the projector s power inlet 62 ...
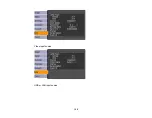
Page 120: ...Video input source USB or LAN input source 120 ...
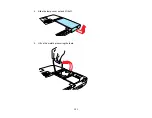
Page 131: ...4 Slide the lamp cover out and lift it off 5 Lift up the metal bar securing the lamp 131 ...
Page 160: ... Wide resolution only Parent topic Technical Specifications 160 ...

