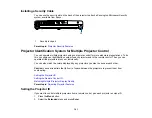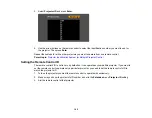
1.
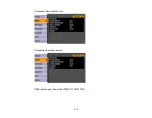
Display the image you want to project as the User's Logo from a connected computer or video
source.
2.
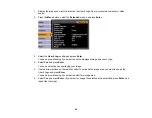
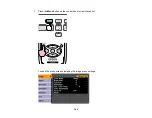
Press the
Menu
button, select the
Extended
menu, and press
Enter
.
3.
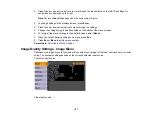
Select the
User's Logo
setting and press
Enter
.
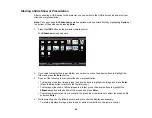
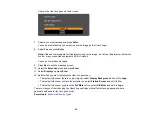
You see a prompt asking if you want to use the displayed image as a user's logo.
4.
Select
Yes
and press
Enter
.
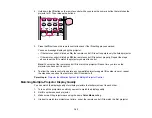
You see a selection box overlaying your image.
5.
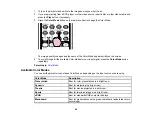
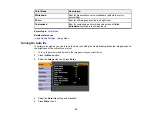
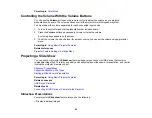
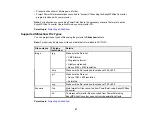
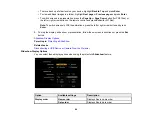
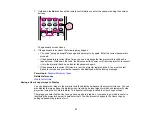
Use the arrow buttons on the remote control to surround the image area you want to use as the
User's Logo and press
Enter
.
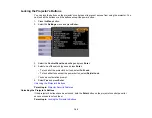
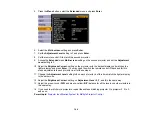
You see a prompt asking if you want to select this image area.
6.
Select
Yes
and press
Enter
. (If you want to change the selected area, select
No
, press
Enter
, and
repeat the last step.)
98
Summary of Contents for PowerLite 1750
Page 1: ...PowerLite 1750 1760W 1770W 1775W Projector User s Guide ...
Page 2: ......
Page 8: ......
Page 22: ...Front Rear Ceiling 22 ...
Page 47: ...3 Remove the wireless LAN module cover 4 Insert the wireless LAN module into the port 47 ...
Page 62: ...1 Open the projector s lens cover 2 Connect the power cord to the projector s power inlet 62 ...
Page 120: ...Video input source USB or LAN input source 120 ...
Page 131: ...4 Slide the lamp cover out and lift it off 5 Lift up the metal bar securing the lamp 131 ...
Page 160: ... Wide resolution only Parent topic Technical Specifications 160 ...

