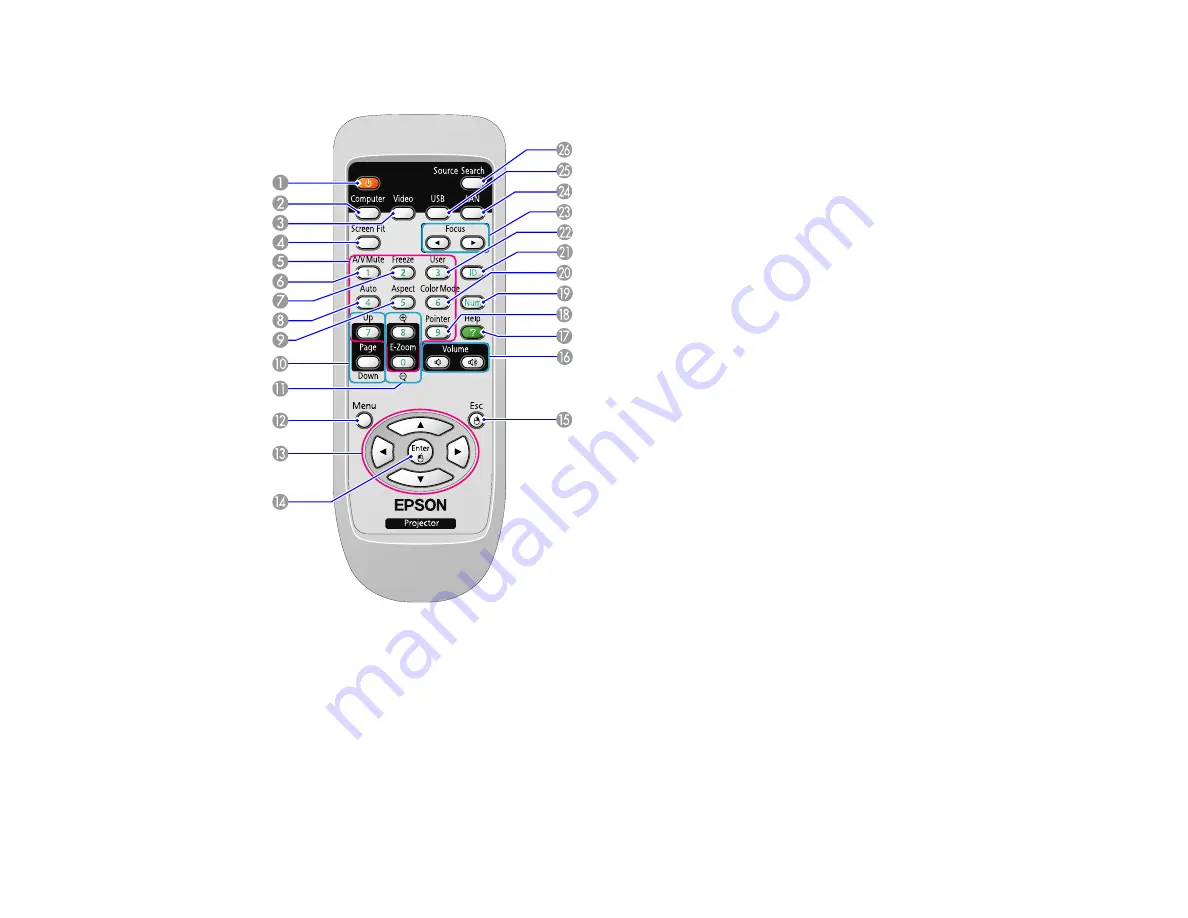
Projector Parts - Remote Control
1
Power button
2
Computer
button (selects connected computer source)
3
Video
button (cycles through connected video sources)
4
Screen Fit
button (adjusts image shape; functions only on PowerLite 1775W and when not
projecting from the ceiling)
5
Numeric buttons (enter numbers)
6
A/V Mute
button (turns off picture and sound)
19
Summary of Contents for PowerLite 1750
Page 1: ...PowerLite 1750 1760W 1770W 1775W Projector User s Guide ...
Page 2: ......
Page 8: ......
Page 22: ...Front Rear Ceiling 22 ...
Page 47: ...3 Remove the wireless LAN module cover 4 Insert the wireless LAN module into the port 47 ...
Page 62: ...1 Open the projector s lens cover 2 Connect the power cord to the projector s power inlet 62 ...
Page 120: ...Video input source USB or LAN input source 120 ...
Page 131: ...4 Slide the lamp cover out and lift it off 5 Lift up the metal bar securing the lamp 131 ...
Page 160: ... Wide resolution only Parent topic Technical Specifications 160 ...


