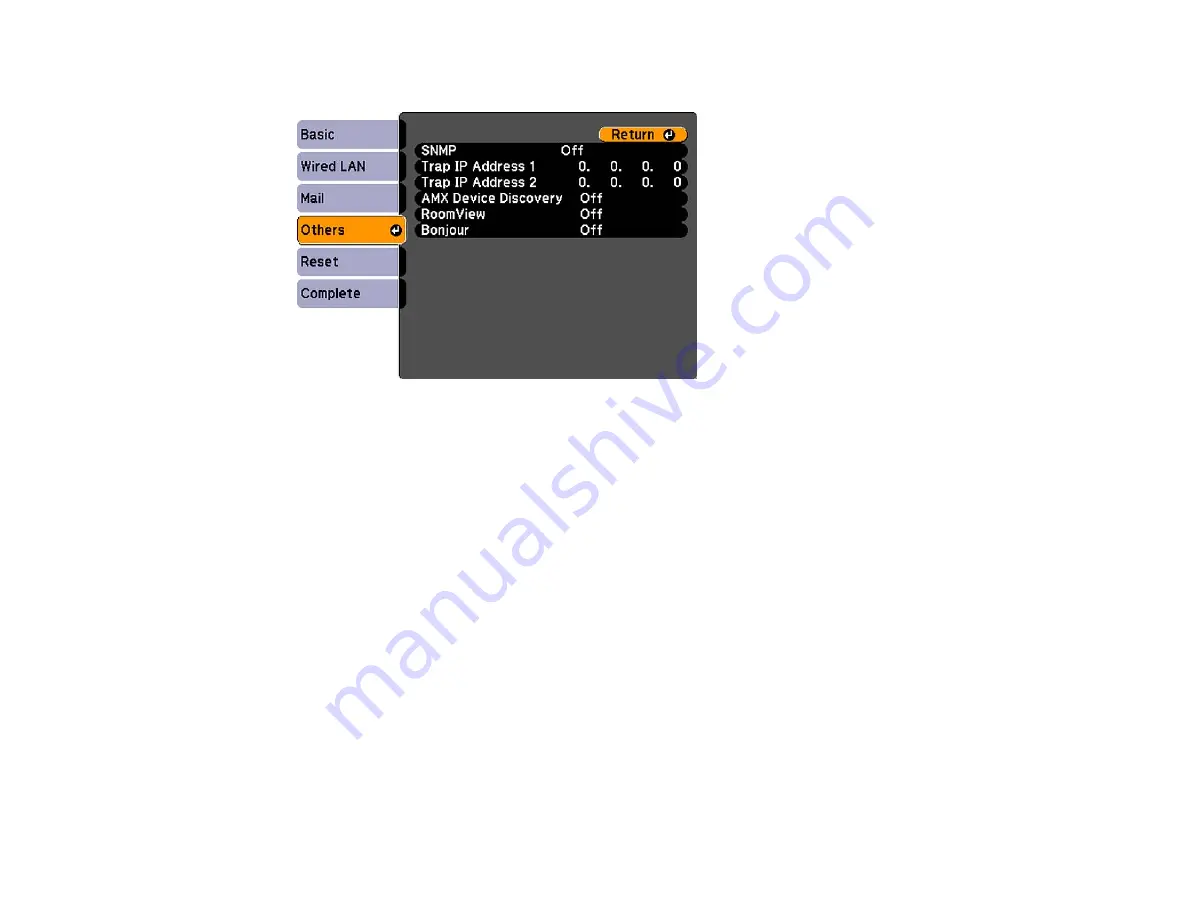
4.
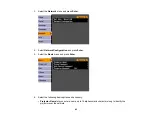
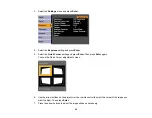
Select the
Others
menu and press
Enter
.
5.
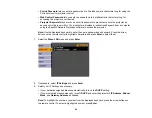
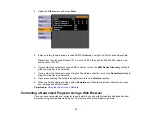
Enter up to two IP addresses to receive SNMP notifications, using 0 to 255 for each address field.
Note:
Do not use these addresses: 127.x.x.x or 224.0.0.0 through 255.255.255.255 (where x is a
number from 0 to 255).
6.
If your network environment uses an AMX controller, turn on the
AMX Device Discovery
setting to
allow the projector to be detected.
7.
If your network environment uses a Crestron RoomView controller, turn on the
RoomView
setting to
allow the projector to be detected.
8.
If you are connecting to a network using Bonjour, turn on the
Bonjour
setting.
9.
When you finish selecting settings, select
Complete
and follow the on-screen instructions to save
your settings and exit the menus.
Parent topic:
Using the Projector on a Network
Controlling a Networked Projector Using a Web Browser
Once you have connected your projector to your network, you can select projector settings and control
projection using a compatible web browser. This lets you access the projector remotely.
47
Summary of Contents for PowerLite 1880
Page 1: ...PowerLite 1850W 1870 1880 User s Guide ...
Page 2: ......
Page 8: ...Copyright Attribution 188 8 ...
Page 21: ...Projector Parts Remote Control 1 Power button 21 ...


