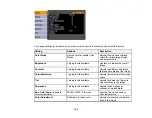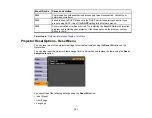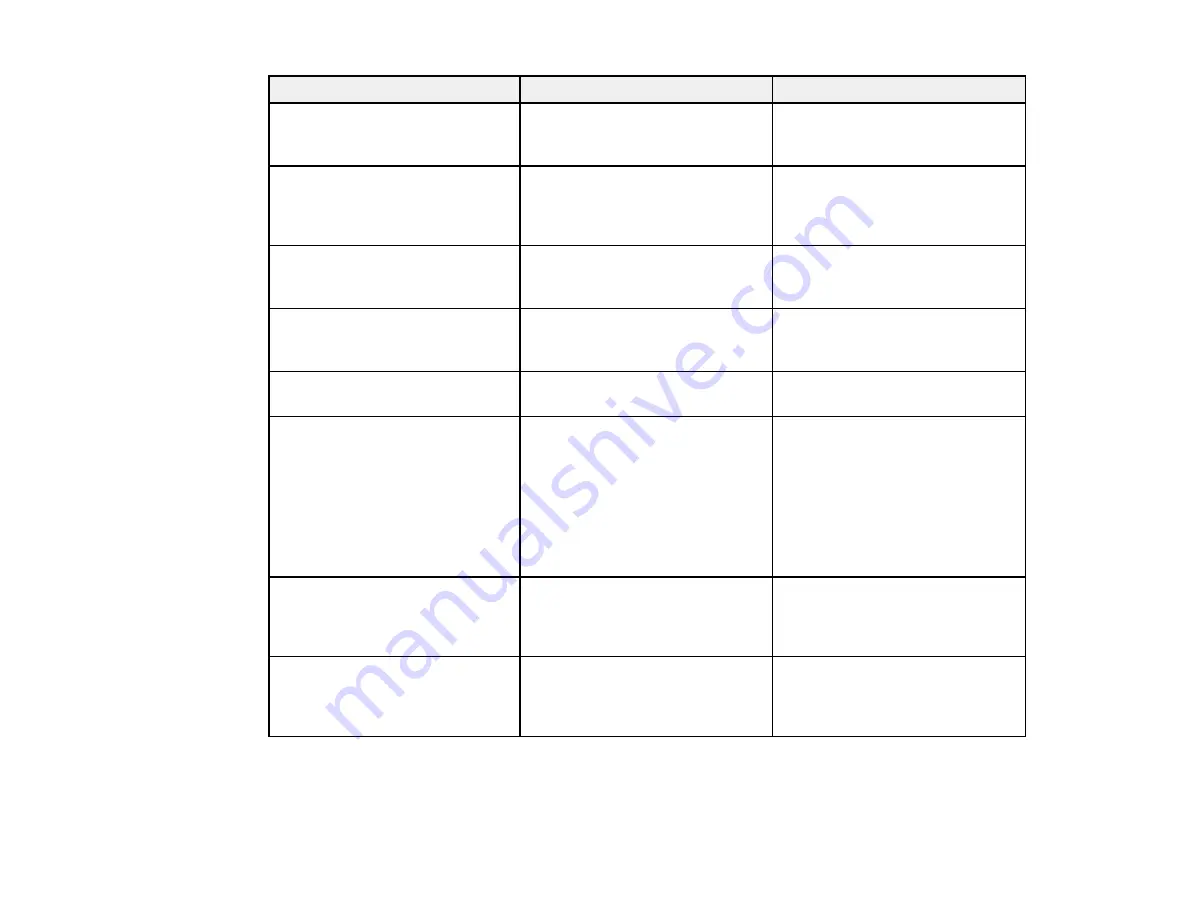
Setting
Options
Description
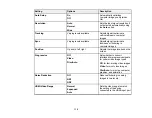
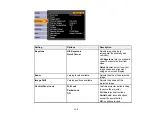
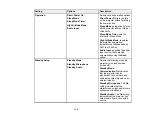
Auto Setup
On
Automatically optimizes
computer image quality (when
Off
On)
Resolution
Auto
Sets the input signal resolution if
not detected automatically using
Normal
the
Auto
option
Wide
Tracking
Varying levels available
Adjusts signal to eliminate
vertical stripes in computer
images
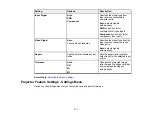
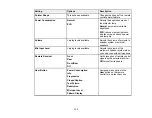
Sync.
Varying levels available
Adjusts signal to eliminate
fuzziness or flickering in
computer images
Position
Up, down, left, right
Adjusts the image location on the
screen
Progressive
Off
Sets whether to convert
interlaced-to-progressive signals
Video
for certain video image types
Film/Auto
Off
: for fast-moving video images
Video
: for most video images
Film/Auto
: for movies, computer
graphics, and animation
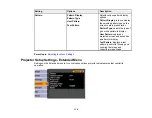
Noise Reduction
Off
Reduces flickering in analog
images in two levels
NR1
NR2
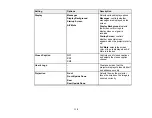
HDMI Video Range
Normal
Sets the video range to match
the setting of the device
Expanded
connected to the HDMI input port
Auto
110
Summary of Contents for PowerLite 470
Page 1: ...PowerLite 470 475W 480 485W User s Guide ...
Page 2: ......
Page 20: ...Projector Parts Remote Control 1 Power button 20 ...
Page 44: ...1 Open the battery cover as shown 2 Insert the batteries with the and ends facing as shown 44 ...
Page 127: ...2 Slide the air filter cover switch and open the air filter cover 127 ...
Page 129: ...4 Place the new air filter in the projector as shown 129 ...
Page 130: ...5 Close the air filter cover Parent topic Air Filter and Vent Maintenance 130 ...
Page 153: ...Parent topic Solving Problems 153 ...

