3.
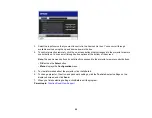
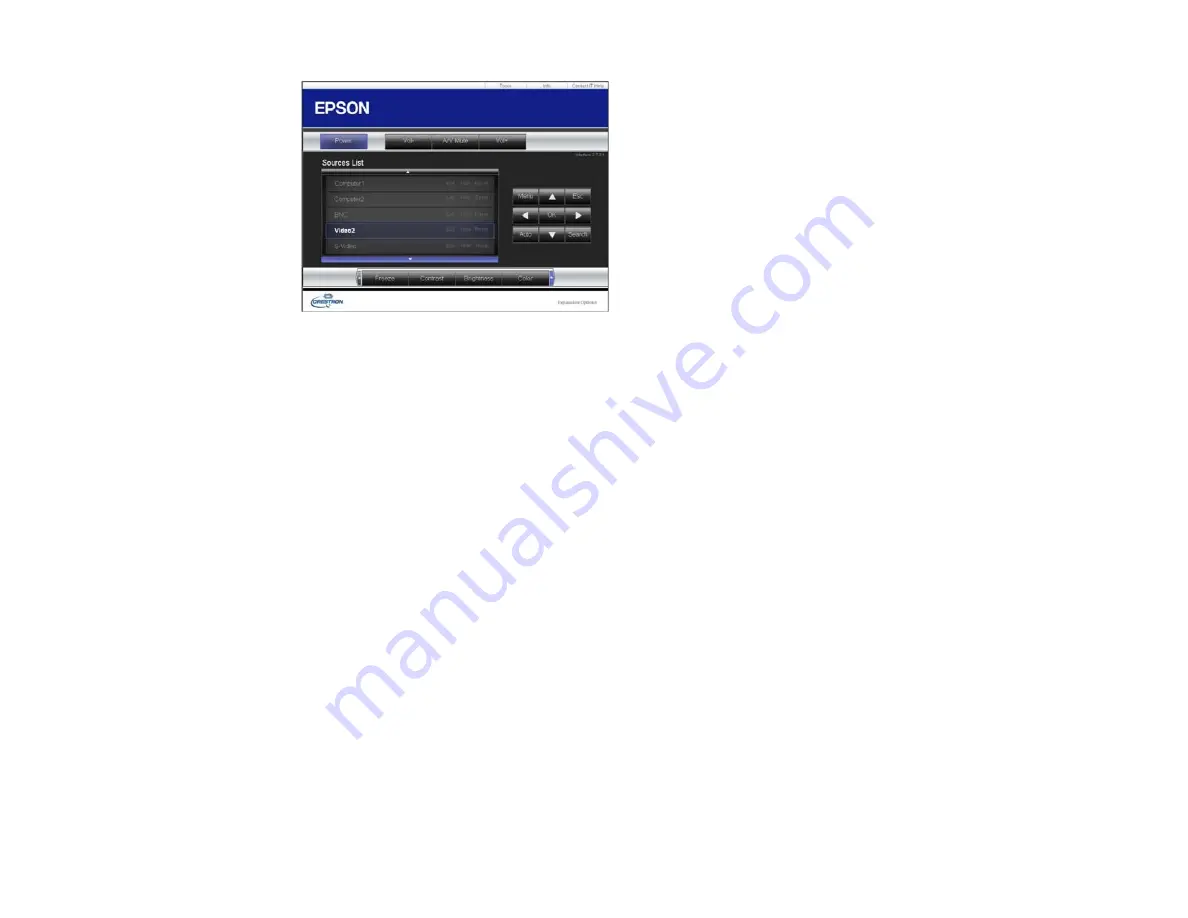
Select the input source that you want to control in the Sources List box. You can scroll through
available sources using the up and down arrows in the box.
4.
To control projection remotely, click the on-screen buttons that correspond to the projector's remote
control buttons. You can scroll through button options at the bottom of the screen.
Note:
These on-screen buttons do not directly correspond to the projector's remote control buttons:
•
OK
acts as the
Enter
button
•
Menu
displays the
Configuration
menu
5.
To view information about the projector, click the
Info
tab.
6.
To change projector, Crestron, and password settings, click the
Tools
tab, select settings on the
displayed screen, and click
Send
.
7.
When you finish selecting settings, click
Exit
to exit the program.
Parent topic:
Crestron RoomView Support
66
Summary of Contents for PowerLite 470
Page 1: ...PowerLite 470 475W 480 485W User s Guide ...
Page 2: ......
Page 20: ...Projector Parts Remote Control 1 Power button 20 ...
Page 44: ...1 Open the battery cover as shown 2 Insert the batteries with the and ends facing as shown 44 ...
Page 127: ...2 Slide the air filter cover switch and open the air filter cover 127 ...
Page 129: ...4 Place the new air filter in the projector as shown 129 ...
Page 130: ...5 Close the air filter cover Parent topic Air Filter and Vent Maintenance 130 ...
Page 153: ...Parent topic Solving Problems 153 ...

