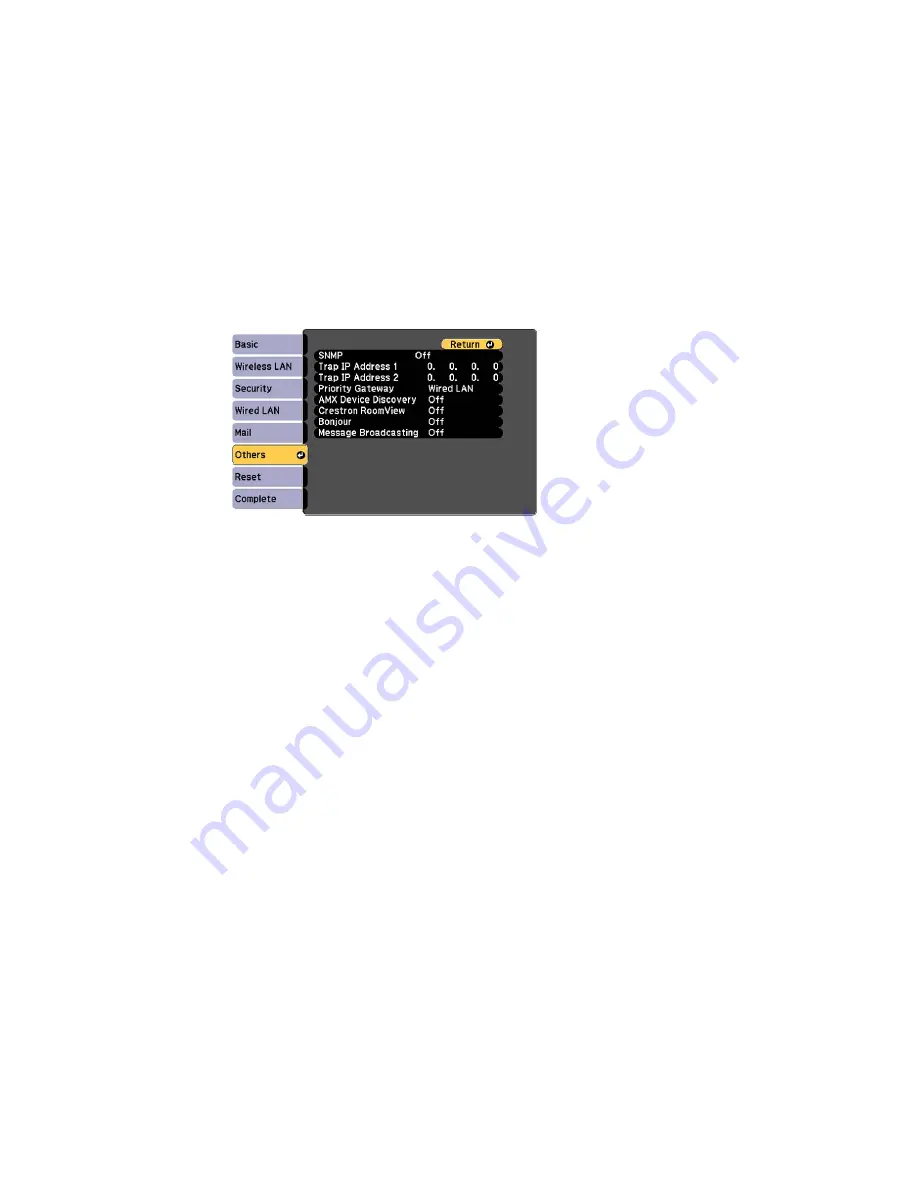
4.
Select the
Others
menu and press
Enter
.
5.
Enter up to two IP addresses to receive SNMP notifications, using 0 to 255 for each address field.
Note:
Do not use these addresses: 127.x.x.x or 224.0.0.0 through 255.255.255.255 (where x is a
number from 0 to 255).
6.
If available, select the
Priority Gateway
setting for your network.
7.
If your network environment uses an AMX controller, turn on the
AMX Device Discovery
setting to
allow the projector to be detected.
8.
If your network environment uses a Crestron RoomView controller, turn on the
Crestron RoomView
setting to allow the projector to be detected.
9.
If you are connecting to a network using Bonjour, turn on the
Bonjour
setting.
10. If you want this projector to receive broadcasted messages over the network, turn on the
Message
Broadcasting
setting. Administrators can broadcast messages over the network using the Message
Broadcasting plug-in for EasyMP Monitor (Windows only).
11. When you finish selecting settings, select
Complete
and follow the on-screen instructions to save
your settings and exit the menus.
Parent topic:
Using the Projector on a Network
63
Summary of Contents for PowerLite 570
Page 1: ...PowerLite 570 575W 580 585W User s Guide ...
Page 2: ......
Page 21: ...Related references Projector Light Status Projector Parts Remote Control 21 ...
Page 45: ...1 Open the battery cover 2 Insert the batteries with the and ends facing as shown 45 ...
Page 131: ...2 Slide the air filter cover latch and open the air filter cover 131 ...
Page 133: ...5 Place the air filter back in the projector as shown 133 ...
Page 136: ...2 Slide the air filter cover latch and open the air filter cover 136 ...
Page 138: ...4 Place the new air filter in the projector as shown 138 ...


