


152
Projector Installation
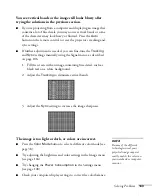
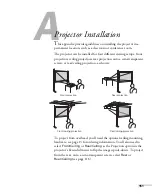
If you’re mounting the projector on the ceiling and you place it above
screen level, you’ll have to tilt the projector down to position the
image on the screen. This causes the image to lose its square shape.
You can correct the distortion using the
Keystone
function in the
projector’s menu system (see page 108).
If you place the projector so that the base of the lens is level with the
bottom of the screen, the image should be square and you won’t have
to adjust it. If you place the lens lower than the bottom of the screen,
you’ll have to tilt the projector upward (which will cause the image to
lose its square shape, as described above) if you want to fill the whole
screen with the image.
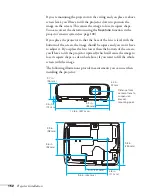
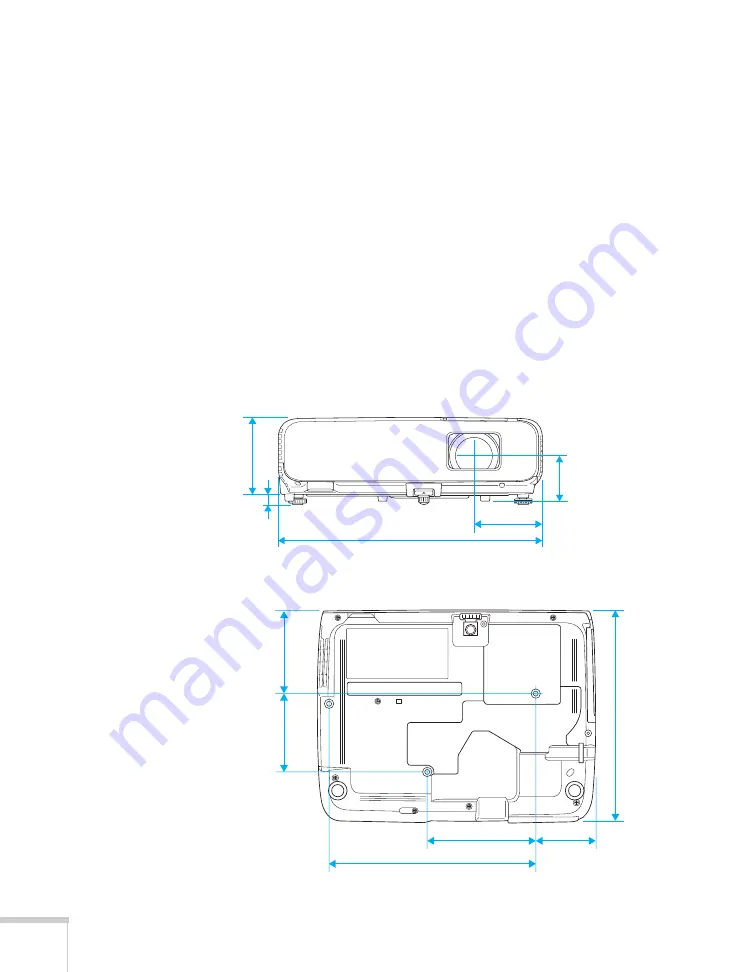
The following illustrations provide measurements you can use when
installing the projector:
Distance from
center of lens to
suspension
bracket
mounting point
3.7 in.
(95 mm)
0.5 in.
(13 mm)
12.8 in. (327 mm)
3.3 in.
(85 mm)
2.2 in.
57 mm
3.9 in.
(98 mm)
3.6 in.
(92 mm)
5 in. (127 mm)
9.5 in. (242 mm)
2.8 in.
(71 mm)
9.8 in.
(250 mm)
Summary of Contents for PowerLite 825
Page 1: ...PowerLite 84 85 824 825 826W Multimedia Projector User sGuide ...
Page 14: ...14 Welcome ...
Page 62: ...62 Connecting to Computers USB Devices and Other Equipment ...
Page 130: ...130 Maintaining the Projector ...
Page 192: ...192 Notices ...
Page 199: ......


