EPSON Stylus Photo R1900/R2880/R2000
Revision E
Disassembly And Assembly
Disassembling the Printer Mechanism
98
Confidential
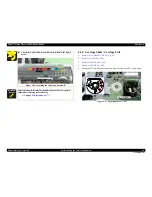
4.4.5 Carriage Shaft / Carriage Unit
1.
Remove the Printhead / CSIC Assy. (p.92)
2.
Remove the CR Scale. (p.90)
3.
Remove the LED Board. (p.86)
4.
Remove the APG Assy. (p.89)
5.
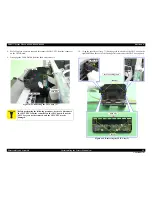
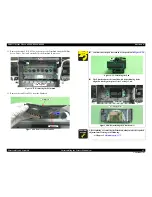
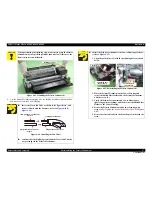
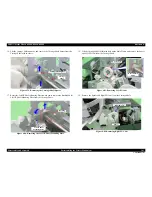
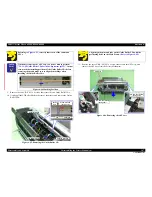
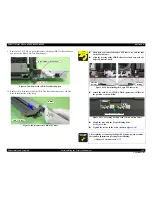
Rotate the PG Cam (Right) to adjust its positions other than PG++ downside.
Figure 4-67. Adjusting the PG Cam
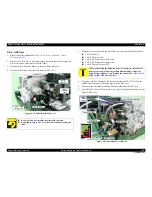
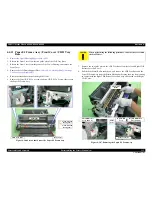
Attach the Label, Ink Position;B at the position in the figure
below.
Figure 4-66. Attaching the Label, Ink Position;B
A D J U S T M E N T
R E Q U I R E D
After replacing the Printer Mechanism, always make the required
adjustments referring to the following.
“Chapter 5
Adjustment
(p.137)
”
6mm
2mm
Label, Ink Position;B
PG Cam (Right)
Summary of Contents for R1900 - Stylus Photo Color Inkjet Printer
Page 1: ...EPSONStylusPhotoR1900 R2880 R2000 Color Inkjet Printer SEIJ07010 SERVICE MANUAL Confidential ...
Page 9: ...Confidential C H A P T E R 1 PRODUCTDESCRIPTION ...
Page 28: ...Confidential C H A P T E R 2 OPERATINGPRINCIPLES ...
Page 33: ...Confidential C H A P T E R 3 TROUBLESHOOTING ...
Page 69: ...Confidential C H A P T E R 4 DISASSEMBLYANDASSEMBLY ...
Page 137: ...Confidential C H A P T E R 5 ADJUSTMENT ...
Page 161: ...Confidential C H A P T E R 6 MAINTENANCE ...
Page 170: ...Confidential C H A P T E R 7 APPENDIX ...
Page 172: ...Confidential C H A P T E R 8 STYLUSPHOTOR2000 ...

