3
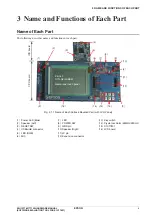
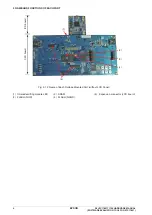
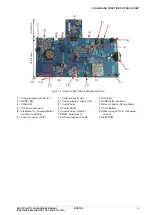
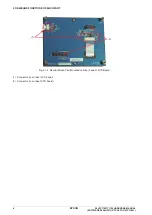
NAME AND FUNCTIONS OF EACH PART
S5U1C17801T1100 HARDWARE MANUAL
EPSON
13
(SOFTWARE EVALUATION TOOL FOR S1C17801)
∗
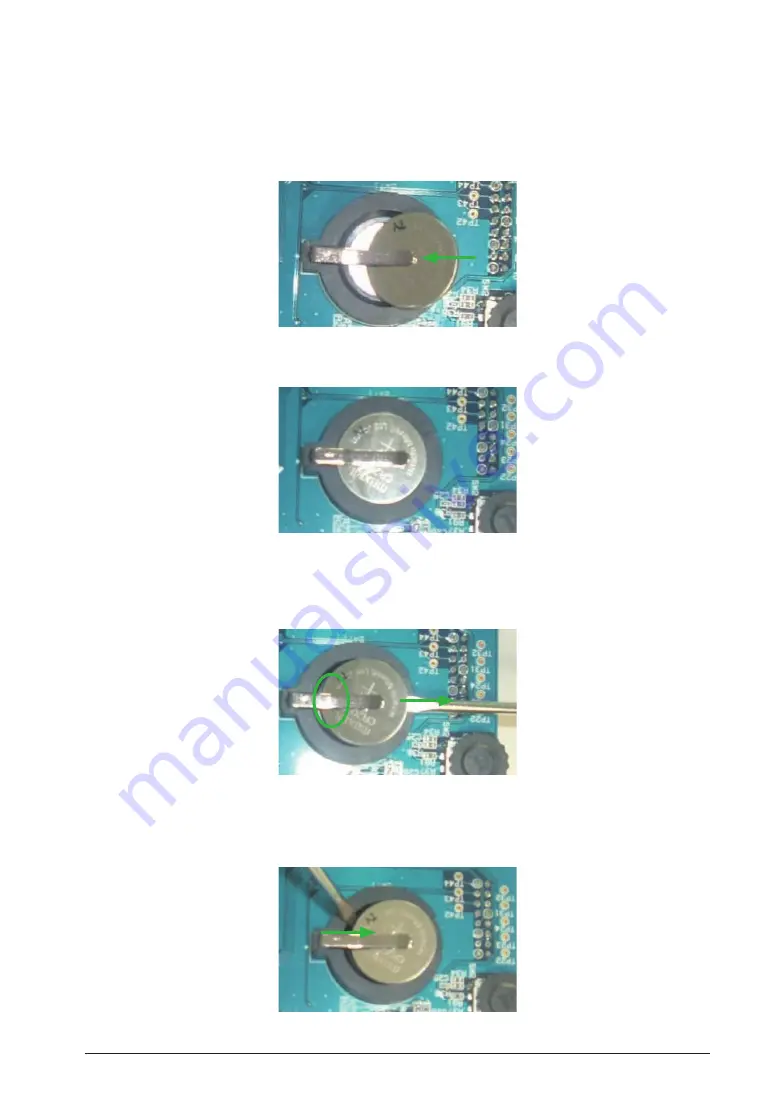
Installing and Removing Coin Battery
The following describes installation and removal procedures of a coin cell to/from the socket on the rear
face of the CPU board.
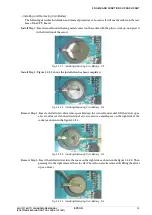
Install Step
1
: Insert coin cell under the long metal contact on the socket with the plus (+) side up, and press it
in the direction of the arrow.
Fig.
3
.
4
.
2
.
1
Installing/Removing Coin Battery -
1
/
4
Install Step
2
: Figure
3
.
4
.
2
.
2
shows the installation has been completed.
Fig.
3
.
4
.
2
.
2
Installing/Removing Coin Battery -
2
/
4
Remove Step
1
: Insert a slotted screw driver into space between the coin cell and socket, lift the driver up as
a lever and move it in the direction of arrow to secure a small space on the right side of the
socket as shown in the figure
3
.
4
.
2
.
3
.
Fig.
3
.
4
.
2
.
3
Installing/Removing Coin Battery -
3
/
4
Remove Step
2
: Insert the slotted driver into the space on the right side as shown in the figure
3
.
4
.
2
.
4
. Then
pressing it to the right removes the coin cell. (The cell can also be removed by lifting the driver
up as a lever.)
Fig.
3
.
4
.
2
.
4
Installing/Removing Coin Battery -
4
/
4
Summary of Contents for S5U1C17801T1100
Page 4: ......

