


C
Press the
d
/
u
buttons to highlight
White Ink
or
Color Ink
, and then press the
r
button.
D
Press the
d
/
u
buttons to highlight
Yes
, and then
press the
Z
button.
Press the
Z
button to start washing the tubes.
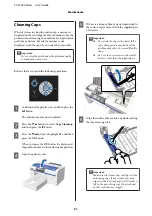
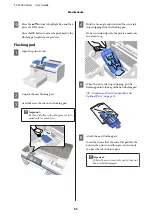
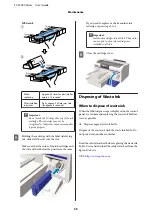
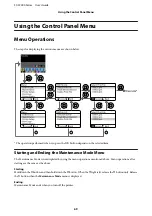
E
Open the cartridge cover.
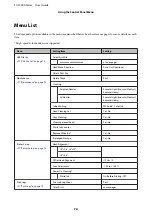
F
Put your finger into the indentation on top of the
ink cartridge displayed on the screen and pull it
straight out.
c
Important:
Removed ink cartridges may have ink around
the ink supply port, so be careful not to soil the
surrounding area.
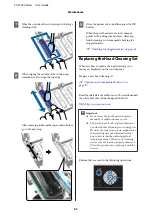
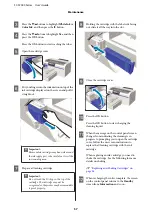
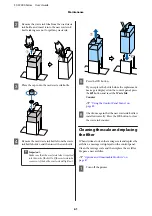
G
Prepare a Cleaning cartridge.
c
Important:
Do not touch the IC chip on the top of the
cartridge. The cartridge may not be
recognized, or the printer may become unable
to print properly.
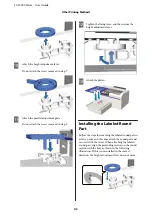
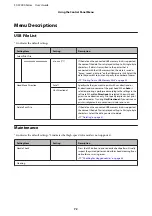
H
Holding the cartridge with the label side facing
out, slide it all the way into the slot.
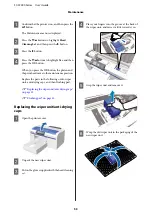
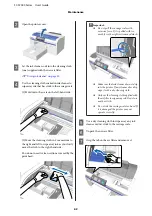
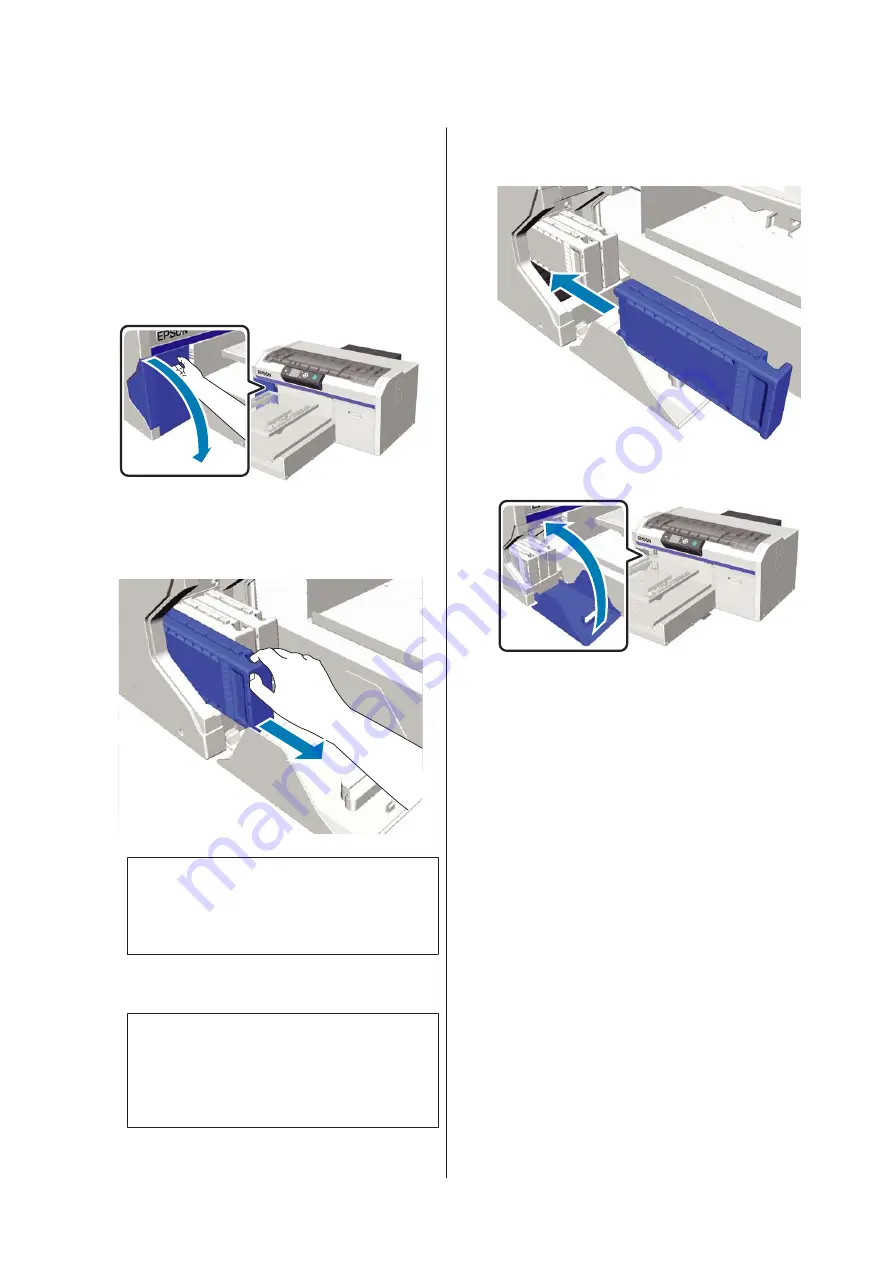
I
Close the cartridge cover.
J
Press the
Z
button.
Press the
Z
button to start charging the
cleaning liquid.
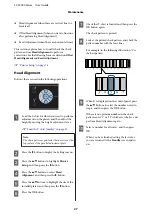
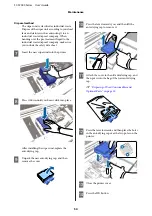
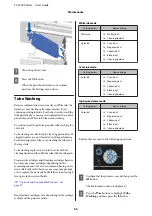
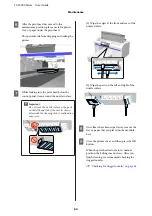
K
When the message on the control panel screen
changes from indicating the cleaning is in
progress to prompting you to open the cartridge
cover, follow the on-screen instructions to
replace the Cleaning cartridge with the ink
cartridge.
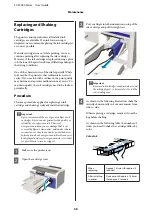
When replacing an ink cartridge, you need to
shake the cartridge. See the following for more
details on shaking.
U
“Replacing and Shaking Cartridges” on
L
When recharging the ink is complete, the screen
on the control panel returns to the
Standby
screen from
Information
and so on.
SC-F2000 Series User’s Guide
Maintenance
57


