Using the Auto Take-up
Reel Unit (SC-P9000
Series/SC-P8000 Series
Only)
The optional auto take-up reel unit automatically takes
up paper as it is printed. It improves efficiency for
banners or large jobs involving continuous printing on
roll paper.
The auto take-up reel unit for this printer can take up
paper in either of the directions shown below. Some
types of paper may not support one or the other of these
directions or may place restrictions on the take-up
direction.
See the following section for information on take-up
support and take-up direction.
U
“Epson Special Media Table” on page 159
Printed side out
Printed side in
Taking-up with printed side out places the printed
surface on the outside of the roll.
Taking-up with printed side in places the printed
surface on the inside of the roll.
Caution:
❏
Fix the roll core for the auto take-up reel unit in
place as described in the documentation.
Dropping the roll core could cause injury.
❏
Be careful that your hands, hair, or other
objects do not get caught in the moving parts of
the auto take-up reel unit.
Failure to observe this precaution could result
in injury.
c
Important:
Confirm that the end of the roll is cut straight across.
The unit will not function as expected if the end of
the roll is wavy or curved.
U
“Manual cut method” on page 32
Note:
For information on installing the auto take-up reel unit,
see the documentation supplied with the auto take-up
reel unit.
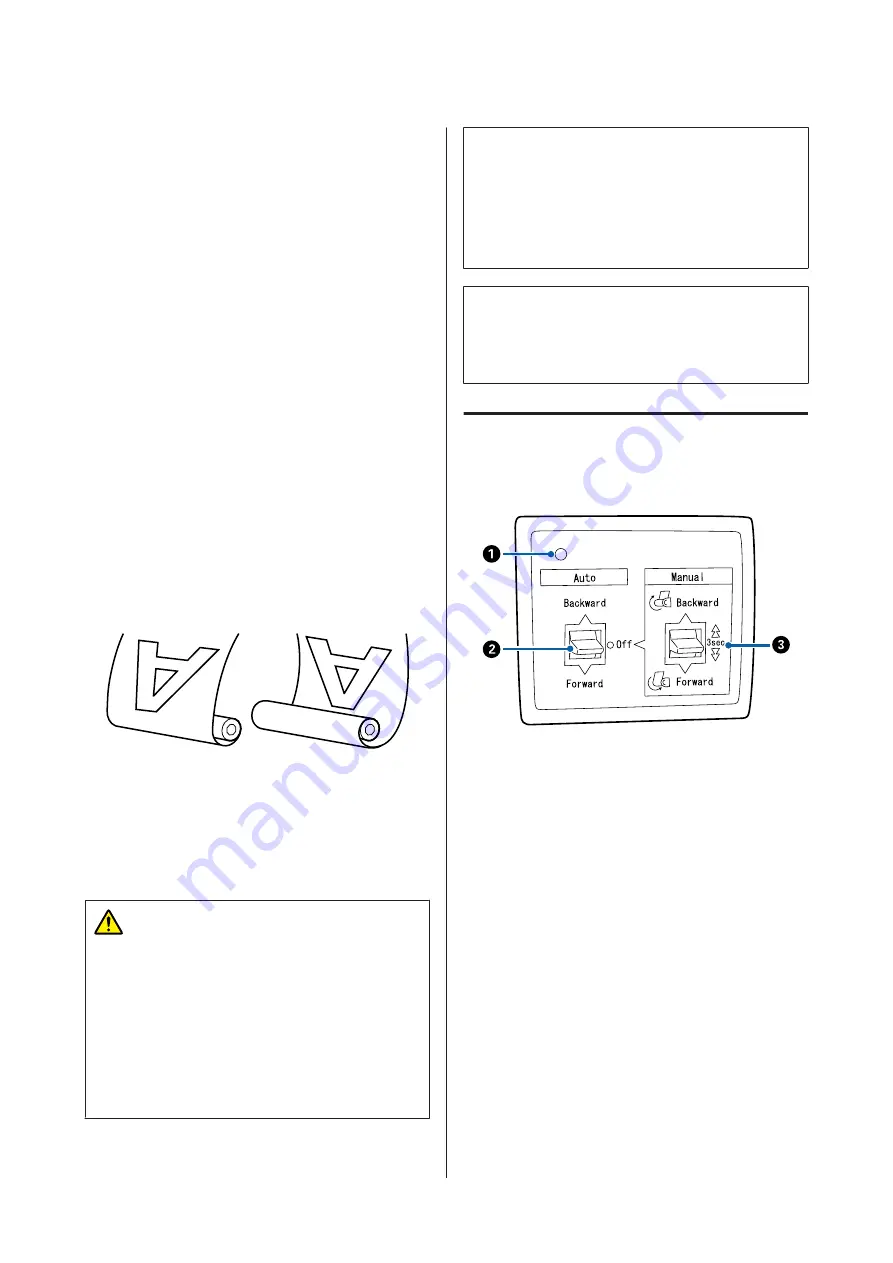
Using the Control Panel
This section describes how to use the control panel for
the auto take-up reel unit.
A
Power lamp
Displays the status of the auto take-up reel unit.
On
: The auto take-up reel unit is
ready for use.
Flickering
: The auto take-up reel unit is in
use.
Blinking
: The auto take-up reel unit is in
power-saving mode.
Intermittent
blinking
: An error has occurred.
Off
: The power is off.
B
Auto switch
Selects the auto take-up direction.
SC-P9000 Series/SC-P7000 Series/SC-P8000 Series/SC-P6000 Series User's Guide
Basic Operations
43


