3-16
BIOS Setup
Rev.A
Confidential
Basic Operation
Starting the device diagnostics utility
To run diagnostics, press the F10 key when you start the system. The message "Diagnostics
program will execute after POST" is displayed, and the device self-diagnostic utility starts up.
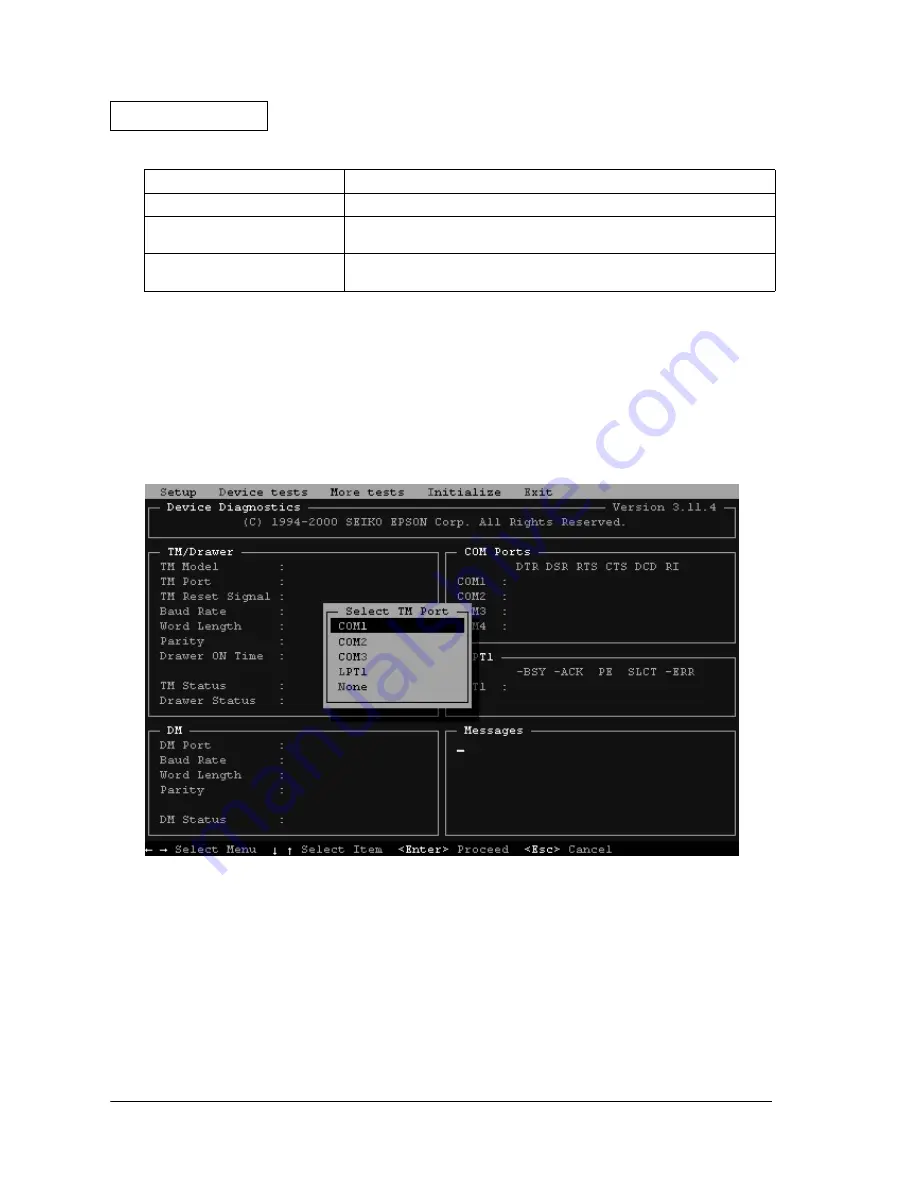
Initial screen
When the device diagnostic utility starts, the following screen appears.
3-1 TM port selection
Press left or right arrow to select the port connected to the TM printer, then press enter. The
device diagnostics utility confirms the TM and DM connection and displays their status on the
screen.
The device diagnostics utility displays the option connectivity status and runs the operation test.
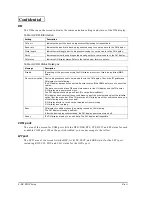
Follow these guidelines for using device diagnostics:
Connection to the cash drawer
Connects to the cash drawer to test the kick back operation of the drawer.
Connection to the loop back
connector
Connects the loop-back connector to the port running test, when
performing a loop-back test to LPT1.
Serial port, LPT port setting
It sets to the default setting with BIOS setup utility, when changing the setting
of serial port and LPT1 port.
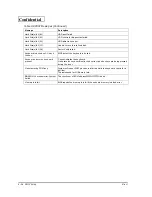
Table 3-9 Conditions
Setting
Condition
Summary of Contents for SR-600
Page 1: ...Confidential Developer s Guide SR 600 Issued date Issued by EPSON English 401333300 ...
Page 2: ...Confidential ...
Page 21: ...Rev A General Features 1 11 Developer s Guide SR 600 Confidential Required Clearance 5cm 5cm ...
Page 22: ...1 12 General Features Rev A Confidential ...
Page 44: ...2 22 OS and Driver Setup Rev A Confidential ...
Page 106: ...5 24 Hardware Specifications Rev A Confidential ...
Page 154: ...6 48 Peripherals Option Installation Rev A Confidential ...
Page 186: ...Appendix 3 8 Wake On LAN Rev A Confidential ...
Page 191: ...Confidential ...
Page 192: ...Confidential EPSON SEIKO EPSON CORPORATION Printed in Japan ...

