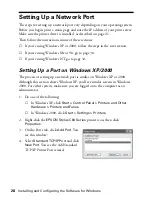
Setting Up a Network Port
31
4. On the Add Port window, make sure
Network
is selected, then click
Browse
.
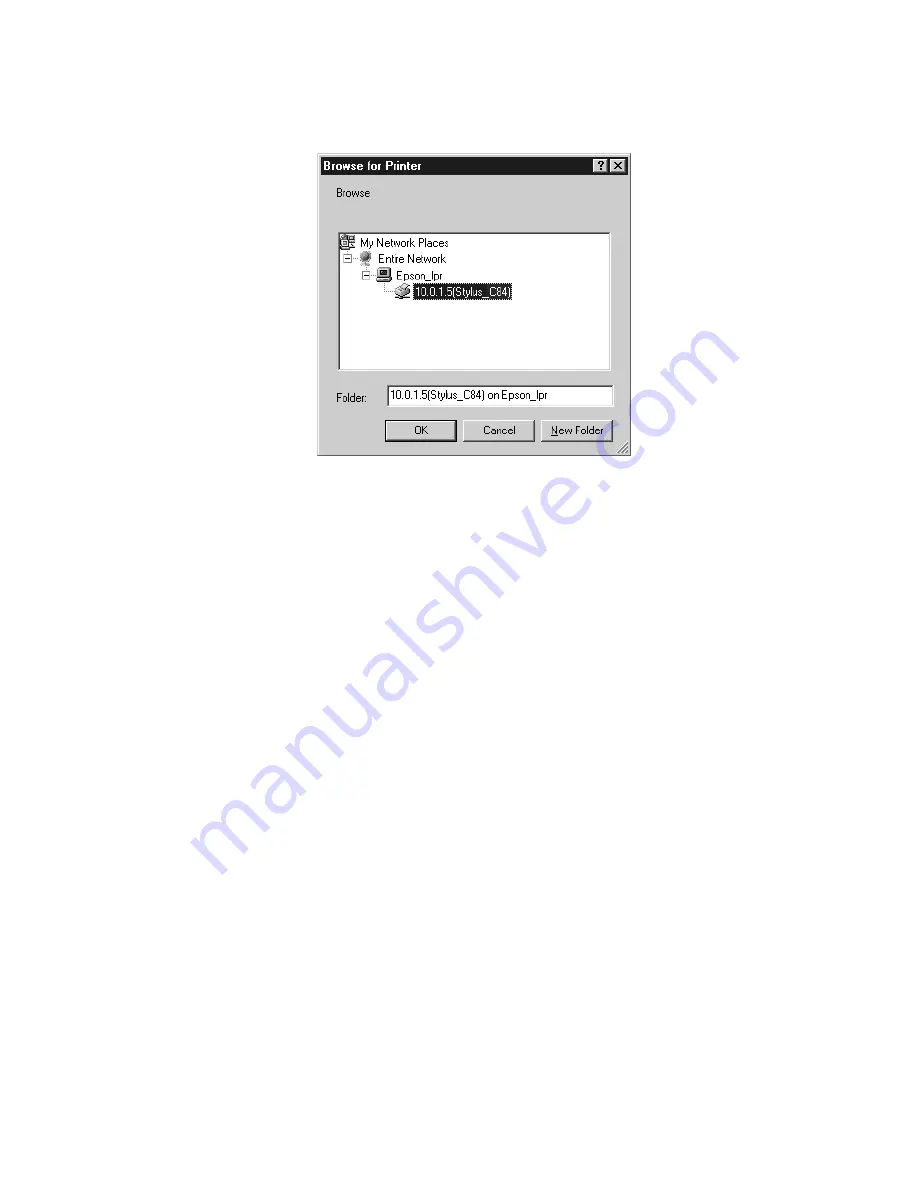
You see the Browse for Printer window:
5. Click the
+
next to
Entire Network
, then click the
+
next to
Epson_lpr
and
select the Stylus C84 printer.
(Make sure the IP address matches your print server’s IP address.)
6. Click
OK
, then click
OK
again.
7. Click
Apply
on the Details tab.
8. To test the connection, click the
General
tab and click
Print Test Page
. Wait
for the page to print.
If the test page prints, click
Yes
,
then click
OK
to close the Properties
window.
If it fails to print, try the following:
■
Make sure the printer and print server are connected and both are
turned on.
■
Check the printer to see if a red light is on or flashing, indicating that
paper or ink is out, or paper is jammed. See
Printer Basics
for details.
■
Check WP-Admin to make sure you have a signal (see page 24).
■
Make sure you selected the correct printer in step 5.
■
Make sure you clicked
Apply
in step 7.
Now you’re ready to print. For instructions, see
Printer Basics
.
Summary of Contents for Stylus C84WN
Page 1: ...EPSON Stylus C84WN Setup and Installation ...
Page 10: ...10 Introduction ...
Page 60: ...60 Configuration Settings ...


