R4C260Setup Guide
Rev_C
A5 size
Setup.fm
12/9/99
Pass 0
R
Proof Sign-off:
M.Hida, CRE Tsukada_______
N.Nomoto
_______
_______
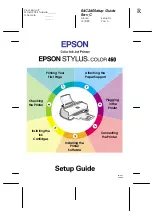
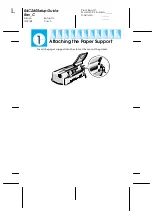
Attaching the
Paper Support
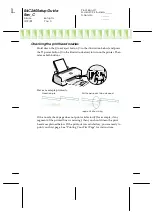
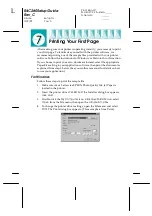
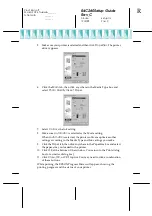
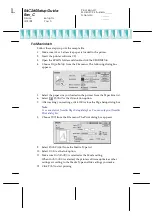
Printing Your
First Page
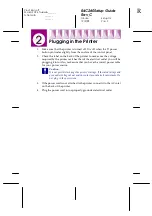
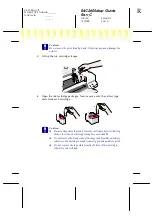
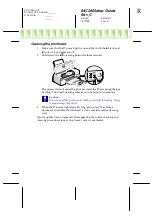
Plugging
in the
Printer
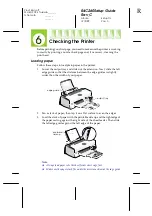
Checking
the Printer
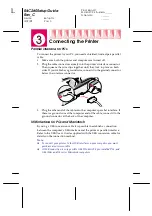
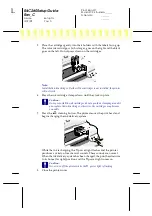
Connecting
the Printer
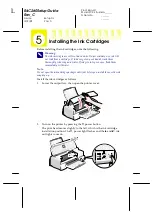
Installing the
Ink
Cartridges
Installing the
Printer
Software
4010736
XXX-00


