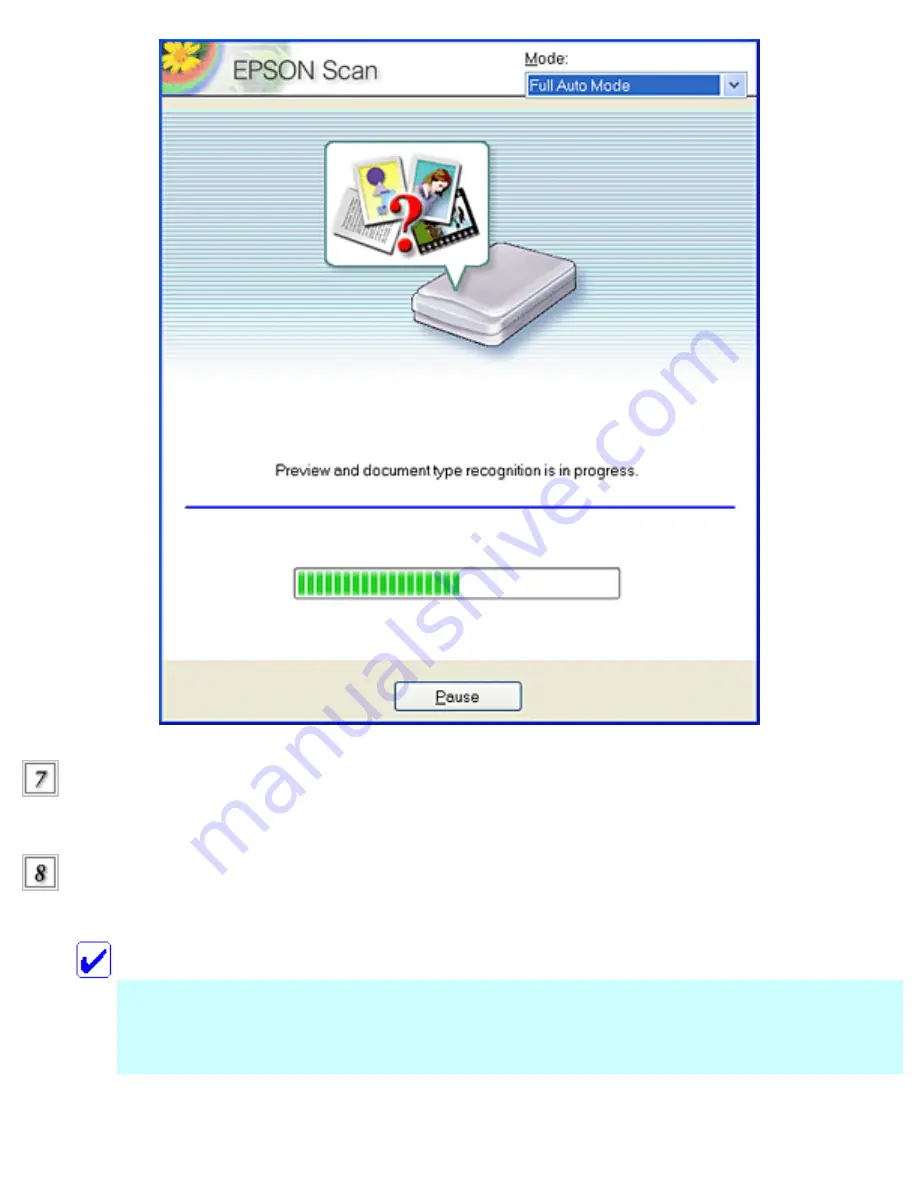
The scanned image displayed in View Images and Set Options dialog. Change scan settings and
click Next.
The scanned image is transferred to a pre-selected e-mail program and attached to a new e-mail
massage.
Note:
●
If no e-mail program has been selected, the Select Software dialog box appears. For
details, refer to the EPSON Smart Panel documentation.
Summary of Contents for Stylus CX6500
Page 42: ...For more information on EPSON Smart Panel see Overview of EPSON Smart Panel Top ...
Page 92: ......
Page 99: ...Printing on Envelopes Explains how to print on envelopes Top ...
Page 108: ... Top ...
Page 117: ... Top ...
Page 125: ...Click Print to start printing Top ...
Page 129: ... Top ...
Page 184: ...Click Print to start printing Top ...
Page 187: ...Click the Page Layout tab and select the Multi Page checkbox Then select Pages Per Sheet ...
Page 195: ...Media Type Settings Click Print to start printing Top ...
Page 199: ...Click Settings to adjust the way your poster will print The Poster Settings dialog box opens ...
Page 206: ...Cut off the remaining margins Warning Be careful when using sharp tools Top ...
Page 259: ...See your operating system s documentation for details Top ...
Page 301: ...The scanned images are sent to the application or saved in the specified folder Top ...
Page 310: ...Click Scan and Save to start scanning or Scan with Options to change scanning settings Top ...
Page 329: ...To remove or delete a marquee click the marquee and click the Delete marquee button Top ...
Page 335: ... For details about the settings refer to the EPSON Smart Panel documentation Top ...
Page 352: ... Top ...
Page 361: ... Top ...
Page 400: ... Top ...
Page 419: ...Browser Web browser Microsoft Internet Explorer 4 0 or later recommended Top ...


