EPSON Stylus Photo 750
Revision A
Disassembly and Assembly
Disassembly
72
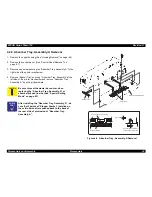
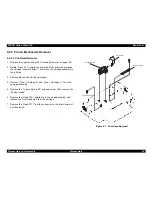
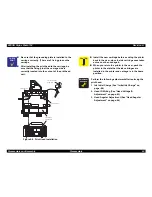
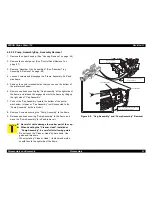
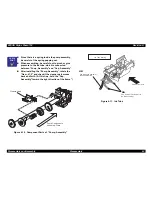
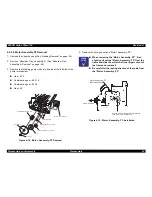
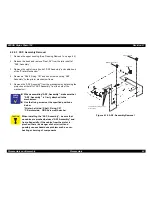
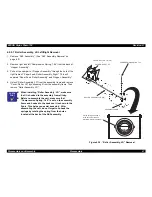
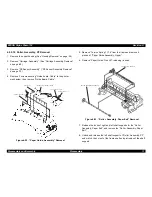
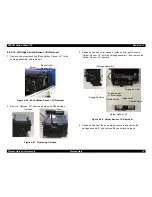
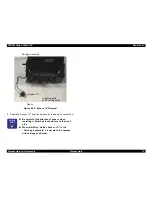
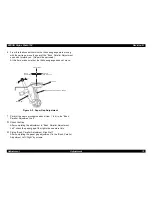
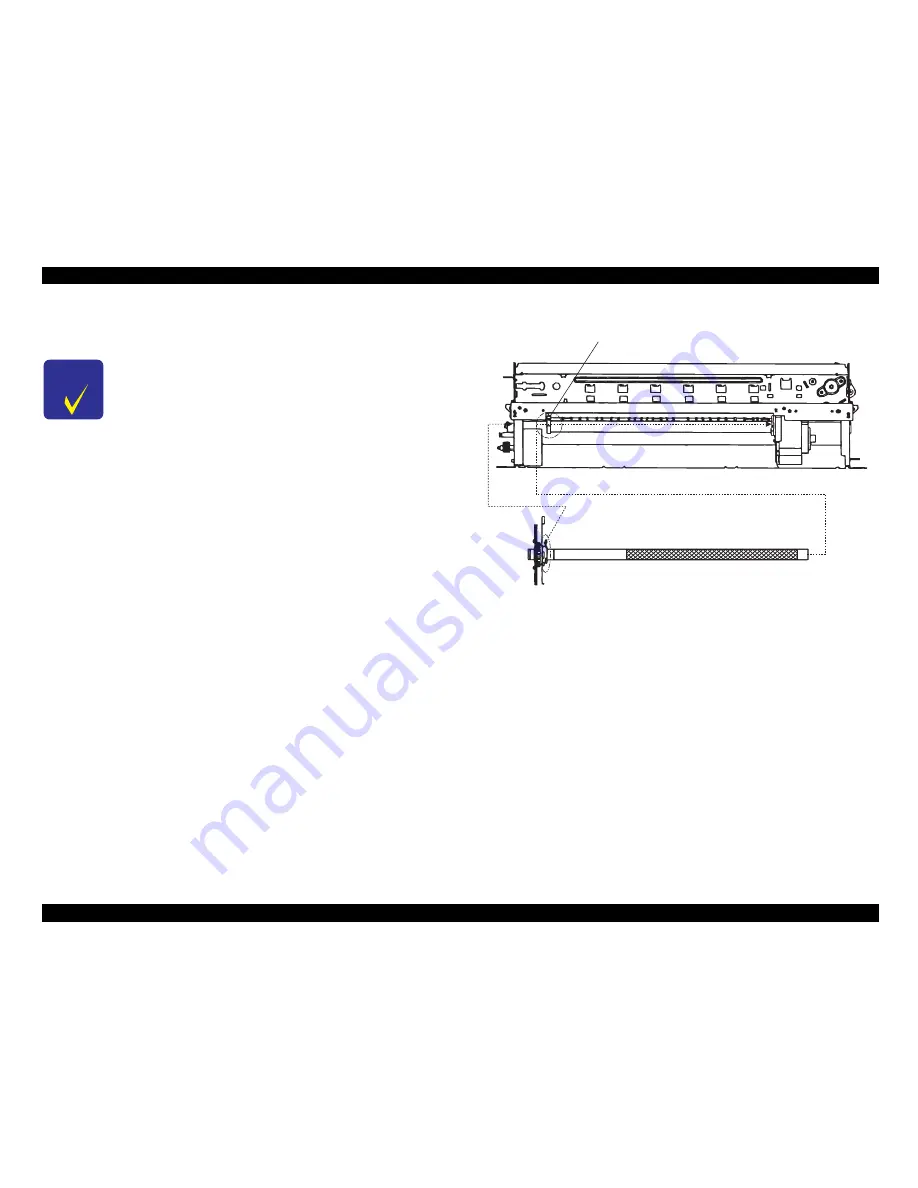
9. Move the whole “Roller, Assembly, PF” to the left direction, and
remove the “Roller, Assembly, PF”.
Figure 4-24. “Roller, Assembly, PF” Removal
C H E C K
P O I N T
„
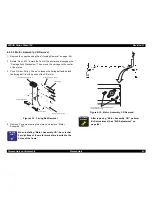
When reinstalling “Paper Guide, Assembly, Upper”
at the right edge, be careful not to damage the “PE
Sensor Lever”.
„
Be careful not to damage the hook, when removing
or installing “Paper Guide, Front; B”.
„
Be careful not to damage the black coated part of
“Roller, Assembly, PF” during disassembly and
assembly.
„
Be careful not to damage the gear, especially
engaging part.
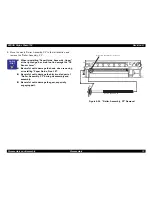
P u t " R O L L E R , A S S E M B L Y , P F " t h r o u g h h e r e
R O L L E R , A S S E M B L Y , P F
Summary of Contents for Stylus Photo 750
Page 1: ...EPSON Stylus Photo750 Color Inkjet Printer SEIJ98005 6 59 0 18 6 59 0 18 6 59 0 18 6 59 0 18 ...
Page 8: ... 3 7 5 4 PRODUCTDESCRIPTION ...
Page 32: ... 3 7 5 5 OPERATINGPRINCIPLES ...
Page 43: ... 3 7 5 6 TROUBLESHOOTING ...
Page 55: ... 3 7 5 7 DISASSEMBLYANDASSEMBLY ...
Page 81: ... 3 7 5 8 ADJUSTMENT ...
Page 95: ... 3 7 5 9 MAINTENANCE ...
Page 101: ... 3 7 5 APPENDIX ...
Page 111: ......
Page 112: ......
Page 113: ......
Page 114: ......

