EPSON Stylus Pro 10000/10000CF
Revision B
Adjustment
Adjustment Steps
199
5.2.3.5 Front cover sensor adjustment
<Standard>
Determines whether a finger enters into the front cover or not.
Cover open: The position whether a finger entered into the front cover or not.
Cover close: The position which a finger entered into the front cover.
<Adjustment procedure>
1.
Remove the Panel Assy, side cover L/ R and R inside cover.
2.
Select the "Test: Sensor" from the diagnostic mode and choose the "front cover
sensor".
3.
Loosen the each two fixing screws at the left and right, then move up and down each
lever and adjust the sensor position.
4.
Attach the cover which are removed with step 1.
Figure 5-6.
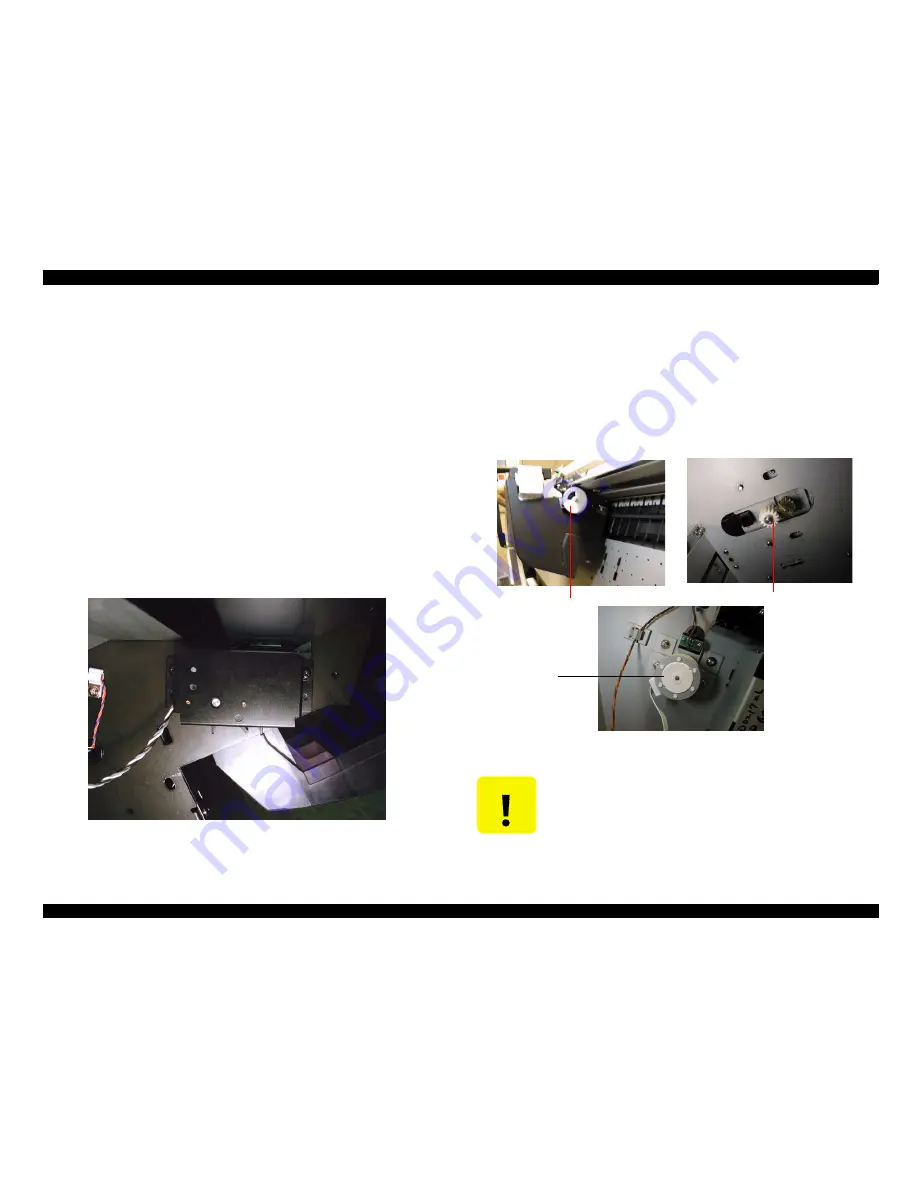
5.2.3.6 Slide idler gear / Slide motor fixing plate adjustment
<Adjustment procedure>
1.
Remove the Panel Assy and side cover R.
2.
Loosen two screws on the slide motor fixing plate, adjust the gear gutter with PG gear
on the carriage and idler gear from top direction.
3.
Fixing the screws.
4.
Attach the cover which are removed with step 1.
Figure 5-7.
C A U T I O N
Meshing returns with gear spring even if it thrust in biting condition, and
minimize the gear gutter as much as possible furthermore.
Slide Motor
PG Gear
Idler Gear
Summary of Contents for Stylus Pro 10000 Series
Page 7: ...Revision Status ...
Page 8: ...Revision Issued Date Description Rev A March 30 2001 First Release ...
Page 13: ...C H A P T E R PRODUCTDESCRIPTION ...
Page 59: ...EPSON Stylus Pro 10000 10000CF Revision B Product Description Jumper Settings 59 ...
Page 60: ...C H A P T E R OPERATINGPRINCIPLES ...
Page 86: ...C H A P T E R TROUBLESHOOTING ...
Page 113: ...C H A P T E R DISASSEMBLY ASSEMBLY ...
Page 187: ...C H A P T E R ADJUSTMENT ...
Page 276: ...C H A P T E R MAINTENANCE ...
Page 289: ...C H A P T E R APPENDIX ...
Page 315: ......
Page 316: ......
Page 317: ......
Page 318: ......
Page 319: ......
Page 320: ......
Page 321: ......
Page 322: ......
Page 323: ......


